T-SBFND-009-009
The pivot point of a layer determines the location of the point around which a layer is rotated, scaled or skewed with the Layer Transform tool.
By default, the pivot point of a layer is at the centre of the stage. You can reposition that pivot point to adjust where your layer rotates, scales or skews from when animated.
- In the Timeline view, select the panel on which you want to animate a layer.
- Do one of the following:
- From the Tools toolbar, click the Layer Transform
tool.
- Select Tools > Layer Transform.
- In the Stage view, select a layer to animate.
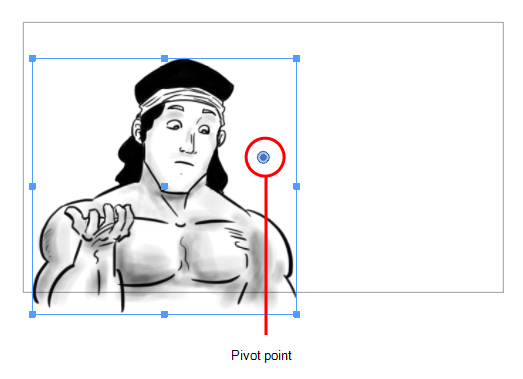
The selected layer’s transformation controls and pivot point become visible. The pivot point is represented by a blue circle at the centre of the camera frame.
- In the Stage view, drag the pivot point to new location.
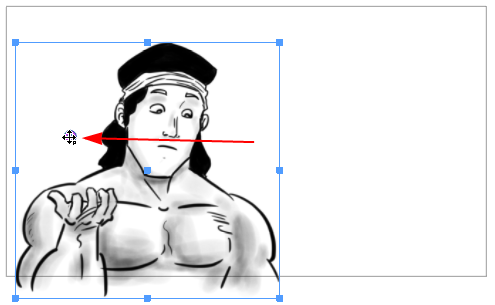
The new location of the pivot point will now be used as the reference when transforming layers.
- In the Timeline view, select the panel containing the layer on which you want to set the pivot.
- Do one of the following:
- From the Tools toolbar, click the Layer Transform
- Select Tools > Layer Transform.
- In the Stage view, select the layer with the pivot you want to set at the centre.
- Do one of the following:
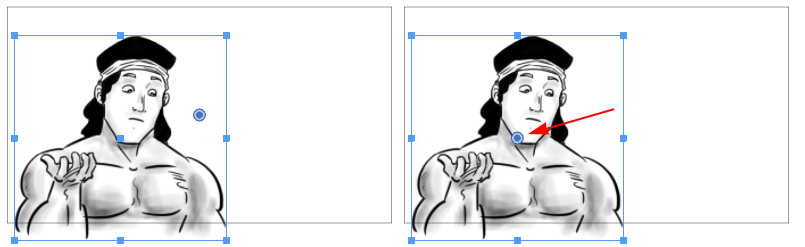
- In the Tool Properties view, click the Center Pivot on Selection
button.
- Select Layer > Pivot > Center Pivot on Selection.
The pivot position is set to the centre of the selection.
- In the Timeline view, select the panel containing the layer on which you want to reset the pivot.
- Do one of the following:
- From the Tools toolbar, click the Layer Transform
- Select Tools > Layer Transform.
- In the Stage view, select the layer with the pivot to reset.
- Do one of the following:
- In the Tool Properties view, click the Reset Pivot
button.
- Select Layer > Pivot > Reset Pivot.
The pivot position is reset to the centre of the camera frame.