High Quality Playback
You can view a high quality playback of your animatic in the Playback view. By default, this view does not appear in the software. You must enable this option in the Preferences and relaunch the software to make this option available.
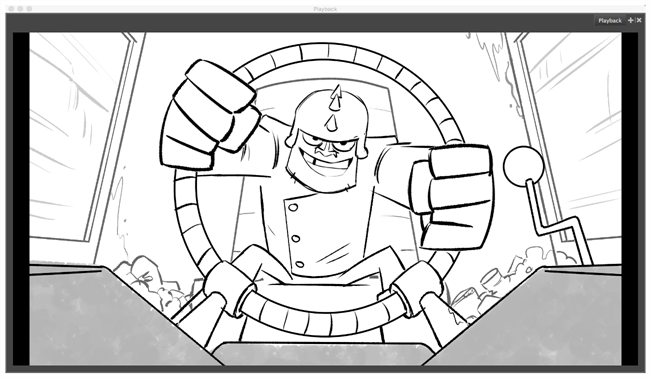
The Playback view pre-renders frames (composites camera moves, effects, transitions, etc.) and saves them in a cache, then uses this cache for playback. The result is an accurate real-time preview.
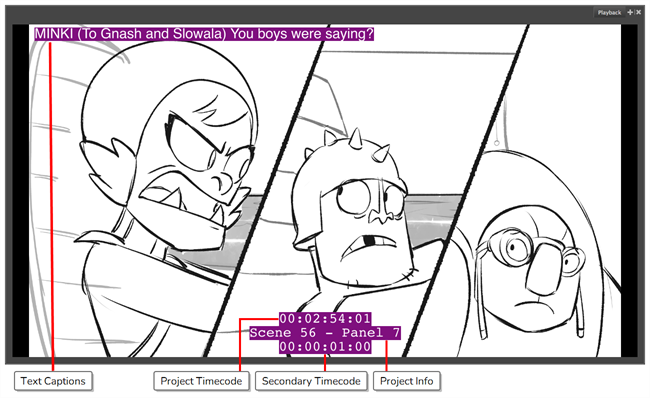
The Playback view allows for the display of information pertaining to the current frame. This can include captions and dialog, the project timecode and the current scene and panel
You can now define the playback range and select the playback range options. You can also redefine the working range by setting the Start and Stop frames.
- In the top menu, select Edit > Preferences (Windows) or Storyboard Pro > Preferences (macOS).
- In the Preferences window, click on the Playback tab.
- In the Playback tab, in the Cached Playback section, click on the Playback Mode drop-down menu and select Playback View.
- Click OK to confirm the changes and to close the Preferences window.
- Close Storyboard Pro by either clicking on the red square with an X, located at the top corner of the software, or by using the keyboard shortcut Ctrl + Q (Windows) or ⌘ + Q (macOS).
- Relaunch Storyboard Pro.
The Preferences window opens.
The Playback view and its options are now available in the software.
- In the top menu, select Windows > Playback.
The Playback view opens as a floating window.
- In the Playback toolbar, verify that the Auto Update Playback Cache
 button is enabled.
 - In the Playback toolbar, click on the Play
 button (or the Play Selection
  button, if you selected a range of frames to play in the Timeline view).
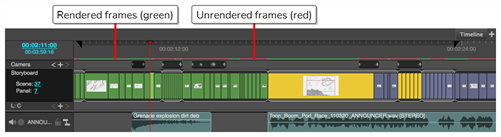
 - The Render Frames windows appears to display the progress of frames being rendered. This is also visible in the Timeline view, where an indicator line above the panels signals rendered frames in green and unrendered frames in red.
When the rendering process is complete, the animatic automatically starts to play in the Playback view.
- In the top menu, select Play > Playback Range
-
In the Timeline view ruler, right click to select Playback Range.
You can select from the following Playback Range options:
Storyboard Track - Plays back only the spaces in the Timeline with scenes.
- Track Storyboard and Audio Tracks - Plays back the spaces in the Timeline with either a scene, an audio, or both.
- Working Range - Plays back only the working range. To set the working range, move the black triangles in the Timeline ruler to cover the desired playback area.
- In the top menu, select Play > Playback Range > Working Range
-
In the Timeline view, move the red playhead to set the Start and Stop Frames.
The Start and Stop Frames of the working range are displayed in the Timeline view's ruler as black triangles. You can drag them to change their position in time. You can also select items in the Timeline and set their working range.