T-SBFND-005-011
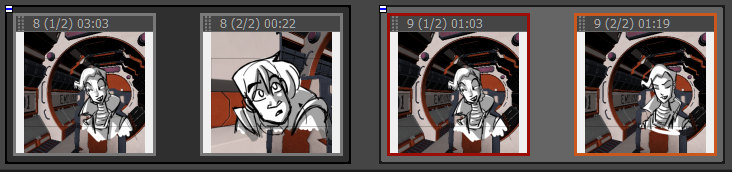
You can easily move panels in the Thumbnails and Timeline views to reorder, separate, or join them. Joining panels will make them part of the same scene.
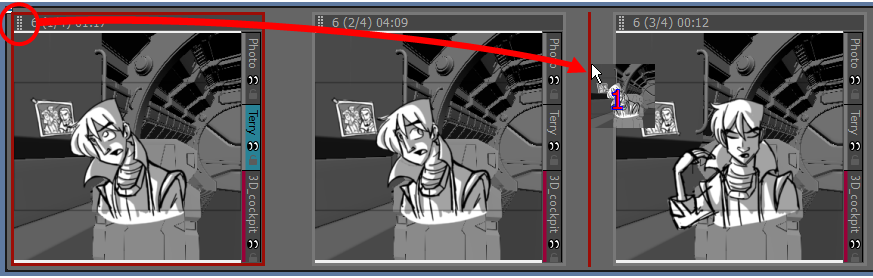
You can reorder panels by clicking on the  drag and drop handle in the top left corner of the panel, then dragging the panel between the two panels where you want it to be moved. A red line will appear between two panels near your mouse cursor to indicate where the panel will be moved.
If you want to move several panels together, you can select them together, then click and drag the drag and drop handle of any panel in the selection. To select several panels in the Thumbnails view, do one of the following:
- Draw a rectangle in the Thumbnails view around all the panels you want to select.
- While holding Shift, click on the first panel you want to add to your selection, then on the last panel you want to add to your selection. Every panel in-between will also be selected.
- While holding Ctrl (Windows) or ⌘ (macOS), click on each panel that you want to add to your selection.
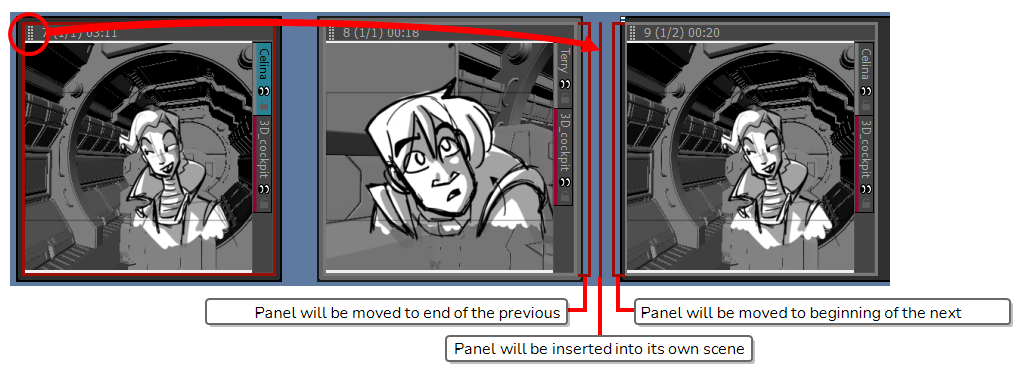
If you move a panel to the space between two scenes, you have the option of attaching the panel to the scene before or after this space, or to drop it into its own new scene. Where the scene will end up depends on how close to either scene you drop it. The red line that appears between the two scenes will indicate whether it will be attached to the scene before or after the space where the panel is being dropped, or moved to its own new scene.
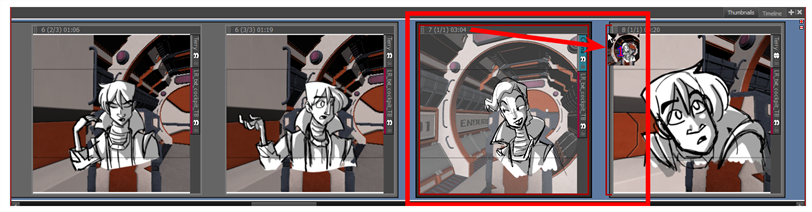
You can join selected panels with another scene. Just drag the panel onto the edge of the scene you want it to attach to, and drop it when you see a right-facing or left-facing bracket appear.
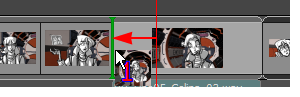
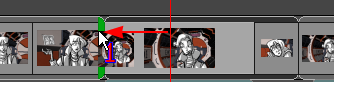
To reorder selected panels in the Timeline view, drag and drop them when you see a green bracket or green shape.
You can drag and drop a selection to remove it from a scene. Just drag the selection out and drop it between two scenes when you see a rounded green rectangle shape appear.
- In the Thumbnails or Timeline view, select one or more panels to move.
- Click the header of the current panel and drag it to the new location.
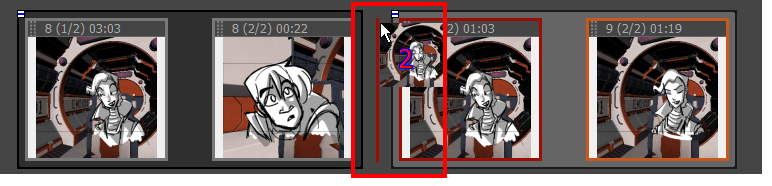
- When you move your cursor, a thumbnail with a number is displayed. The number represents the number of selected panels being moved.
- In the Thumbnails view, a straight red line or a red bracket represents what the movement will do.
- In the Timeline view, a green bracket or a green shape represents what the movement will do.