General Settings (Administrator)
Privileged users (administrators) may view and configure a certain number of site or project wide settings from the main navigation bar > Top Right dropdown > General Settings.
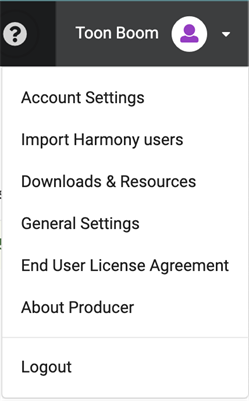
These settings are not available to regular users.
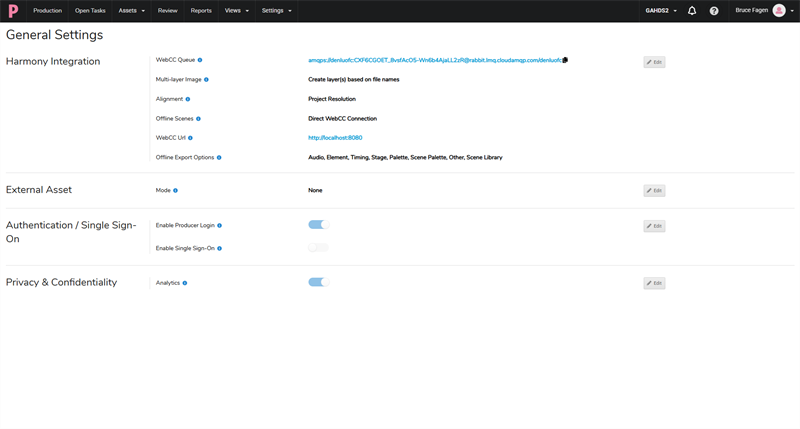
Harmony Integration
Harmony Integration allows configuring preferences when interacting with Harmony.
These settings may be configured per Producer project.
This allows Producer to interact with different Harmony servers, should the need arise.
| Option | Description |
|---|---|
| WebCC Queue | This is the communication channel between Producer and Harmony, and is used as WebCC startup parameter. Refer to Chapter 9.1 - Working with Harmony Database for more information on configuring WebCC. |
| Multi-layer Image | This option is used when assembling multi-layer image assets (such as .psd files) in Harmony. Depending on the chosen option, Harmony will either create a single image, or multiple images based on layer names when copying or pasting the asset in Harmony scenes. Refer to Chapter 8 - Assembly for more information. |
| Alignment |
This option is used when assembling assets in Harmony. Available options: project resolution, fit, pan. Refer to Chapter 8 - Assembly for more information. |
| Offline Scenes |
This option is used for exporting or importing offline scenes when working remotely. It specifies how files will be synchronized between remote users and Harmony server (WebCC). Options:
Refer to Chapter 9.2. Harmony Integration - Working Remotely. |
| WebCC Url |
When Offline Scenes Exchange mode is set to Direct WebCC Connection, specify the url address of WebCC. This address must be accessible to the users working remotely, and it is highly recommended that it is used through a Virtual Private Network. If Shared Exchange option is chosen, this field may be left empty. Refer to Chapter 9.2. Harmony Integration - Working Remotely. |
| Offline Export Options |
This specifies the default options used when exporting a scene while working remotely. These options will be used when clicking on the “Open In Harmony” button |
 from the Production, Assets or Open Tasks pages, or when exporting from Producer Link. These options can be overridden from the More > Export Offline dialog.
To export scripts or master controllers, make sure “Other” option is selected.
from the Production, Assets or Open Tasks pages, or when exporting from Producer Link. These options can be overridden from the More > Export Offline dialog.
To export scripts or master controllers, make sure “Other” option is selected.
External Assets
The External Assets will enable you to dictate the remote folder path that Producer will source your assets.
The Mode you select will decide whether your assets are required to be in a designated Workspace folder or not.
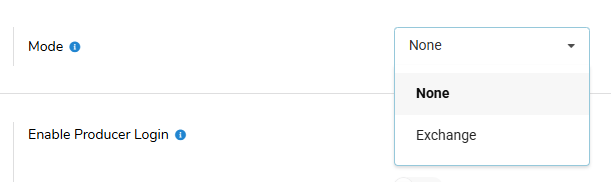
You can select from the two following Modes:
-
None: Will upload assets that reside in a Workspace linked to Producer Link.
-
Exchange: Can upload assets that reside outside of a Workspace linked to Producer Link.
 NOTE In order to use the Exchange Mode, you need to specify a location for the “Remote Folder”.
-
Pattern: The path that your uploaded asset will follow when saved.

-
The Pattern textbox will display the following available options:
-
<type>: asset type code. (e.g.: PSD)
-
<category>: asset category code. (e.g.: BG_LANDSCAPE)
-
<name>: asset name.
-
<process>: The uploaded snapshot process name. (e.g.: BG_Layout)
-
<version>: The uploaded snapshot version. (e.g.: 15)
-
<ext>: The uploaded file extension including the “.” prefix. (e.g.: .psd)
-
NOTE The Pattern option will only appear when the Mode is set to Exchange.NOTE The default Pattern will be pulled from the External Assets section of the General Settings in Producer Link.NOTE The Pattern can be manually modified by the user for any asset created within Producer Web. You can also modify the default pattern in the general settings to be applied to all newly created assets. You can delete or rename portions of the Pattern text. -
-
Click Edit in the External Assets row.
-
Select a Mode from the dropdown.
-
Optionally, Set the Pattern. Doing so will establish a path that your uploaded asset will follow when saved.
NOTE This option is only available when the Exchange Mode is selected. -
Click Save Changes.
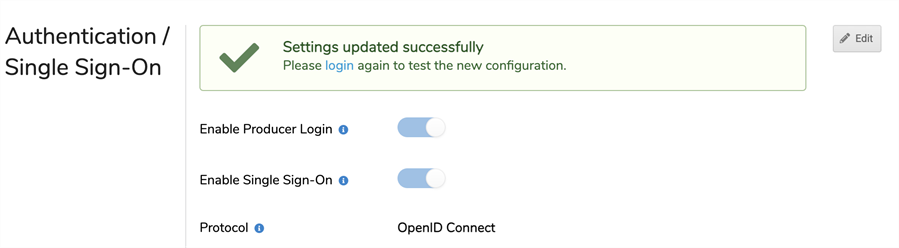
NOTE A Settings updated successfully message will appear.
-
Refresh Producer.
-
Refresh Producer Link.
In addition to changing the Mode in the General Settings, in order to use the Exchange Mode, you will need to set the Remote Storage Folder in the External Assets section of the Producer Link Settings.
Authentication / Single Sign-On
Authentication settings are set globally, and are the same for all projects and users.
Three authentication modes are supported in Producer:
-
Producer Built-In Login/Password
-
OpenID Connect (OIDC)
-
Security Assertion Markup Language (SAML)
OIDC and SAML are two widely used protocols which allow authorizing users to use an application (in this case: Producer) via an external authentication and identity provider service.
Producer Built-In Login
To enable Producer Login, simply ensure that the option is selected.

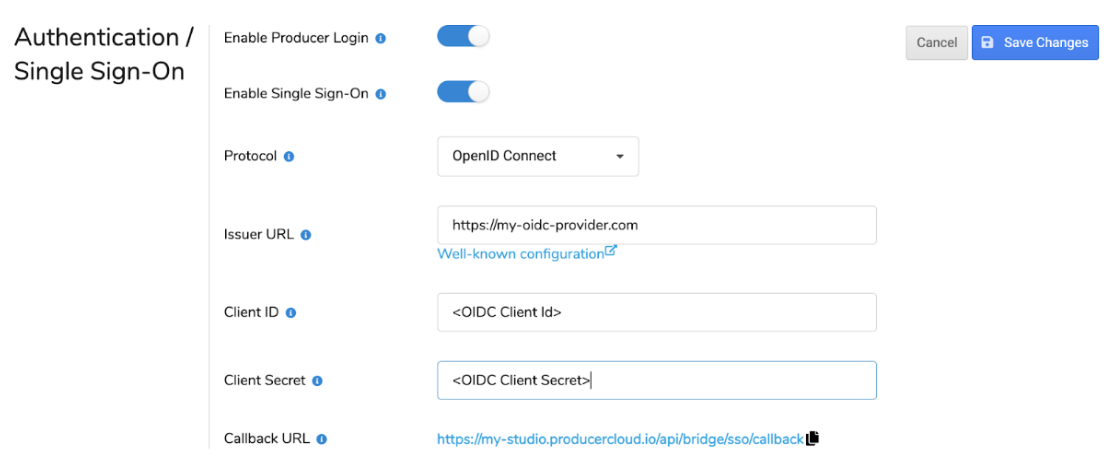
OpenID Connect (OIDC)
Before proceeding, verify with Producer’s Customer Service and your own IT department that the chosen provider is supported.
| Option | Description |
|---|---|
| Protocol | Single Sign-On protocol: OIDC or SAML |
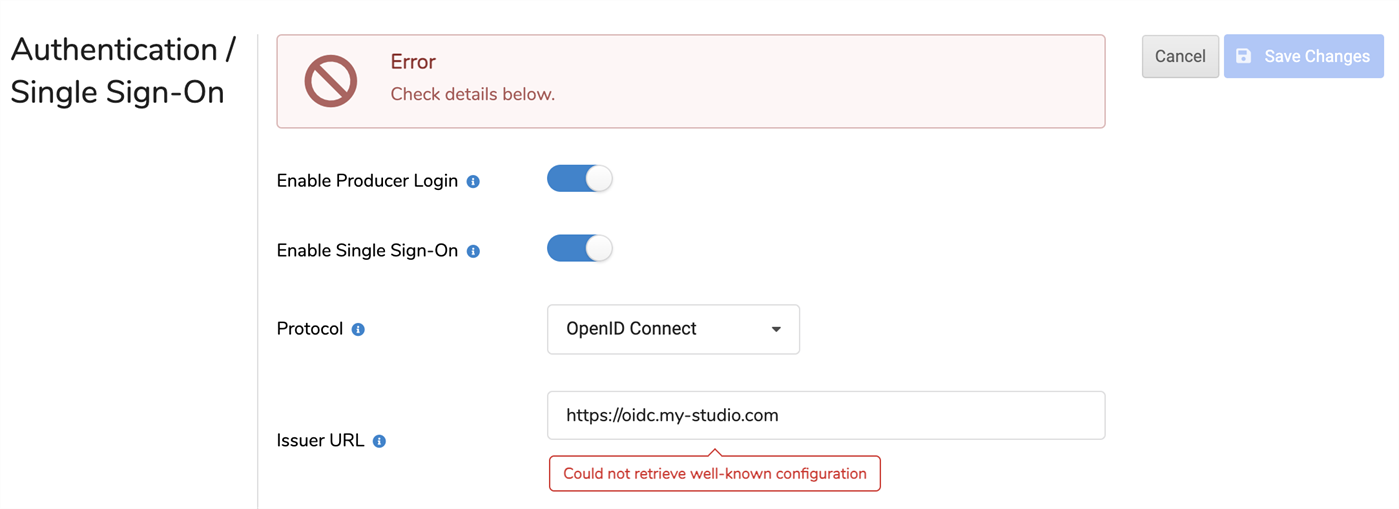
| Issuer URL |
OIDC provider issued. This URL is the base address of the OIDC service provider (and should be retrieved from this service). If properly configured, the Well-known configuration link underneath should open a valid file containing addresses (endpoints) to perform various operations. |
| Client ID | OIDC provider issued. Copy this option from your OIDC provider configuration. |
| Client Secret | OIDC provider issued. Copy this option from your OIDC provider configuration. |
| Callback URL | Producer issued. Add this url to the list of authorized callback urls in your OIDC provider configuration. Once authenticated by the OIDC service, clients will be redirected to this Producer url, and authenticated in Producer. |
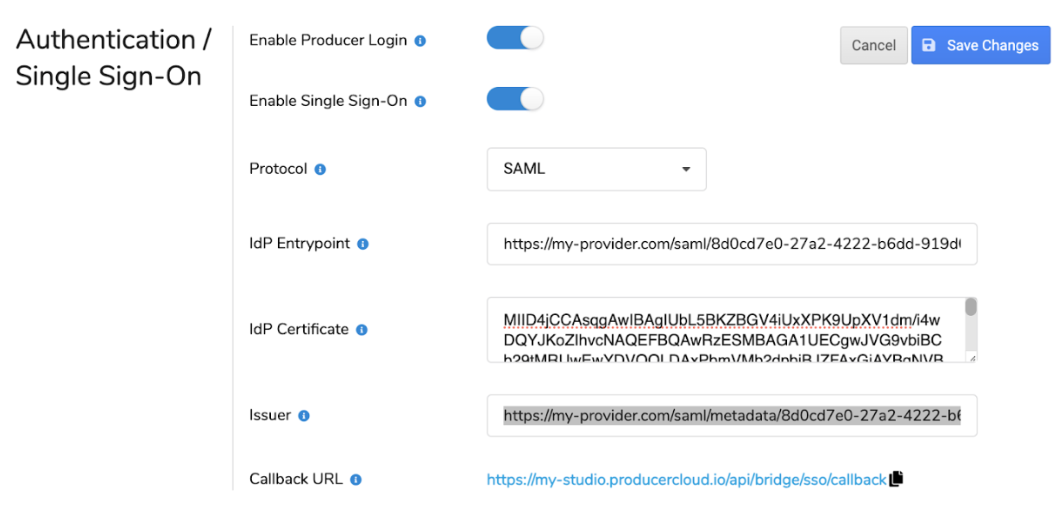
SAML
| Option | Description |
|---|---|
| Protocol | Single Sign-On protocol: SAML |
| IdP Entrypoint | SAML provider issued. Identity Provider (IdP) entrypoint URL. |
| IdP Certificate | SAML provider issued. Identity Provider (IdP) base 64 encoded certificate. Must be entered on a single line. |
| Issuer | A unique identifier shared between Producer and SAML Identity Provider (IdP). It may be issued by IdP, or you may choose your own. |
| Callback URL | Producer issued. Add this url to the list of authorized callback urls in your SAML provider configuration. Once authenticated by the SAML service, users will be redirected to this Producer url, and authenticated in Producer. |
How-To
-
Click on the “Edit” button
-
Enable Single Sign-On
-
Protocol: Select OpenID Connect.
-
Fill-in OIDC provider issued settings: Issuer URL, Client ID, Client Secret
-
Copy Producer Callback URL and add it to your OIDC provider administration interface list of callback URLs
-
Click on “Save Changes” button
(To cancel, click “Cancel”...)
-
Click on “Save Changes” button.
-
Upon successfully saving, administrator will be asked to verify the new login settings. See Validating Single Sign-On configuration.
If an error is encountered, an error will be displayed instead:
-
Click on the “Edit” button.
-
Enable Single Sign-On.
-
Protocol: Select SAML.
-
Fill-in SAML provider issued settings: Entrypoint, Certificate (and potentially: Issuer).
-
Copy Producer Callback URL and add it to your SAML provider administration interface list of callback URLs
-
Click on “Save Changes” button
(To cancel, click “Cancel”...)
-
Click on “Save Changes” button.
-
Upon successfully saving, user will be asked to verify the new login settings. See Validating Single Sign-On configuration.
Any error filling in or saving settings will be displayed on screen.
-
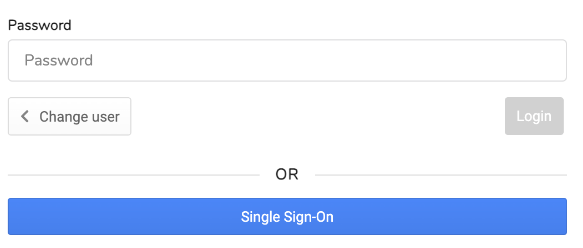
Upon clicking on the login link, the administrator will be redirected to Producer Login page. After filling-in their username, they will be prompted for their Producer password, or given the option to use Single Sign-On.
-
Click on “Single Sign-On” button. User should be redirected to the chosen Single Sign-On Service. If successful, user will be automatically logged in Producer.
-
After a successful login, the administrator may go back to the General Settings page and disable Producer Login.
NOTE The same login options apply to all users, except administrators.
Privacy & Confidentiality
A single setting is currently available.
| Option | Description |
|---|---|
| Analytics |
Authorizes tracking of users actions in Producer Web Interface and Producer Link. This option is enabled by default. No personal information is recorded. Refer to Toon Boom End User License Agreement and general policies for more information. |