Uploading an Asset
Upload scripts, characters, backgrounds and 3D models to help visually assist your task workflow.
Users with administrative privileges can create one or more assets at a time.
- In the top menu, click Assets > Manage.
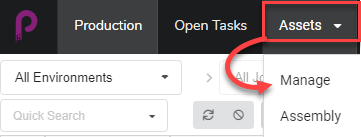
The assets list opens.

- In the toolbar above the asset list, select Create Asset.
The Create Asset dialog box appears.

- Upload a thumbnail for your asset by clicking and dragging your file into the Drop Files Here box.
- In the Name field, type in a name for your new asset. It must be unique or else an error will occur.
- OPTIONAL: Link a Harmony Scene asset by checking the box.
New fields appear. Fill in the Environment name, Job name, Scene name and Version of Harmony fields to link the asset from an existing Harmony scene.

NOTEThis does not create a scene on the Harmony Server, it only links to an existing scene.
OR
Check the Harmony Standalone box to link to an asset from a standalone version of Harmony.
New fields appear where you can enter in the Workspace ID and Relative Path.
- In the Description field, type in a description for the asset.
- In the Type drop-down menu, select what type (3D Model, Image, etc.) of asset you intend to upload.
- In the Category drop-down menu, select a category (Bg, Main Character, etc.) for the asset type .
- In the Workflow drop-down menu, select your workflow (background, character or prop).
- In the Tags field, type any words you would like to associate with the asset that can later be used in searches. Hit Enter after typing each tag to validate it.
- In the Assembly section, from the Environment drop-down menu, select an environment.
The Jobs drop-down menu is enabled.
- In the Assembly section, from the Jobs drop-down menu, select a job.
- To save your new assets, click the Add Asset button.

Your assets are now available in the asset list.