Creating Workflows
Creating a new workflow includes a series of subtasks. To simplify the process, it may be a good idea to start from an existing workflow—see Duplicating Workflows.
To create a completely new workflow, follow this procedure.
To add nodes to your workflow and connect them, see Adding Nodes to Workflows and Connecting Nodes.
- In the main menu, select Settings.
The Project Settings tab opens.
- Select the Workflows option.
The Workflows tab opens.
- Click Add.
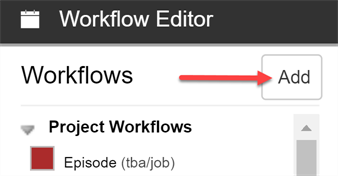
The Add New Workflow dialog box opens.
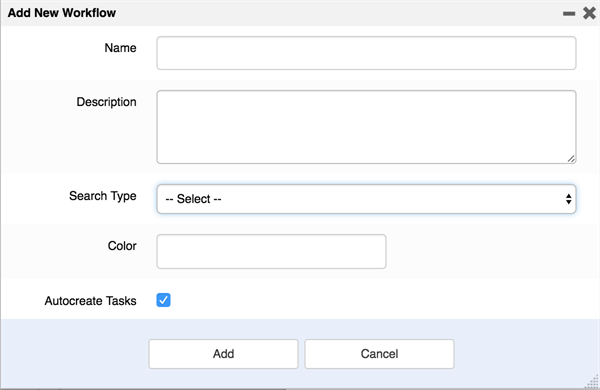
- In the Name field, enter the name of the new workflow.
- In the Description field, type the workflow description.
- In the Search Type drop-down menu, select the type of item to which this workflow applies. For a scene, select Scene (tba/scene). For an asset, select Asset (vfx/asset).
- In the Colour field, use the colour picker widget to select an identification colour.
- Click Select to confirm the colour selection.
NOTEWe recommend that you leave the Autocreate Tasks option enabled. This means that when items are created using this workflow, the tasks will be created automatically.
- Click Add to create the workflow.
- In the Workflows list, select the new workflow.
The workflow appears in the editor.
- Click on the Create First Node icon to create the first node.

- Right-click on the node and select Rename Node.
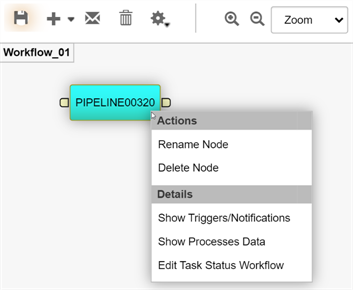
- Type the new name. DO NOT USE SPACES. USE UNDERSCORES.
- Press Enter to validate the name.
- Click on the Save
 icon to save the changes. The Save icon has an orange glow
 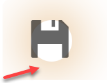 whenever a change has been made to a workflow.