Configuring Harmony Clients
The following procedure demonstrates how to mount the /USADATA and the /USA_DB server directories, on a Mac OS X X 10.6 or 10.7 workstation, as NSF Shared points.
To mount NFS Export on Mac OS X 10.6 and 10.7 Clients do the following:
| • | Renaming your existing /USA_DB and /USADATA directories |
| • | Configuring the Mounts using the Disk Utility |
Renaming your existing /USA_DB and /USADATA directories
Before starting, you must rename these directories if you want to keep their contents.
To rename /USA_DB and /USADATA local directories:
| 1. | Open the Terminal. |
| 1. | From the Finder go to Application > Utilities and double-click Terminal. |
| 2. | Rename the local USA_DB and USADATA directories, by typing the following: |
sudo mv /USA_DB /USA_DB.BAK
sudo mv /USADATA /USADATA.BAK
Configuring the Mounts using the Disk Utility
| 1. | In the Finder go to Application > Utilities and double-click on Disk Utility. |
| 2. | In Disk Utility, click on File > NFS Mounts. |
The NFS Mounts window opens.
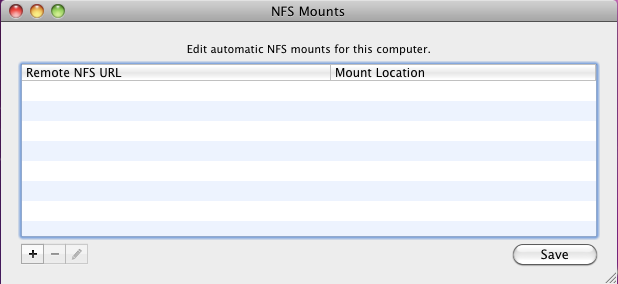
| 3. | Press the [+] button in the toolbar below the panel. |
| 4. | In the Remote NFS URL field type the following: |
nfs://[server name]/USA_DB
| 5. | In the Mount Location field type the following: |
/Volumes/USA_DB
| 6. | If the workstation is going to be connecting to a Linux server, you must edit the Advanced Mount Parameters. In the Advanced Mount Parameters field, type: |
resvport
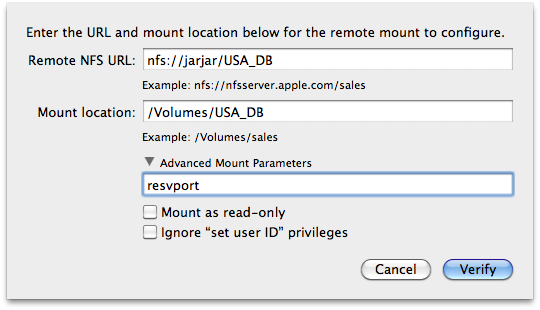
| 7. | Click on the Verify button. |
| 8. | Click on the OK button on the message that confirms that NFS server is functional. |
| 9. | Repeat Press the [+] button in the toolbar below the panel. through Click on the OK button on the message that confirms that NFS server is functional., but enter the following for the Remote NFS URL and Mount Location: |
nfs://[server hostname]/USADATA
/Volumes/USADATA
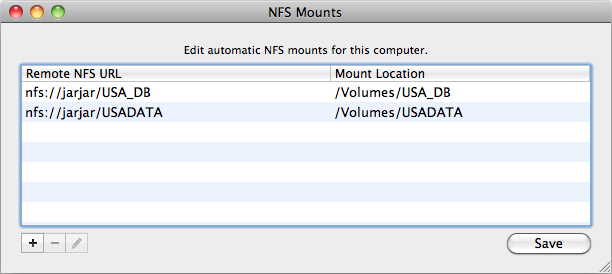
| 10. | Press the Save button and enter your user password to confirm the changes. Note that on Mac OS X 10.7 there is no save button. Changes are automatically saved and applied when the NFS Mounts window is closed. |
| 11. | Quit the Disk Utility. |
| 12. | Open a new Terminal window. |
| 13. | Verify that the /USA_DB and /USADATA shared points have been mounted properly: |
ls /Volumes/USA_DB
and
ls /Volumes/USADATA
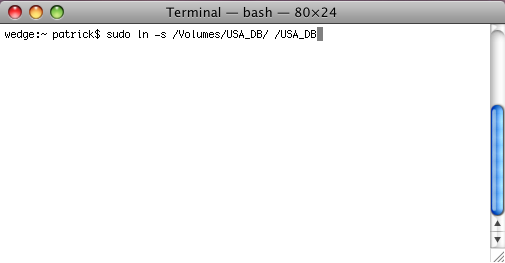
| 14. | Create symbolic links to the USA_DB and USADATA directories at the root level / |
sudo ln -s /Volumes/USA_DB /USA_DB
sudo ln -s /Volumes/USADATA /USADATA
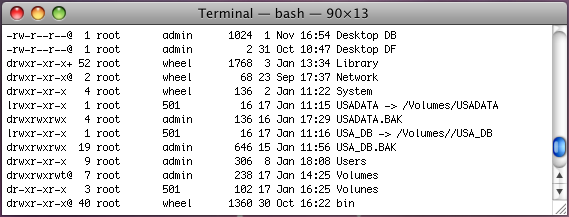
| 15. | Verify that the symbolic links are pointing to the right directories: |
ls -l /
The symbolic links for the /USA_DB and /USADATA should look like the following:
USADATA -> /Volumes/USADATA
USA_DB -> /Volumes/USA_DB
Related Topics
| • | Troubleshooting |