Expand Image Window
The Expand Image window is where you can view the output image that has been processed. This will allow you to preview how the AI has interpreted the expansion of your image. The AI will process your image and add what it believes would exist when creating new pixels.
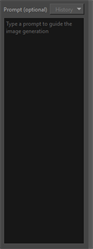
In the Expand Image window you have the option to add AI prompts to your expanded image. The option will be available regardless of whether you opted to add a prompt when expanding your initial image. You can input text into the Prompt window and apply it to your expanded image by generating a new output.
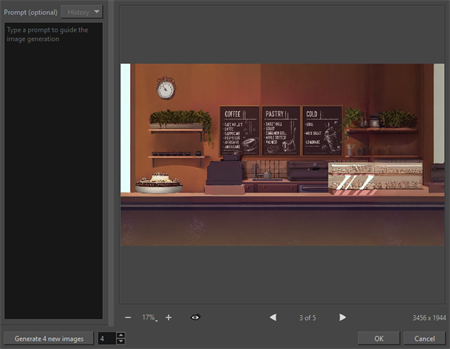
You may also generate multiple outputs at once from the Expand Image window. You can select a number from the number box and click the Generate New Images button.

Once you click Generate New Images, The Expand Image window will read what you have input into the Prompt textbox and create new outputs using what was entered. At any time you can change the prompts, add prompts or select a previously used prompt from the History list.
This will output the designated number of preview images as selected. To view the new generated images, you can use the previous image and next image command to cycle through the different generated images.

Whatever is written into the Prompt textbox will be additive. The AI processor will interpret what is written when generating new content for the expanded section of your image. For this reason, it is important to be specific when writing text into the Prompt textbox so that the AI can more accurately interpret your vision.
Any text written into the Prompt textbox will be saved in the History dropdown list. When utilizing AI prompts on other images, you can access the history to use the same prompts or other saved prompts that have been previously input.
By generating multiple outputs, you can review other ways that the image may be processed. The original image will be processed again and new images will be output in the Expand Image window. You can compare the images that are generated to the original by clicking the  Show Original Image icon or by pressing Alt. Each new image is kept on the disk until the Cancel or OK command is selected. When you click OK, the current image in the preview is the image that will be rendered.