Elements don't need to be created in the Control Center, they can also be created in the Scan application.
- Start the Scan application and log in to the database with your username.
The Database Selector dialog box opens, displaying the Environments available from the Harmony database.
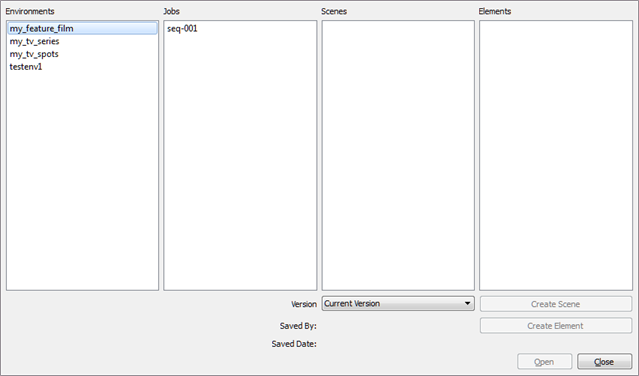
- Select the Environment, Job and Scene in which you want to add elements.

- Click Create Element.
If your system administrator did not complete the resolution configuration tasks, a warning message displays. This message notifies you that the resolution.conf file was not properly inserted in the configuration folder.
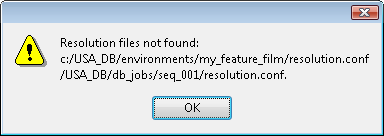
- Click OK.
The Scan application opens and the Create Element dialog box opens.
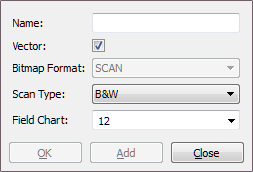
- In the Name field, type the new element’s name.
- Select Vector option if the element is to be vectorized.
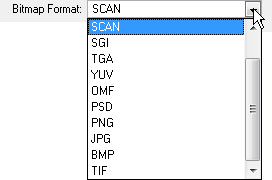
- Select the bitmap format of your element; this list is only available if you did not select the Vector option.
- Select a scan type.
- Colour: Creates a colour bitmap element.
- Greyscale: Creates a greyscale bitmap element.
- B&W: Creates a vector-based element that is going to be painted using the Harmony or Paint modules.
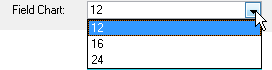
- Select the field chart size of your element.
- When you're done:
- Click OK to add the element and return to the Database Selector.
- Click Add to add the element and keep the dialog box open to add more.
- Click Close to cancel and return to the Database Selector without adding an element.