The Master Controller Stack Wizard dialog box allows you to create a Master Controller that combines a 2D point widget, which can be used to position a character model based on a grid of poses, and a Slider widget, which can be used to select one of many grid of poses to apply to your character.
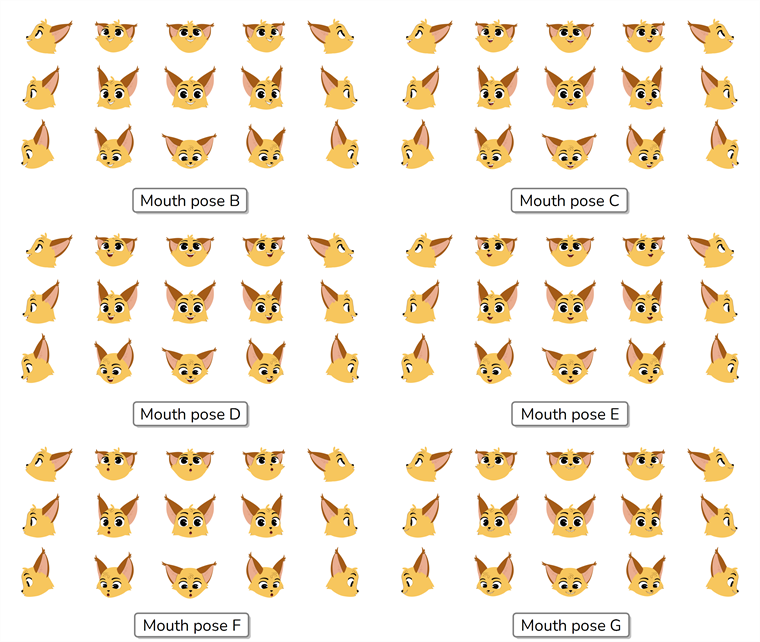
The best example usage for the Stack Wizard is if you want to create a 2D point that allows you to set the direction in which your character is looking, but you also want another widget to control the mouth pose of the character.
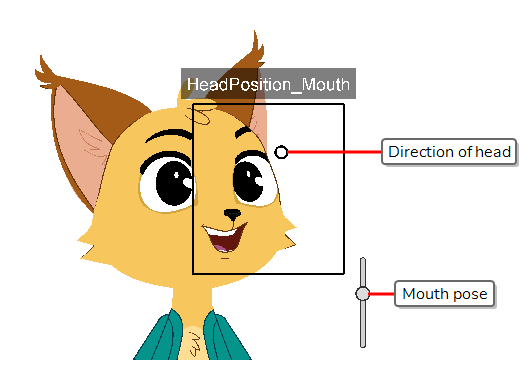
You can accomplish this by creating a series of head poses of your character looking in every direction, which would be used for the base grid, and then create a variation of all of these head poses for each mouth pose you want your character to have. Stacked together, the base grid and all of its variations would make a cube, hence the name Stack.
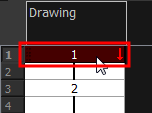
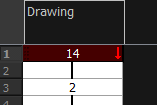
When you create your series of head poses for a grid in the Stack Wizard, you will create another series for another grid in the stack. The new series you create will contain the same head poses, but they will have different mouth positions. To create another version of the series of head poses, you will need to make another copy of your series in another space in the Timeline and make only alterations to the mouth pose. If you have copied and pasted the series, you may find that the alteration will apply to the previous series of head poses as well. To avoid this and keep the original mouth poses in tact, you will need to duplicate the drawing.
- In the Timeline
- Do one of the following:
- From the top menu, select Drawing > Duplicate Drawings.
- Right-click and select Drawings > Duplicate Drawings.
- In the Xsheet toolbar, click the Duplicate Drawing
button.
- Press Alt + Shift + D.
Once you've finished creating your sets of character poses, you need to select the layers and/or groups you want your Master Controller to control. In this case, it would be all the layers making the character's head. Then, you can open the Stack Wizard.
-
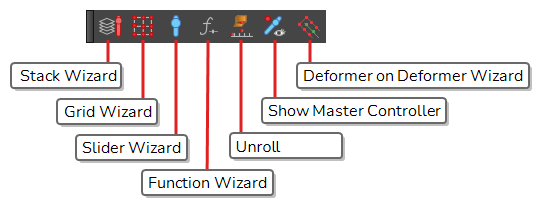
Do one of the following to add the Master Controller toolbar to your workspace:
- Right-click on an existing toolbar and select Master Controller.
- In the top menu, select Windows > Toolbars > Master Controller.
The Master Controller toolbar appears.
-
In the Timeline view, select the layers and groups you want your Master Controller to control.
NOTE If you select a group, all of the layers inside it will be added to the list of layers your Master Controller will control. - In the Master Controller toolbar, click on the
 Stack Wizard button.
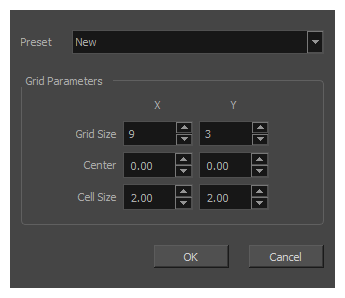
The Wizard will start out by displaying the Load Preset dialog, in which you can specify the vertical and horizontal size of your grid in Grid Parameters.
| Parameter | Description |
|---|---|
| Preset | Allows you to select and load a grid preset you previously created. If you have not created any, you can ignore this drop-down and set up a new grid in the fields below. |
| Key Poses |
The numbers of columns and rows with which to create the grid of poses. The product of these two amounts is the amount of poses you will need to provide to the Grid Wizard. |
| Center | The coordinates of the centre of the grid, relative to the centre of the scene, in horizontal and vertical fields. |
| Cell Size | The size of each cell in the grid, in horizontal and vertical fields. |
| OK | Dismisses the Grid Parameters dialog box and creates the grid with the selected parameters in the Grid Wizard dialog box, so that you can start configuring the points in the grid. |
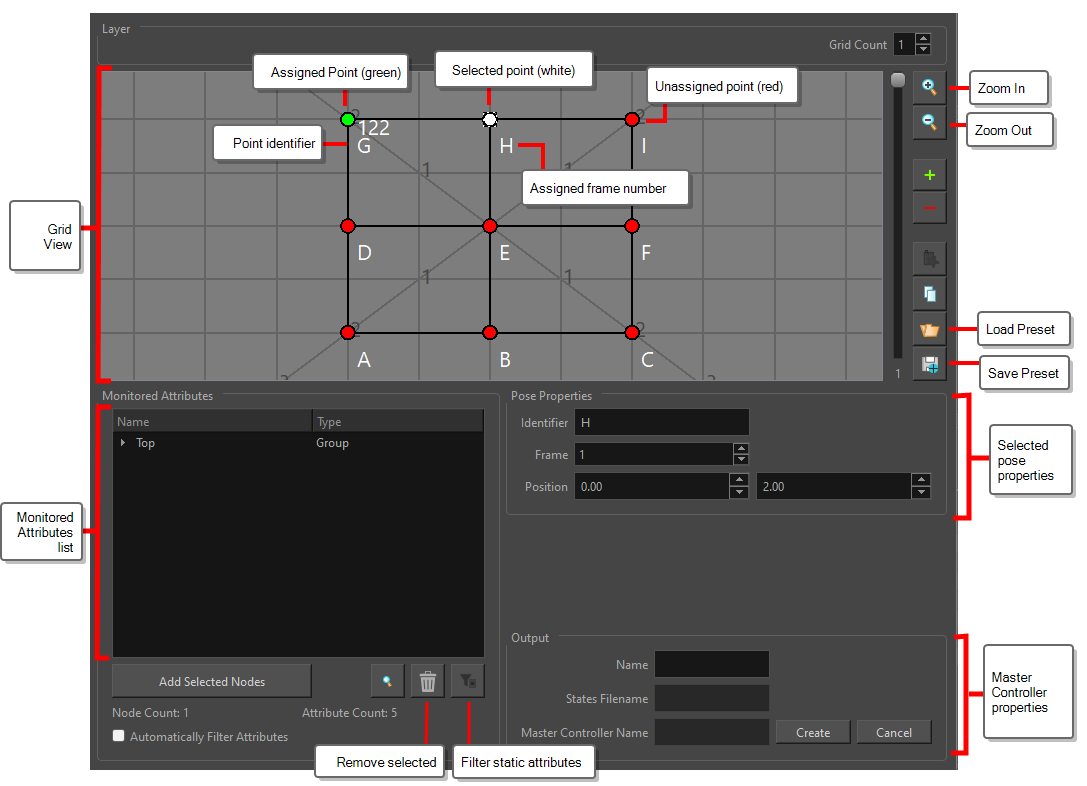
As you can see, the Stack Wizard is very similar to the Interpolation Grid wizard, except that you can enter the amount of grid layers you want your cube to have, and select which layer of the cube you're editing using the navigation bar to the left.
| Icon | Parameter | Description |
|---|---|---|
| Grid | ||
| Grid View |
Displays the grid of poses. Each point in the grid is represented by a coloured dot:
You must fill each point in the grid with poses, until they are all green, before you can create your Master Controller. To fill a point, simply click on it to select it. This will make the Select Frame dialog appears, in which you can type in the frame number to associate the point to. Selecting a point makes the State Properties section of the dialog appears. In this section, you can change the identifier and the frame number of the point, and you can also modify its position in the grid. The grid is laid out over a standard 12 fields 4:3 animation grid. This grid is the same grid that displays in the Camera view if you add a Grid node to your scene. Hence, by adding a Grid node to your scene, you can use it as a reference to align the grid with specific areas in the scene. You can pan around the grid view by clicking and dragging on it. |
|
|
|
Zoom In |
Zooms into the grid view. |
|
|
Zoom Out | Zooms out of the grid view. |
|
|
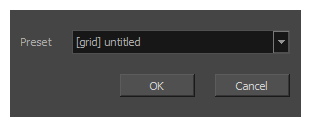
Load Preset |
Opens the Load Preset dialog. In this dialog, you can load a grid preset, or create a new grid.
To load an existing preset, select it in the Preset drop-down. To create a new grid from scratch, select New in the Preset drop-down instead. If you click OK, the selected grid will be loaded into the Grid Wizard, replacing the current grid and discarding any work you put on it. If you click Cancel, you can resume working on the currently loaded grid. |
|
|
Save Preset |
Saves the current grid and all of its properties as a grid preset. This allows you to quickly reload the current grid's size, its centre point, its cell size, as well as each point's assigned frame and other properties into the Grid Wizard later, when you want to create another 2D point widget. This can be very useful if you create several character models in different scenes, with the same poses at the same frames. You can select a grid preset to use in the Grid Parameters dialog that appears when you open the Grid Wizard. |
| Monitored Attributes | ||
| Attribute List |
The list of nodes (ie: layers, pegs, deformation points, etc.) that will be affected by the Master Controller. If you expand any of the listed nodes, you will find the list of attributes (ie: position, angle, scale, etc.) The list is structured in a group/node/attributes hierarchy, with Top representing the root of your scene. By expanding a group, you will find all of the nodes inside that group. By expanding a node, you will find all of its attributes. |
|
| Add Selected Nodes |
If you first select groups nodes in the Timeline or Node view, you can click on this button to add these nodes' attributes to the Monitored Attributes list. This allows you to add more nodes to the list of nodes that will be controlled by the Master Controller. If you select a group, this button will add the group as well as every node inside that group to the Monitored Attributes list. |
|
|
|
Remove Selected Items |
Removes the groups, nodes or attributes that are currently selected in the Monitored Attributes list from the Monitored Attributes list. This allows you to remove nodes from the list of nodes that will be controlled by the Master Controller. If you select a group, this button will remove the group as well as every node inside that group from the Monitored Attributes list. If you select specific attributes in a node, this button will only remove these attributes from the Monitored Attributes list, and will leave the other attributes in the list. This allows you to make the Master Controller only control specific attributes for a node and ignore others. |
|
|
Filter Static Attributes |
Remove every attribute that does not change across any of the poses added to the grid. This will optimize the performance of the Master Controller as well as reduce the amount of storage space it uses without impacting its functionality. NOTE This option can only be used once you have filled your entire grid with poses.
|
| Node Count | The amount of nodes (layers, pegs, deformation points, etc.) that will be controlled by the Master Controller. | |
| Attribute Count | The amount of attributes (position, angle, scale, etc.) that will be controlled by the Master Controller. | |
|
Pose Properties |
||
| Identifier | Allows you to type in a custom label for the currently selected point. | |
| Frame | Allows you to view and update the frame number (pose) associated with the currently selected point. | |
| Position |
Allows you to update the position of the selected point on the grid, in horizontal and vertical field coordinates. By default, all points in the grid are created to be at an equal distance from one another. By using these fields to edit the position of points, you can make a fully customized grid. |
|
| Output | ||
| Name | Allows you to enter the name for the Master Controller node that will be created at the end of the process. | |
| States Filename |
Displays the name of the corresponding states file name, based on the Master Controller node name. The attribute values of the associated poses are recorded in an external file. When the Master Controller node is created, the matching states file is created. |
|
| Master Controller Name | Displays the complete Master Controller node name including the mc_ prefix. |
|
| Create | Generate the Master Controller and its database of poses. | |