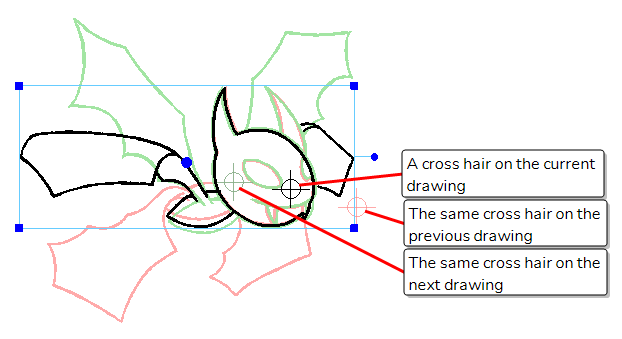
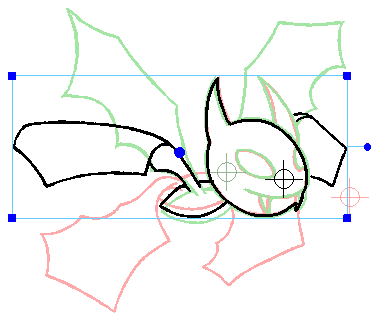
Cross hairs are visual indicators that you can add on drawings when using the Shift and Trace tool. A cross hair added to a drawing will appear in the same position on other drawings in the layer, unless that drawing is shifted. When shifting a drawing with the Shift and Trace tool, the cross hair moves along with it. Hence, this can serve as a quick visual indicator of how much the current drawing and the other drawings in the Onion Skin are offset from each other.

Another use for cross hairs is that you can use them to select drawings with the Shift and Trace tool. Without cross hairs, you can select one of the drawings that are visible in the Camera view by holding the Ctrl (Windows/Linux) or ⌘ (macOS) key and clicking on its artwork. With cross hairs, you can also change the selection by holding the Ctrl (Windows/Linux) or ⌘ (macOS) key and clicking on a drawing's cross hair.
- Do one of the following:
- In the Tool Properties view, click on the Set Add Cross Hair Mode
button.
- In the Shift and Trace toolbar, click on the Set Add Cross Hair Mode
button.
- In the Tool Properties view, click on the Set Add Cross Hair Mode
- In the Timeline or Xsheet view, select the drawing on which you want to add cross hairs.
-
In the Camera view, click on the location where you want to add a cross hair.
A cross hair is added where you clicked on every drawing in the current layer. On drawings that are offset with the Shift and Trace tool, the corresponding cross hair is also offset.
