Importing for a CryptoMatte Node
When importing a CryptoMatte supported EXR file into the software, it is important to know the parameters that were set at the time of export.
-
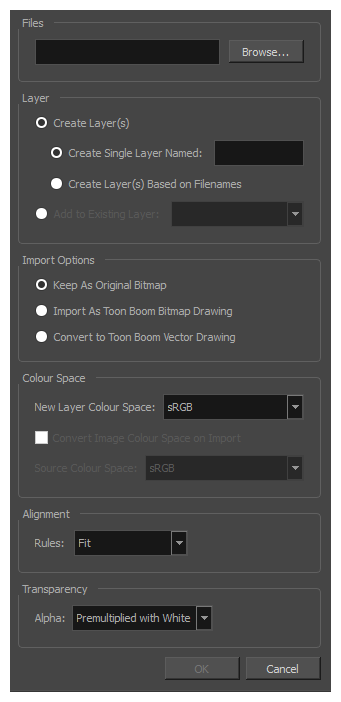
In the top menu, select File > Import > Images.
The Import Images dialog box opens.
-
Click Browse to find your desired EXR file.
-
In the Layer section, check Create Single Layer Named. Optionally, you may rename the layer.
-
Check Keep as Original Bitmap.
-
Set the Colour Space, Alignment, and Transparency.
-
Click OK.
The Multilayer Image Import Settings box will appear. You will need to do the following:
-
Set Create to Single Layer.
-
Set the Transparency.
-
Click OK.
-
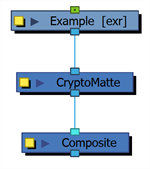
A new Read node using an EXR file as a source will be created in the Node view.
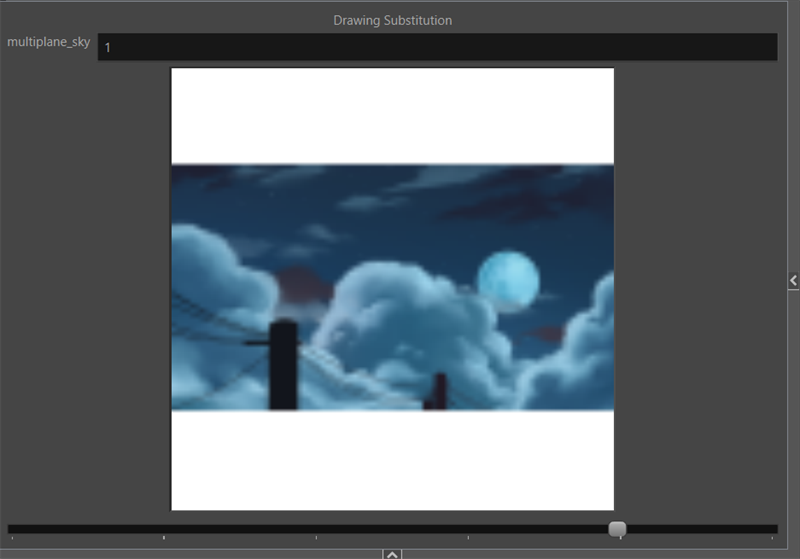
It is preferable to import the EXR file as a single layer so that all the channels and layer information are together in a single place. The different channels in the EXR file are available as drawing substitutions. Initially, the CryptoMatte layers in the EXR will be provided as colour-channel pairs, but the CryptoMatte Node can be used to select particular channels and isolate the specific matte by its ID.
Separating the file into various layers would be more suited for flat rendered files being batch imported. However, EXR and CryptoMattes are used to keep the scene decluttered and on a single layer to simplify the compositor’s workflow.
It is crucial to check the Keep Original Bitmap option when importing a CryptoMatte supported EXR. The other options will flatten the channels and import as a TVG file, which is not compatible with the CryptoMatte Node.
Once the EXR is imported, you can add a CryptoMatte Node to the network between the composite and the EXR node.
-
In the Node library, search CryptoMatte Node and drag it to the Node View.
-
Insert the CryptoMatte Node into the chain between the EXR and the composite.