T-ANIMPA-003-010
You can create a template from both the Timeline and Node views. When creating templates of 3D objects, all associated textures linked to Maya files will be incorporated into the template.
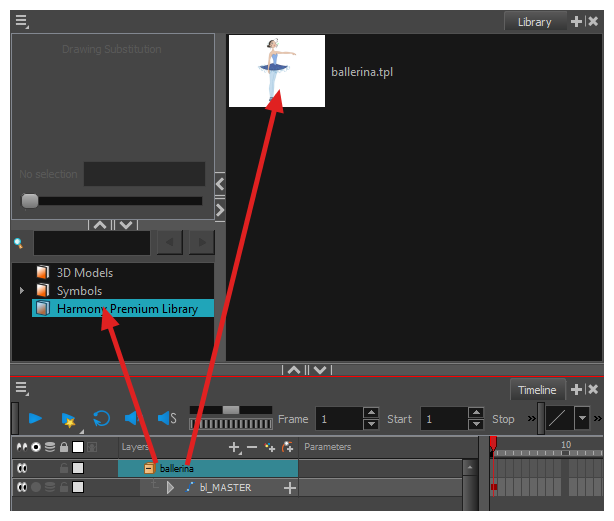
- In the Timeline view, select some cells or layers.
You can create a template from a whole hierarchy of layers by collapsing the hierarchy and selecting its root layer. This can be useful for creating templates based on character rigs or scene backgrounds.
- In the Library view, select a folder to store the template. By default, you will have a library named Harmony Premium Library , which is stored on your computer, in the Toon Boom Harmony Premium Library subfolder of your Documents folder.
- If the library folder is
locked , right-click and select Right to Modify.
- Drag the selection to the chosen library folder.

- In the Rename dialog box, give the new template a name.
- Click OK.
- In the Library view, select the folder in which you want to store the template.
- If the library folder is
locked , right-click and select Right to Modify.
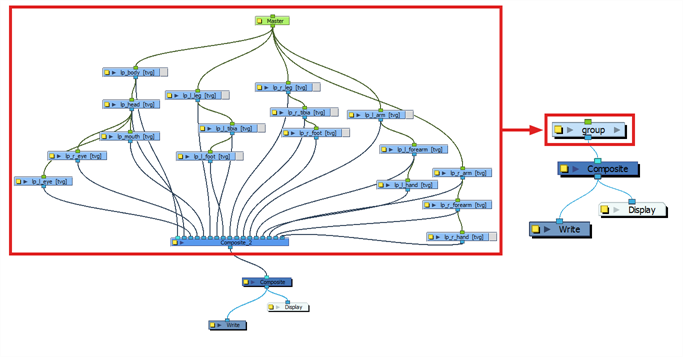
- In the Node view, select the nodes for creating the template and group them. It is very important to group your cut-out character rig before storing it in the Library, so your files are organized.
- From the top menu, select Edit > Group > Group Selected Layers or press Ctrl + G (Windows/Linux) or ⌘ + G (macOS). Make sure you have a composite under the connections before grouping, otherwise there will be numerous connections going outside the group.

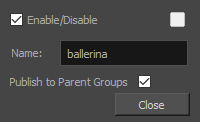
- In the Node view, click on the group node's yellow button to open the Layer Properties window.

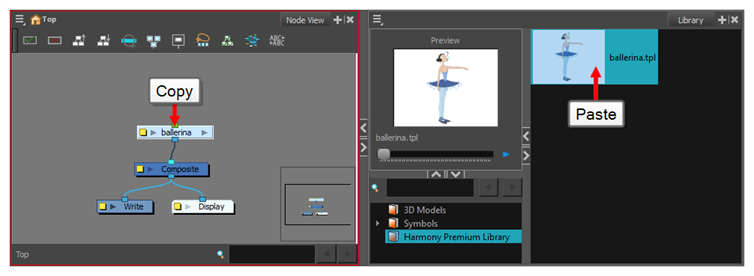
- In the Node view, select the group node and copy and paste it inside the template folder in the Library view or press Ctrl + C and Ctrl + V (Windows/Linux) or ⌘ + C and ⌘ + V (macOS).

- In the Rename dialog box, give the new template a name and click OK.
