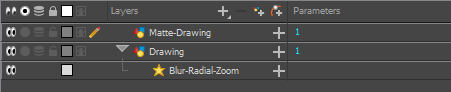
T-COMP2-003-006
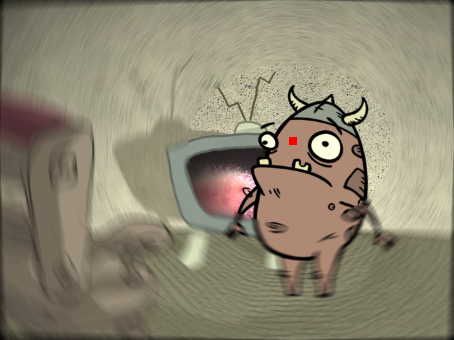
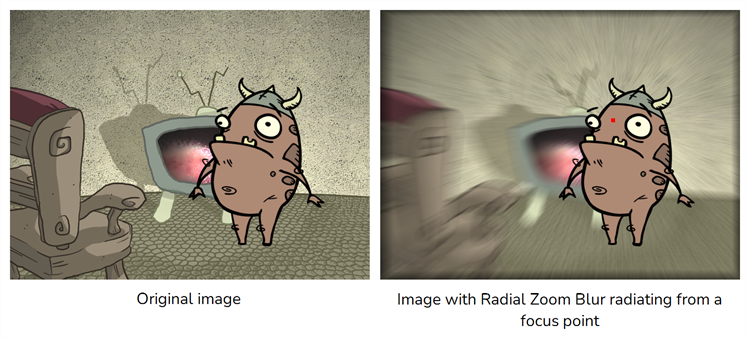
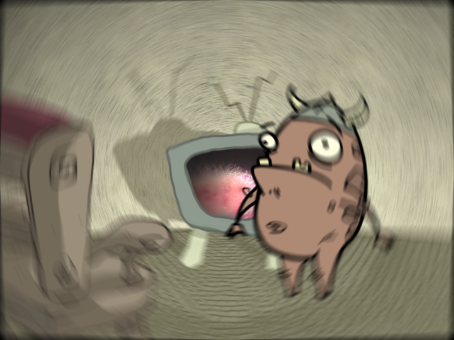
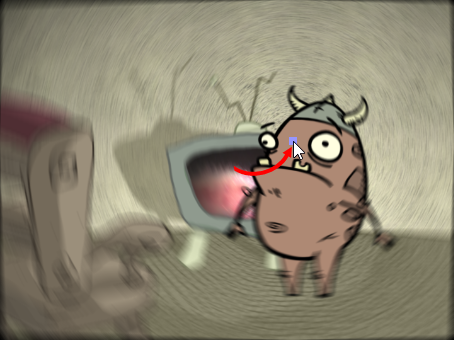
The Blur - Radial Zoom effect creates blurs around a centre point, simulating the look of a zooming or rotating camera. You can use a matte to isolate the area of the image from which you want the effect to radiate from. For example, in the illustration below, a circular matte was created to mask the eyeball and a Negate effect was applied so the blur is outside the matte. Then the centre point was positioned on the character's iris, which is the centre of the matte.
For a detailed video tutorial by Adam Phillips, see
https://www.youtube.com/watch?v=mHAnqqM2PyE
- In the toolbar at the bottom of the Camera view, click on Render View
 .
. - Do one of the following:
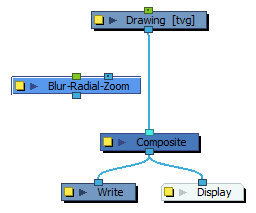
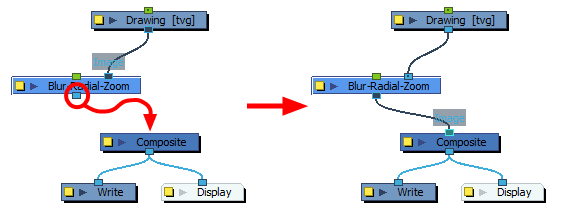
- From the Node Library view, drag a Blur-Radial-Zoom node to the Node view.
- Right-click in the Node View and select Insert > Filter > Blur > Blur-Radial-Zoom.
-
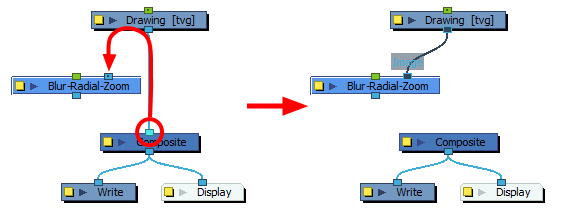
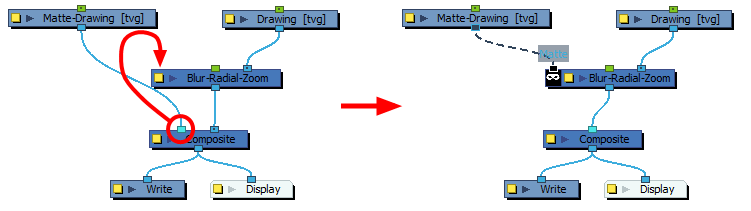
Click on the port connecting the composite to the drawing node, and drag the cable to the right-most (Image) input port of the Blur-Radial-Zoom node.
-
Click on the output port of the Blur-Radial-Zoom node and drag it to the composite to connect the effect to the composite.
-
On the Blue Radial Zoom node, click on the Layer Properties
 icon to open the node's Layer Properties dialog.
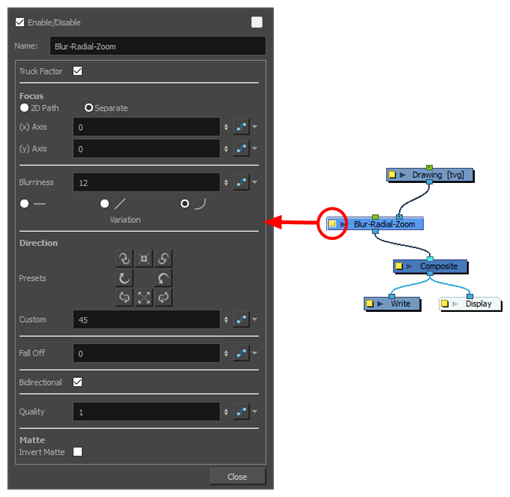
-
In the Layer Properties dialog, increase the Blurriness value.
- In the Direction section, click on any of the direction presets to modify the direction of the blur. Each preset button has an icon that represents the results of the preset.
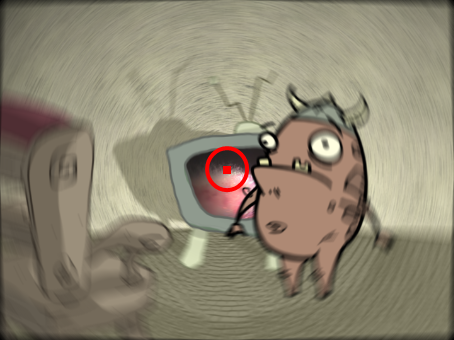
- In the Node or Timeline view, select the Blur-Radial-Zoom node.
-
In the Camera view toolbar, click on the Show Control
 .
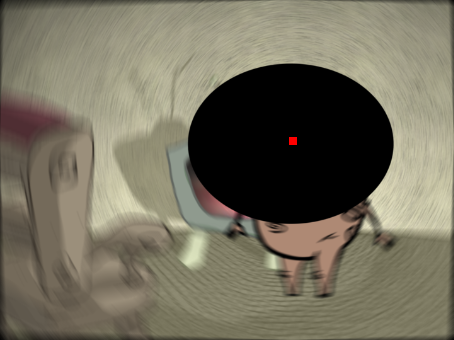
.A red dot appears in the middle of the Camera view. This dot determines the focus (centre)of the radial-zoom blur effect.
- In the Tools toolbar, select the Transform
 tool.
tool. -
Click and drag on the red dot to position it where you want the focus of the radial-zoom blur effect to be.
- In the toolbar above the layer list in Timeline view, click on the Add Layer
 button and select Drawing.
-
Give your new drawing layer a relevant name for a matte layer, such as "Matte-Drawing", then click on Add and Close.
-
In the new matte drawing layer, draw the shape of the area that you want to isolate from the radial-zoom blur, and fill it.
-
In the Node view, click on the port connecting the composite to the matte drawing layer and drag it to the left edge of the Blur-Radial-Zoom blur. A matte input port will appear when you bring a cable near the left edge.
- Click on the Layer Properties button of the Blur-Radial-Zoom node to open its Layer Properties dialog.
-
Check the Invert Matte check box at the bottom of the layer properties dialog.
Everything outside of the matte drawing is now affected by the radial-zoom blur.