The Point Kinematic Output behaves very similarly to the standard Kinematic Output node, except that instead of simply following the end point of the deformation, it will sample up to three points along the deformation curve, and output a transformation that tracks all three points.
-
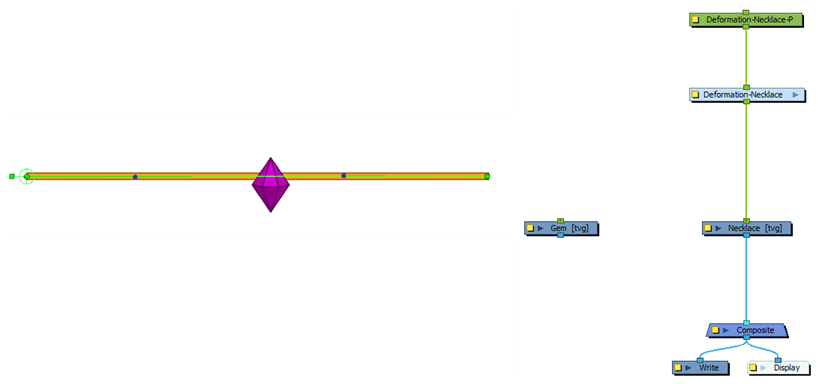
With an existing deformation rig, prepare a drawing and place it in a location that you want to track on the deformed drawing.
-
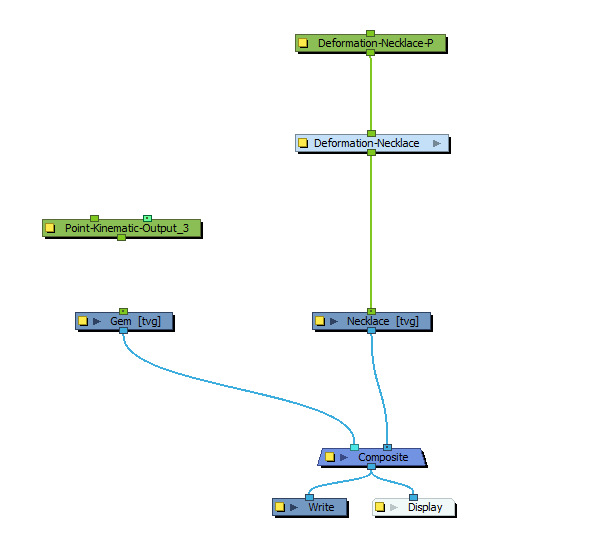
In the Node Library view, in the Deformation section, select the Point Kinematic Output node and drag it to the Node View above the drawing node that you want to rig to the deformation.
-
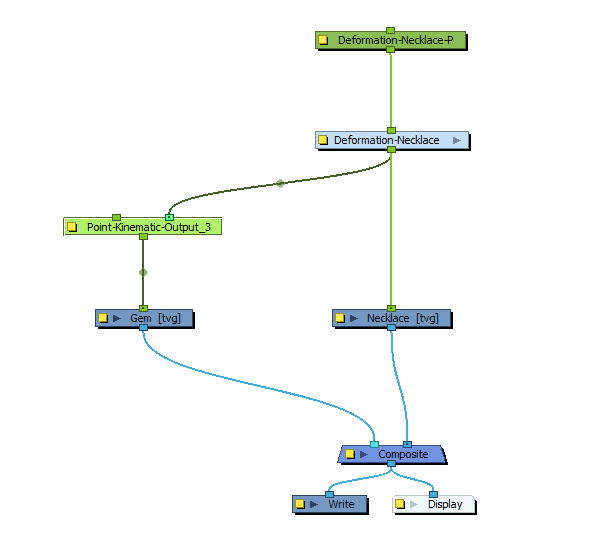
Drag out a connection from the output port of the deformation chain and attach it to the rightmost input port of the Point Kinematic Output node. Then, drag a new connection from the output port of the Point Kinematic Output node and attach it to the input port of the Drawing node.
-
Select the Point Kinematic Output node and display its controls in the Camera view by doing one of the following:a
- In the Camera view toolbar, click on
 Show Control .
 - From the top menu, select View > Show > Control.
- Press Shift + F11.
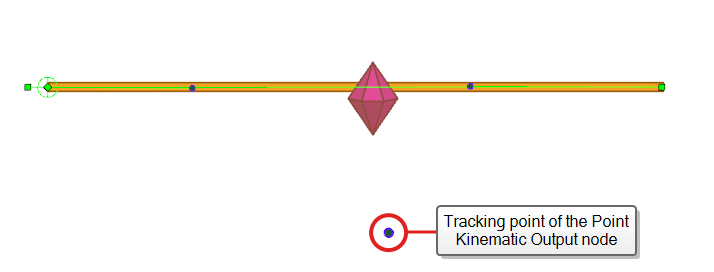
The tracking point of the Point Kinematic Output will appear in the centre of the Camera view.
- In the Camera view toolbar, click on
- In the Tools toolbar, select the
 Transform tool.
 -
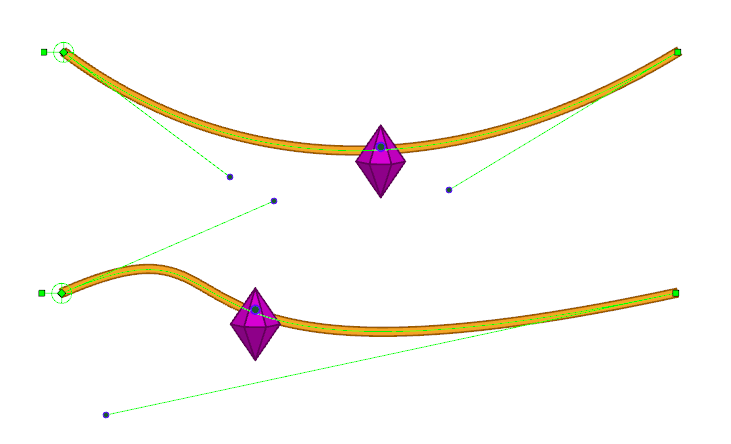
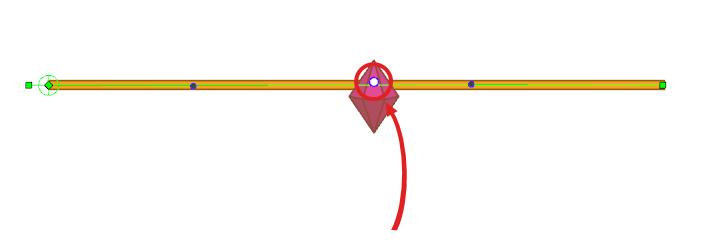
In the Camera view, click and drag the tracking point and place it where you want the drawing to track to on the deformation curve. This is where the drawing will adhere to as the deformation is changed.
-
Make changes to the deformation curve and observe that the drawing now moves along the curve.