Rigging a Drawing to a Deformation Point with the Kinematic Output Node
In order to assemble the rigged parts of your character to a specific deformation point, you need to add a Kinematic Output between the deformation node and the drawing node. The Kinematic Output node will act as a peg that follows the position of the deformation point it is rigged under, without applying any deformation to the drawing connected to it.
You can add a Kinematic Output node in the Node View or the Timeline view.
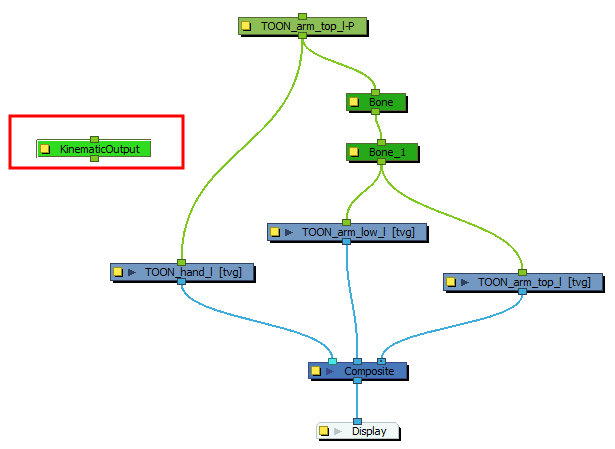
- In the Node Library view, go to the Deformation section, select the Kinematic Output node and drag it to the Node view.
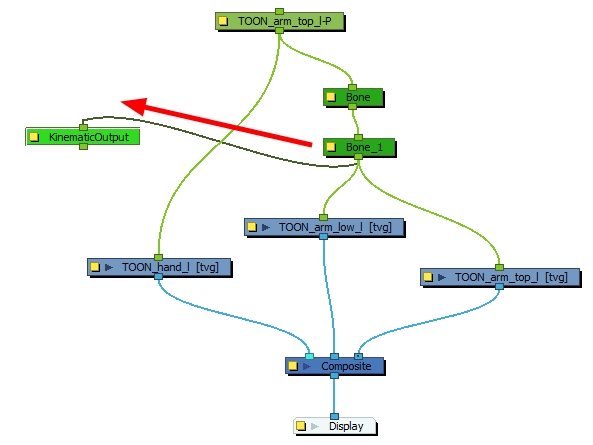
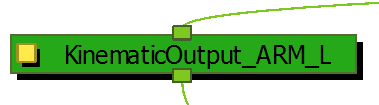
- Pull out a second output connection (bottom port) from the deformer node you want your piece or limb to follow and connect it to the Kinematic Output port.
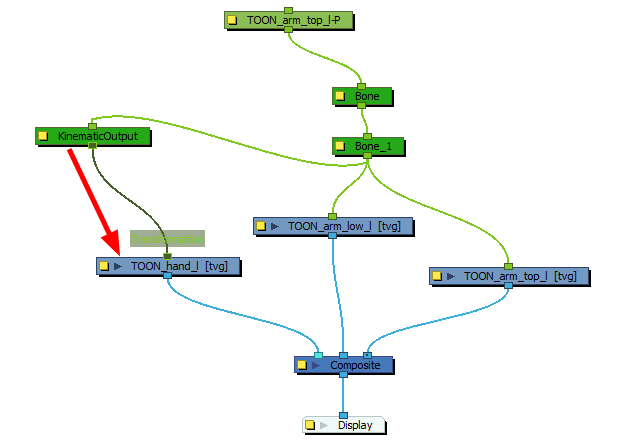
- Connect the Kinematic Output node to the piece you want to follow the deformer.
| ‣ | If it a good practice to rename the Kinematic Output node to reflect which deformer it is assigned to as the node structure can become very large and nodes can be positioned far apart. Select the Kinematic Output node and in the Layer Properties view, rename the node. |
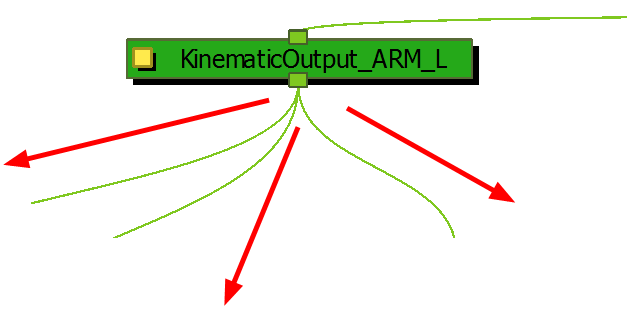
| ‣ | You can pull out multiple connections from the same Kinematic Output node if many limbs and pieces must follow a single deformer. For example, you can use the same Kinematic Output node for both arms and the neck to follow the body deformer. |
- Select the element to attach to the Kinematic Output node, such as the hand or head peg.
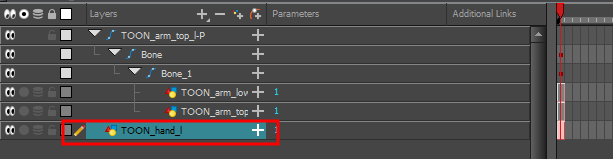
- From the top menu, select Insert > Kinematic Output.
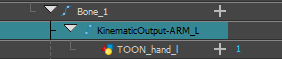
The node appears in the Timeline view as a parent of your selection.
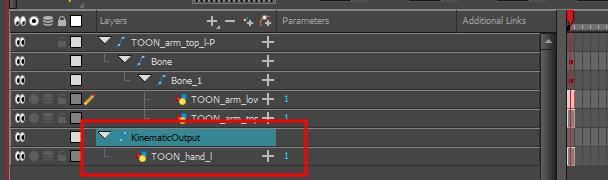
- In the Timeline view, drag and drop the Kinematic Output layer ONTO the deformation layer you want your limb or piece to follow. For example, onto the neck deformer if you want your head to follow it without being deformed or onto the arm deformer if you want your hand to follow.
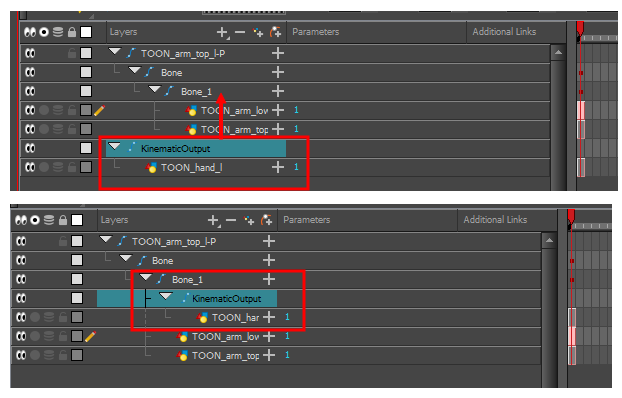
- If your pieces are no longer ordered properly, use the Z-nudging feature to reorder them—see About Ordering Layers.
- It's good practice to rename the Kinematic Output layer to reflect which deformer it is assigned to as the Timeline view can become very large and layers can be positioned far apart. Select the Kinematic Output node and in the Layer Properties window, rename the node. You can also double-click on the layer's name.