T-ANIMCO-001-006
You can switch a keyframe from stop-motion to motion at any time in the Timeline view and Function Editor.
- On the right side of the Timeline view, select one or more keyframes to modify.

- Switch between motion and stop-motion by doing one of the following:
- Right-click on the selected keyframes and select Set Motion Keyframes or Set Stop-Motion Keyframes.
- Press Ctrl + K (Windows/Linux) or ⌘ + K (macOS) for motion keyframes and Ctrl + L (Windows/Linux) or ⌘ + L (macOS) for stop-motion keyframes.
- In the Timeline View toolbar, click the Motion Keyframe
or Stop-Motion Keyframe
button.
- Open the Function view.
- In the Timeline view, double-click on the layer that contains the keyframes you want to convert.
The Layer Properties window opens.
- Do one of the following:
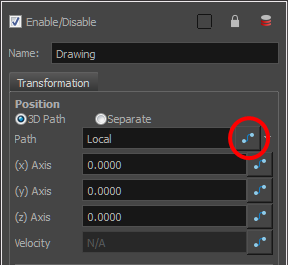
- In the Transformation tab, click the Function Editor
button.
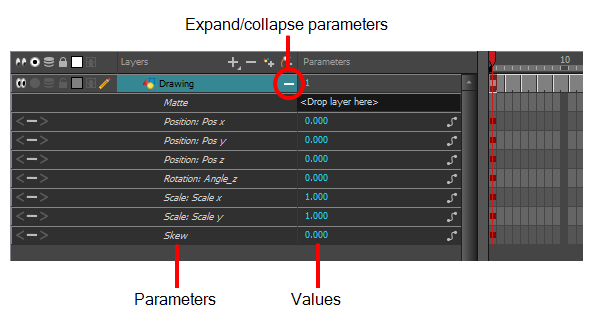
- In the Timeline view, click the Expand Function
button or press Alt + F and double-click on the function to edit.
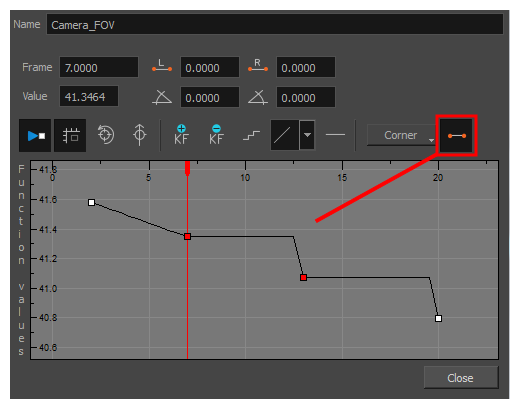
- On the function curve, select one or more keyframes to modify.
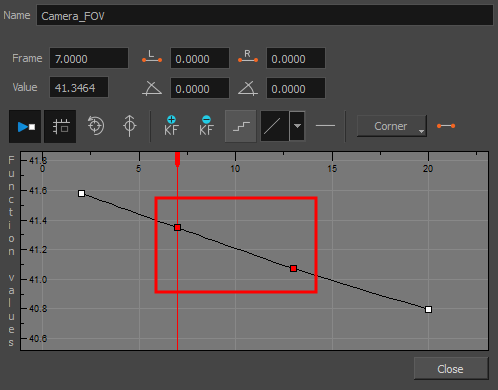
- Select or deselect the Stop-motion Keyframe
 button to set a stop-motion or motion keyframe.
 . When enabled, all keyframes added in the Timeline will be created as stop-motion keyframes.
The Stop-Motion Keyframe Mode is not on the Timeline toolbar by default. To add it to the Timeline toolbar, see Customizing Toolbars.