Once a keyframe is added, beside moving the image in the Camera view, you can change its value by typing it in the Timeline and Function views.
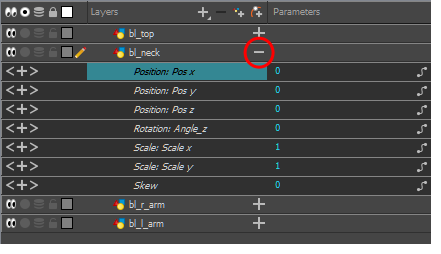
- In the Timeline view, open the drawing or layer’s parameters by clicking the Expand
 button or press Alt + F.
- Select the parameter for which you want to create a function curve.
- Place the cursor over the blue number value of the parameter and do one of the following:
- Wait until the cursor changes to a white hand with a two-way arrow and then drag the hand left to decrease the value or right to increase the value.

- Double-click on the blue number and enter a value in the field.
- In the Timeline view, open the peg element's parameters by clicking the Plus sign next the peg layer's name.

- Double-click on the parameter layer name to open the Editor window or click once on the parameter layer to display it in the Function view.
- In the graph of the Function editor, select a white keyframe.
The keyframe turns red and displays a pointed yellow handle.
- In the Value field, enter a value. You can also drag the keyframe up or down in the graph.

- Press Enter/Return or click the Play
 button to view the changes made in the Camera view.
- Keep adjusting the values until you are satisfied with the results.
- Click Close.