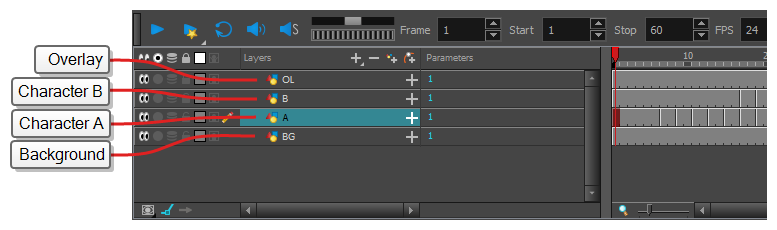
Just like with traditional animation, Harmony uses layers to keep elements such as characters, backgrounds and props separate from each other, allowing you to animate them independently.
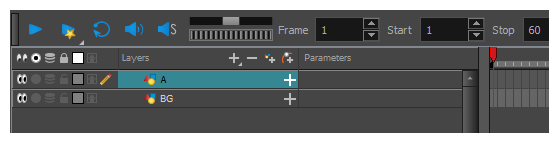
When you create a new scene, your scene will have a default layer named Drawing, in which you can immediately start drawing.

Layers can be selected and managed in the Timeline view. A scene can have as many layers as needed. When your scene has several layers, layers higher in the list appear over lower layers.
Renaming Layers
In a new scene, there is only one layer created by default, named Drawing. In traditional animation, it is common to name animation layers with single letters (A, B, C, etc.) and layout layers with acronyms (BG for background, OL for overlay, etc). So you can start off your scene by giving your first layer an appropriate name.
-
In the Timeline view, double-click on the name of the layer to rename.

A text-input field appears over the name.

-
Type in the new name for your layer and press Enter/Return.
The layer now has the new name.

Adding Layers
-
Do one of the following:
- In the Timeline view, click the
 Add Drawing Layer button.
 - In the top menu, select Insert > Drawing.
- Press Ctrl + R (Windows/Linux) or ⌘ + R (macOS).
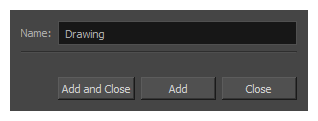
The Add Drawing Layer dialog appears.
- In the Timeline view, click the
- In the Name field, type in the name for your new layer.
-
Do one of the following:
- Click Add to create this layer, but leave the dialog open so you can create more layers.
- Click Add and Close to create this layer and close the dialog.
A new drawing layer is added to the Timeline view.
Deleting Layers
-
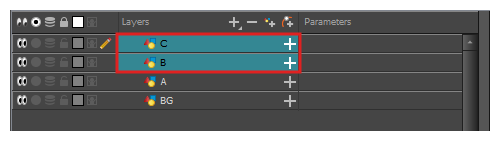
In the Timeline view, select the layers to delete.
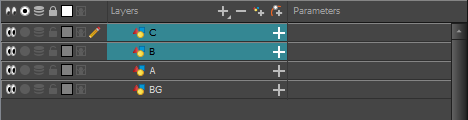 NOTE You can select several contiguous layers by holding down the Shift key, clicking on the first layer you want to select, then on the last layer you want to select. You can also select several layers by holding the Ctrl (Windows/Linux) or ⌘ (macOS) key and clicking on each layer you want to select.
 - Do one of the following:
In the Timeline’s Layer toolbar, click the
 Delete Layers button.
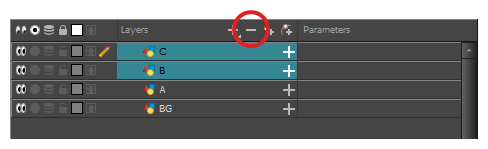
- Right-click on the selection and select Delete.
The selected layers are removed from the Timeline view.
Reordering Layers
-
In the Timeline view, select the layers to move.
-
Click and drag the selection, then do one of the following:
-
Drop the selection between two layers to move it between those layers. A cyan line will appear between the layers where the selection will be moved.

-
Drop the selection onto a layer to rig the selected layers as children over that layer.

-
Grouping Layers
Grouping layers allows you to keep your scene structure organized.
Additionally, you can put several layers inside a group, then add an effect on this group to apply that effect on all the layers inside the group.
-
In the Timeline view, select the elements you want to group.
 NOTE Any layer between the selected layers will be grouped with the selected layers.
 - Do one of the following:
- Right-click on the highlighted layers and select Group Selection.
- Press Ctrl +Shift + G (Windows/Linux) or ⌘ + Shift + G (macOS).
A new Group layer is added to the Timeline view.

If you click on the
 Expand Group button, you will find the grouped layers rigged as children of the group layer.
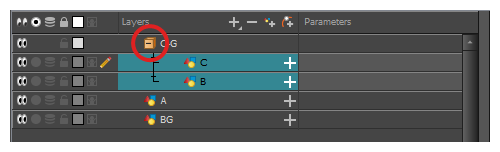
Hiding and Showing Layers
You can temporarily hide layers so that they do not clutter the Camera view while you are working on other layers.
-
In the Timeline view, left of the layer you want to hide, click on the
 Disable Layer button.
The layer will become invisible in the Camera view.
-
When you want to unhide the layer, click on the
 Enable Layer button to display it again.
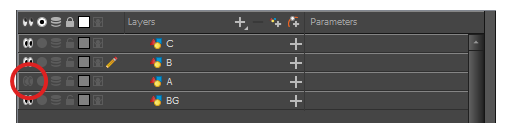
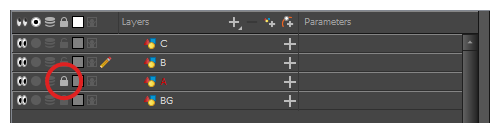
Locking and Unlocking Layers
You can temporarily lock layers. Locked layers can still be edited in the Timeline or Xsheet view, but you cannot select them, draw them or manipulate them in the Camera view. This can be useful to avoid accidentally selecting or drawing over your backgrounds, overlays, props or characters you are not currently working on.
-
In the Timeline view, left of the layer you want to lock, click on the
 Lock button.
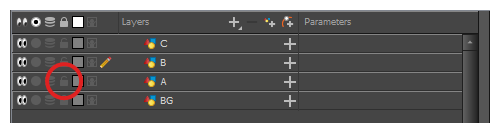
The layer will become impossible to select or draw on in the Camera view. The name of the layer will appear in red in the Timeline view.
-
When you want to unlock the layer, click on the
 Unlock Layer button to display it again.