Create environments in order to manage and organize you studio's projects.
- Do one of the following:
| ‣ | From the top menu, select Environment > Create. |
| ‣ | Right-click in the Environments section and select Create. |
In mixed platform Environments (Windows/macOS and Windows/GNU/Linux) it is best to name everything in lowercase so data can be interpreted the same way on each operating system. The same is true if working between studios using Windows, macOS, and GNU/Linux.
The Create Environment dialog box appears.
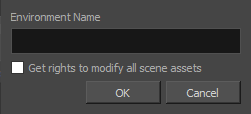
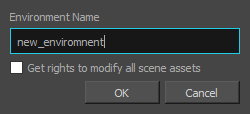
- In the Environment Name field, type the new project's name.
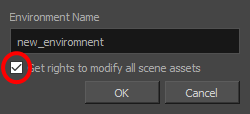
- If you want the user to automatically get the rights to modify all the scene assets (drawing, scene setup, palette lists, etc.), select the Get Rights to Modify All Scene Assets option.
- Click OK.
The new environment appears in alphabetical order in the Environments list.
After you create an environment, you must add it to the Batch Processing queue so it can vectorize and render the drawings and scenes automatically. You only have to add the environment to the Batch Processing queue once.