In the Camera view, when Onion Skin is enabled, the Onion Skin of the currently selected layer is always displayed. However, it is also possible to enable persistent Onion Skin on other layers in your scene. You can do this by clicking the Onion Skin button just left of individual layers in the Timeline view. When Onion Skin is enabled on specific layers, the Onion Skin for these layers display along with the Onion Skin of the current layer, allowing you use both as reference.
When you enable Onion Skin using the Onion Skin button in the Tools toolbar, persistent Onion Skin is automatically enabled on the currently selected layer. Hence, if you want to switch to a different layer and hide the Onion Skin for the layer you are no longer working on, you can also use the Onion Skin button next to that other layer to disable Onion Skin on it.
-
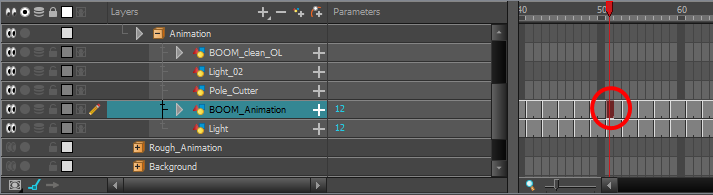
Select the layer and frame on which you want to draw.
-
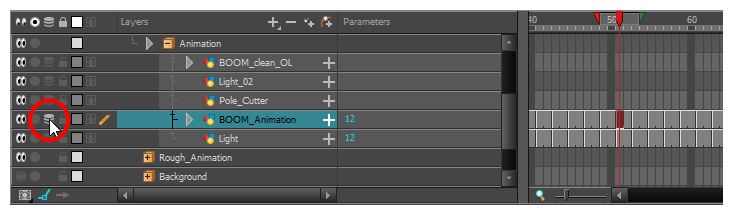
In the Timeline view, click on the
 Onion Skin icon just left of the selected layer to enable Onion Skin on it.
The icon will light up, indicating that Onion Skin is now enabled for this layer.
-
Click on the Onion Skin icon for each layer that you want to include in the Onion Skin.
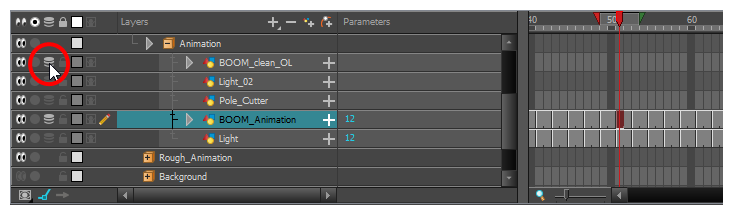
The Onion Skin for all layers on which it is enabled will display in the Camera view.