Adjusting a Horizontal Symmetry Guide
The Horizontal Symmetry Guide creates a guide along the x-axis that will automatically mirror your strokes vertically.
The guide has a Pivot point that can be moved anywhere in the Camera View.
-
In the Tools toolbar, select either the
 Brush,
  Stencil Brush,
  Pencil,
  Stamp,
  Eraser, or
  Shape tool.NOTE Drawing guides are only visible in the Camera view when one of these tools are selected.
 -
Add the Guide view to your workspace by doing one of the following:
-
In the top-right corner of any view in your workspace, click on the
 Add View button and select Guides.
 -
In the top menu, select Windows > Guides.
-
-
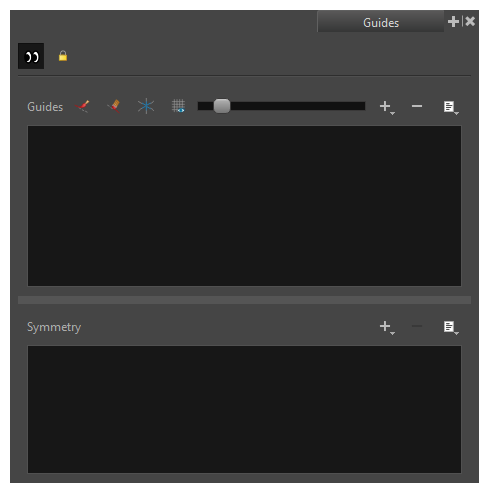
In the Guides view, make sure that the
 Enable Guides option button is toggled on.
 -
In the guides list, select Horizontal Symmetry.
The Horizontal Symmetry Guide appears in the Camera View.

To rotate the guide, click and drag on its horizontal line.
TIP-
When the mouse is positioned over the Horizontal Symmetry Line, the mouse cursor will change to
 to indicate that you are about to rotate the guide.
 -
When rotating a guide, its angle displays in the top-left corner of the Camera view.
Once you are done making adjustments to the guide, you can click on the
 Lock Guides button in the Guides view to avoid accidentally modifying your guide while drawing.
 -