If you want to view your 3D camera move, you must be in the Perspective view.
- In the Tools toolbar, if
 Animate Off or
  Animate Onion Skin Range mode is selected, click on it to open the Animate pop-up menu and select
  Animate Current Frame.
- In the Timeline view, click the Add Layers
 button and select Camera to add a camera to your scene.
 - In the Timeline view, select the new camera layer.
- In the Timeline Layer toolbar, click the Add Peg
 button to add a parent peg to the camera.
 - In the Timeline view, double-click on the new peg layer to open the Layer Properties dialog box.
- In the Layer Properties dialog box, go to the Transformation tab and select the Enable 3D option.
- In the Rotation section, select the Quaternion option.
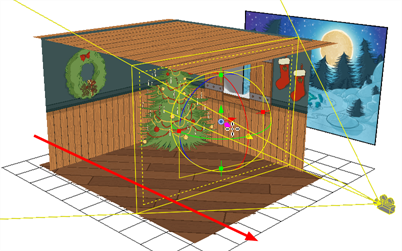
- In the Perspective view, click the Show/Hide Camera button to see your camera cone.
- Setup your workspace to display the Camera view and Perspective view at the same time so you can compare the results.

- In the Tools toolbar, select the Transform
 tool.
tool. - In the Timeline view, select the Camera-Peg layer first frame and select Insert > Keyframe.

- In the Timeline view, select the Camera-Peg layer.
- In the Timeline view, go to the last frame.

- In the Perspective view, grab one of the rotation ellipses and rotate the camera on one axis only. Always do one axis at a time to keep control of the positioning.

- Once the camera is rotated at the correct angle, grab one of the direction arrows to move the camera to the correct position. A keyframe is automatically created in the Timeline view.