Setting the Colour Space for Rendered Movies and Frames
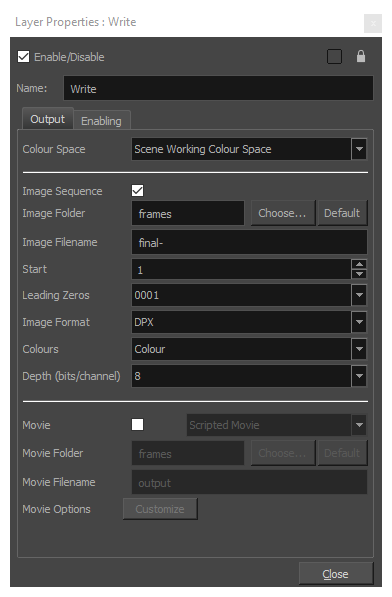
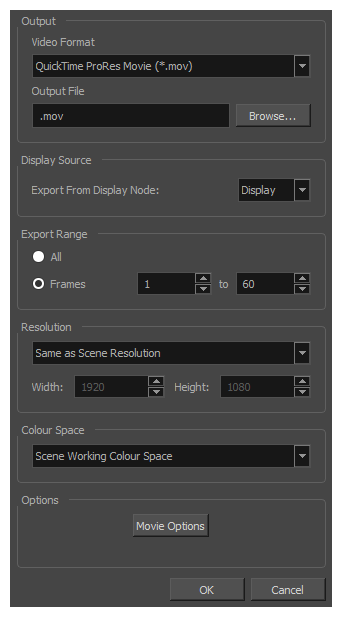
You can select the colour space in which to render your scene in the layer properties of your scene’s Write nodes, as well as in the Export Movie dialog if you’re exporting a movie.
When rendering a scene, the individual layers are converted from their respective colour space to the scene’s working colour space, then they are composited together along with your scene’s visual effects, and the resulting image is converted to the rendering colour space.
About Tagging Exported Files
Some but not all files exported from Harmony can be tagged with their colour space. Tagging is when the information for an image or movie file’s colour space is embedded in the file itself, which allows some software to automatically load its colour space information instead of requiring you to provide it manually.
Tagging images and movies with their colour space is not necessary, especially if you intend to load the files in a video editing or compositing software that allows you to specify their colour space manually, but it can be convenient if your post-production software supports reading the colour space information of your source files.
Movies exported from Harmony are only tagged with their colour space information when exported in formats below:
-
QuickTime ProRes Movie (*.mov): When rendering a movie in QuickTime Prores Movie (*mov) format, the movie colour space ‘nclc’ tag will be only set as:
- HD (1-1-1) if using “Rec. 709” colour space
- BT.2020 (9-1-9) if using “Rec. 2020” colour space
- P3 D65 (12-1-1) if using “Display P3” colour space
- QuickTime Movie (*.mov) on macOS. The movie in this format will not be tagged with their colour space information if exported on Windows or GNU/Linux. When rendering a movie in QuickTime Movie (*.mov) format on macOS in a specific colour space, the movie buffer data will be tagged with the corresponding ICC colour profile.
As for exported images, colour space tagging is supported in the following formats:
- Portable Network Graphic (.png)
-
Photoshop Document (.psd)
-
OpenEXR (.exr)
- In the Node view, locate your scene’s Write node.
- Do one of the following:
- Click on the
 Layer Properties icon of the Write node.
 Right-click on the Write node and select Layer Properties.
Add the Layer Properties view to your workspace, then select the Write node.

- Click on the
-
In the Colour Space field, select the colour space in which you want the exported frames or movie to be rendered.

-
In the top menu, select File > Export > Movie.

- In the Colour Space field, select the colour space in which you want your movie to be rendered.