About the Scan Application User Interface
It is important to become familiar with the following elements of the user interface as it will help you get started using the Scan application. You can learn more about the highlights described here, and how to use them in a production context throughout this guide.
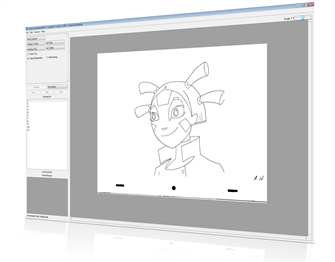
When you start the Scan application for the first time, the default workspace is displayed. It contains all of the main elements you need to use.
The Scan application has five major components.
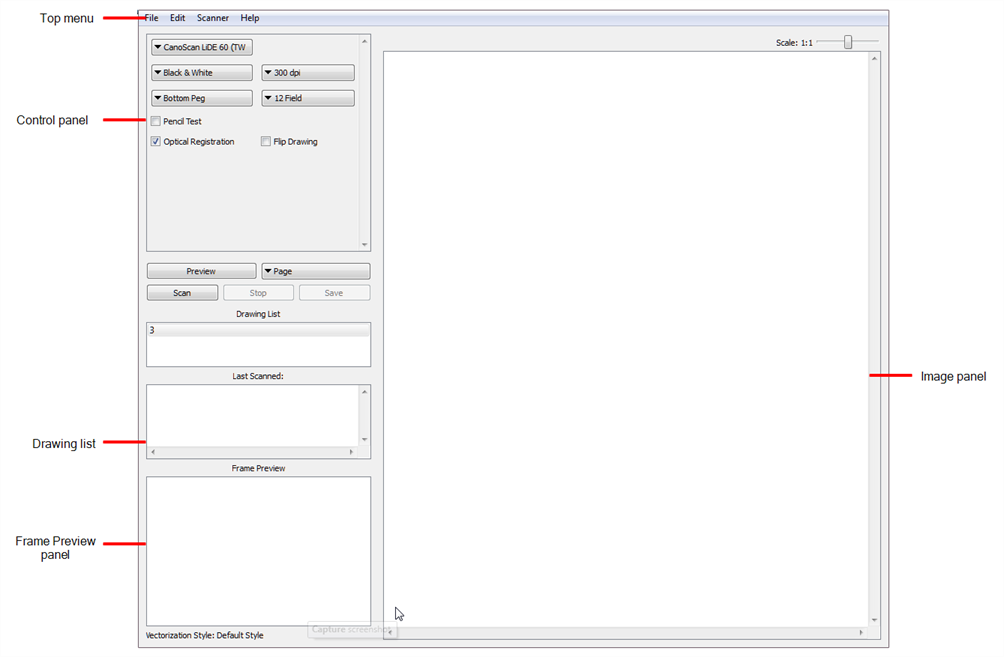
Top Menu
The top menu contains most of the commands available in the Scan application.
The menu categories are:
| Menu | Description |
| File | Lets you load drawings and manage exposure sheet elements. |
| Edit | Lets you modify the Drawing List, apply vectorization options and create a text file of scan details for each scanned drawing. |
| Scanner | Lets you eject a page from the scanner and display scanner information. |
| Help | Lets you access the integrated help system and Scan application version information. |
Control Panel
The Control panel allows you to set up the scan.
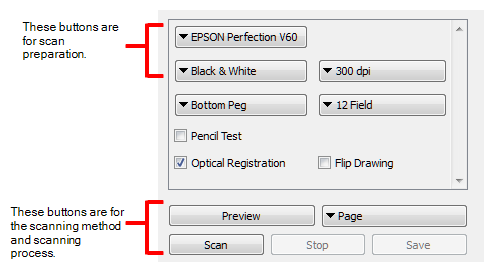
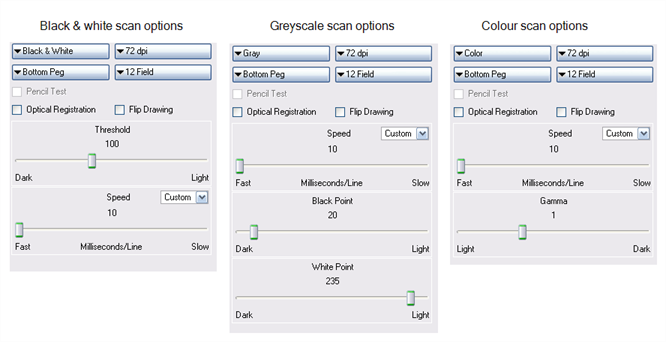
When you select a scan type, you can control the following:
- Exposure
- Contrast
- Time required to scan a line, measured in lines per millisecond.
Drawing List
The Drawing list displays the names of the drawings loaded for scanning. As each drawing is scanned, this is indicated.
Frame Preview Panel
The Frame Preview panel shows the upcoming frame to be scanned.
Image Panel
The Image panel displays the current drawing being scanned.