To break down the main body parts, you will use the Create Drawing From Drawing Selection feature.
Breaks a character into its main body parts. There is no need to create any layers prior to this process. Make sure your model is well centered and sized in the Camera view.
You do not need to make clean cuts around your parts; a rough one is sufficient as long as it includes all the artwork of the part you want to break down. You will clean the extra bits and pieces later.
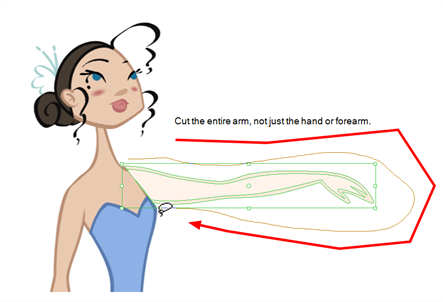
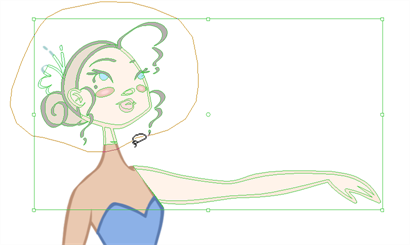
Using the Cutter tool, you can roughly cut the main sections, and then use the Select tool to select precise lines and colour zones.
- In the Timeline view, select the cell of the model that corresponds to the first view to break down.

- In the Tools toolbar, select the Cutter
tool.
- If you prefer to use the Select tool, choose the Select
tool from the Tools toolbar or press Alt + S.
- In the Tool Properties view, you can switch to the Lasso
selection mode.
- In the Camera view, create a selection around the first part to break down. If you click on a zone, the Cutter tool will select the zone. It will end the selection at the first point of intersection that it meets.

| ‣ | Hold down Shift to create a new lasso selection around another zone and add it to your previous selection. |

- From the top menu, select Edit > Create Drawing From Drawing Selection or press F9 (Windows/Linux) or ⌘ + F9 (macOS).
The Create Drawing From Drawing Selection dialog box opens.

- In the Layer Name field, type the name of the layer you want to create following the naming convention you established previously.
- Deselect the Cut Artwork From Source option to keep the selected artwork on your original drawing. You do not want to cut the artwork from the colour model.
- Click OK.
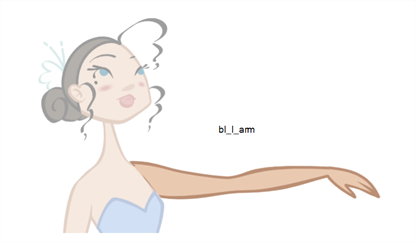
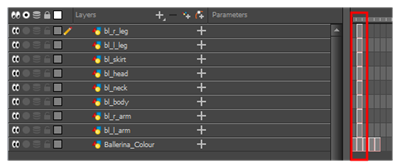
The new layer is created and your selection is copied in it. The drawing is created in the same frame number as the cell it was taken from.


- Repeat the previous steps for each main body part.
