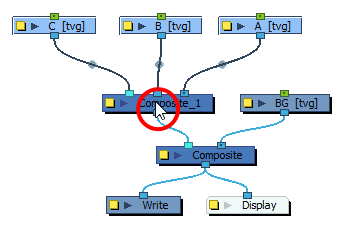
Composite nodes are often used in complex node systems and must often be connected to a lot of nodes. To make rigging and staging easier, when you create a composite while nodes are selected, it is automatically connected to all of the selected nodes.
- Do one of the following:
- Right-click in the Node View and select Insert > Combine > Composite.
- In the top-left corner of the Node VIew, open the View Menu and select Insert > Composite.
- Press Ctrl + H.
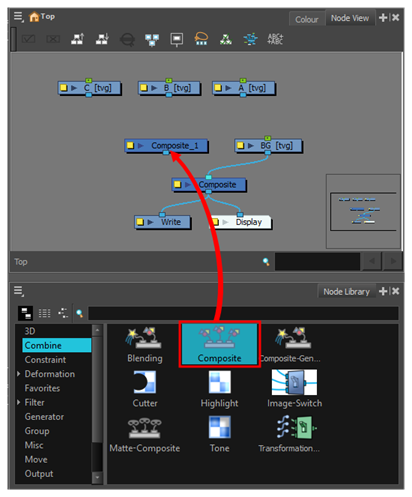
In the Node Library view, select the Combine category, then drag and drop the Composite node from the Node Library to the Node View.
- For each node that should be connected to the composite, do one of the following:
Click and drag on the node's bottom port to create a connection cable, then release the cable just over the composite.
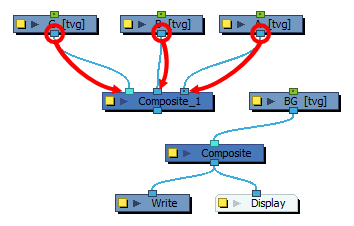
Click on the node's bottom port to select it. Then, while holding Ctrl (Windows/Linux) or ⌘ (macOS), click on the top edge of the Composite, where you want the connection to be created.

-
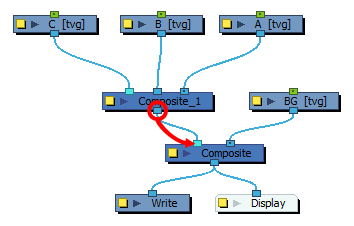
Connect the bottom port of the Composite to another Composite, an effect, or a Display node.
-
Select all the nodes to which you want the Composite to be connected.
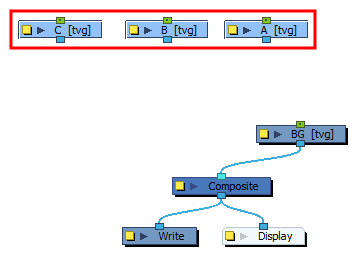
-
Do one of the following:
- Right-click in the Node View and select Insert > Combine > Composite.
- In the top-left corner of the Node VIew, open the View Menu and select Insert > Composite.
- Press Ctrl + H.
A Composite node is created and is instantly connected to all the selected nodes.
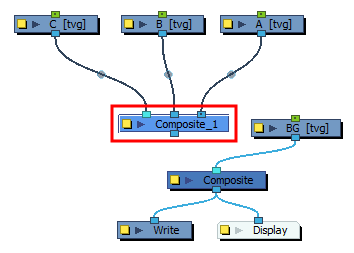
-
Connect the bottom port of the Composite to another Composite, an effect, or a Display node.
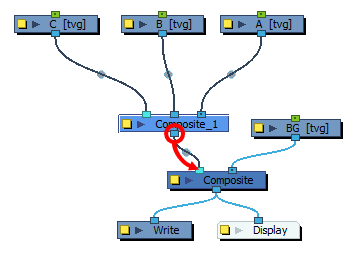
-
Select all the nodes to which you want the Composite to be connected.
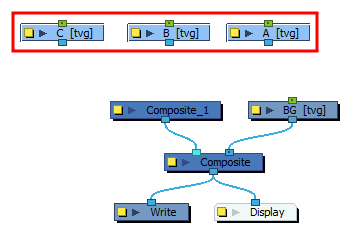
-
While holding the Alt key, click on the Composite node.
The selected nodes are instantly all connected to the Composite.
