You can have two levels of easing:
- In the Tool Properties View, you can adjust the velocity of each sequence in your layer independently
- In the Layer Properties editor, you can adjust the morphing velocity function to control the entire layer's easing
- In the Tools toolbar, select the Morphing
tool or press F3.
- In the Timeline view, click on a frame in the morphing sequence you want to adjust.
- In the Tool Properties view, increase and decrease the Ease In and Ease Out value to adjust the sequence's velocity.

- In the Timeline view, double-click on the drawing layer to open the Layer Properties editor.
- In the Layer Properties editor, go to the Advanced tab and click on the Function
button to create a function curve.
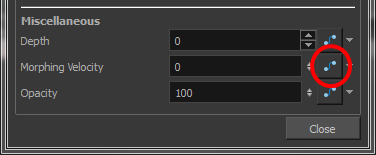
- In the Layer Properties editor, click the Function
button again to open the velocity curve.
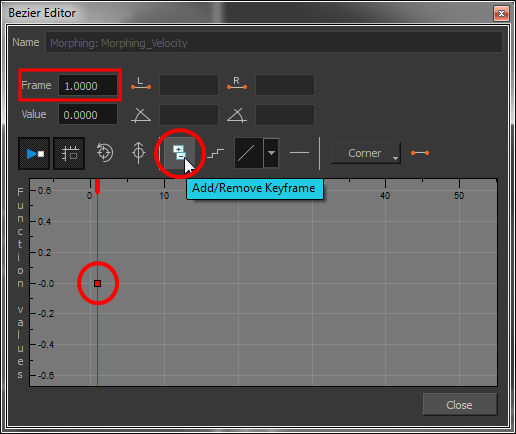
- Add a keyframe at the first frame of the morphing (source) and one at the end (destination) by clicking on the Add/Remove Keyframe
button.
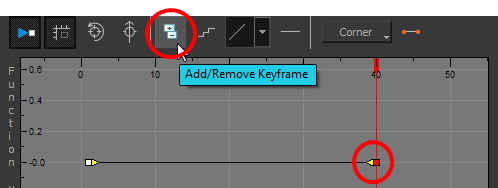
- Move the destination keyframe upward.
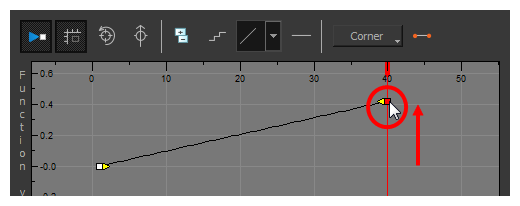
- Make sure that the first keyframe is not a stop-motion keyframe. To do this, disable the Stop-motion Keyframe
button. To use the Toggle Stop-Motion Segment feature, press S.
- Click on the keyframes and pull the Bezier handles to create ease in and ease out. If you make the curve go downward instead of upward, the animation will play backward until the curve starts to go upward again.
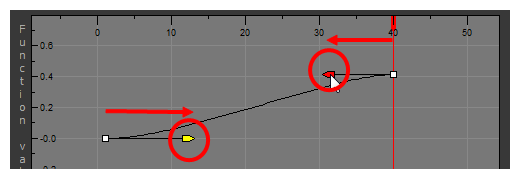
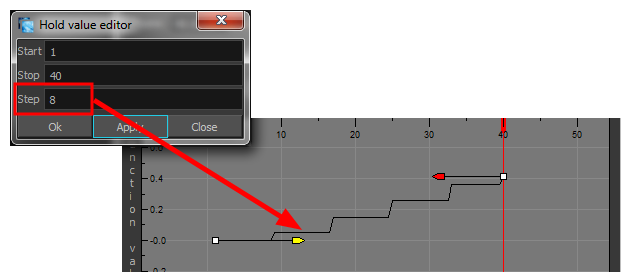
- If you want your morphing to play back on a double frame exposure rather than single frame, you can use the Hold Value editor and set the velocity to change every second frame, instead of every frame.
- In the Morphing Function editor, click on the Hold Value Editor
button and set the parameters to hold the value for two frames.
