Exporting FLA Files
- Open your
.flafile in Adobe Flash.
- Return to the scene level.
Before exporting to Harmony, it is assumed that you are at the scene level even if you're not.
- Do one of the following:
- Older versions of Adobe Flash: Select Window > Other Panels > Export to Harmony.
- Adobe Flash CC: Window > Extensions > Export to Harmony.
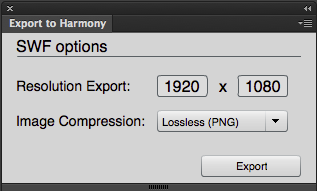
The Export to Harmony window opens from which you can set the resolution of the files as it will appear in Harmony. The default resolution is set to 1920 x 1080, like the HD default resolution value of Harmony. If needed, you can change the compression: Photo (JPG) or Lossless (PNG).

- Do one of the following:
- In the Export to Harmony window, click Export button.
- Select Commands > Export to Harmony.
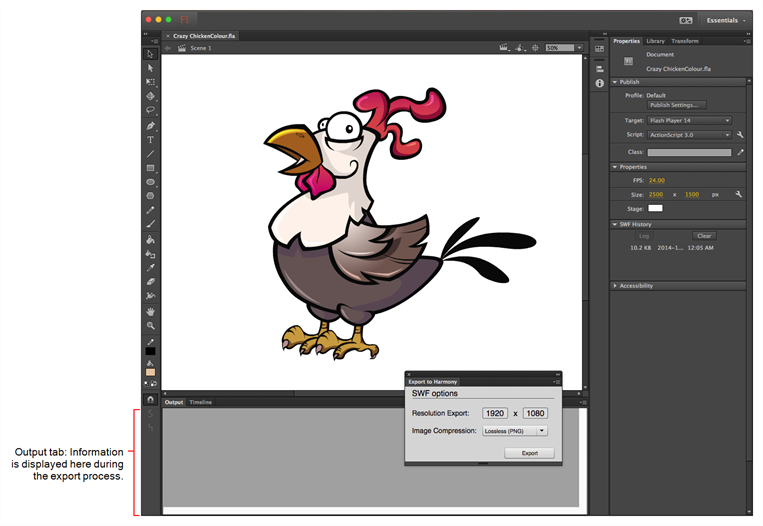
The Output tab displays information about the conversions necessary for the export including:
Distributing to layers, breaking apart, the presence of shapes at the scene level, ungrouping all groups to verify if any symbols are hidden inside, breaking drawing objects to transfer them as shapes, drawing substitutions, and so on. Problematic situations will also be mentioned. If nothing appears in the Output tab, then your.fla file is clean and does not need any conversions.
.txt files contain the drawing substitution information and at which frame they are exposed. A .swf file is created for each symbol in Flash and a .tpl file is created of them. The corresponding export.json file is also created, which you will need when importing your Flash scene in Harmony. These files are in a folder located at the same location as the.fla file. The folder name is the same as the .fla file.
.fla file already exists, you will be prompted to replace the folder. Be aware that saving Flash projects as .xfl files will automatically create a folder with the same name as the .fla file. In this case, the folder of the export will be created inside the folder of the xfl. If this not what you want, place a copy of the.fla in another path on your computer before the export.
