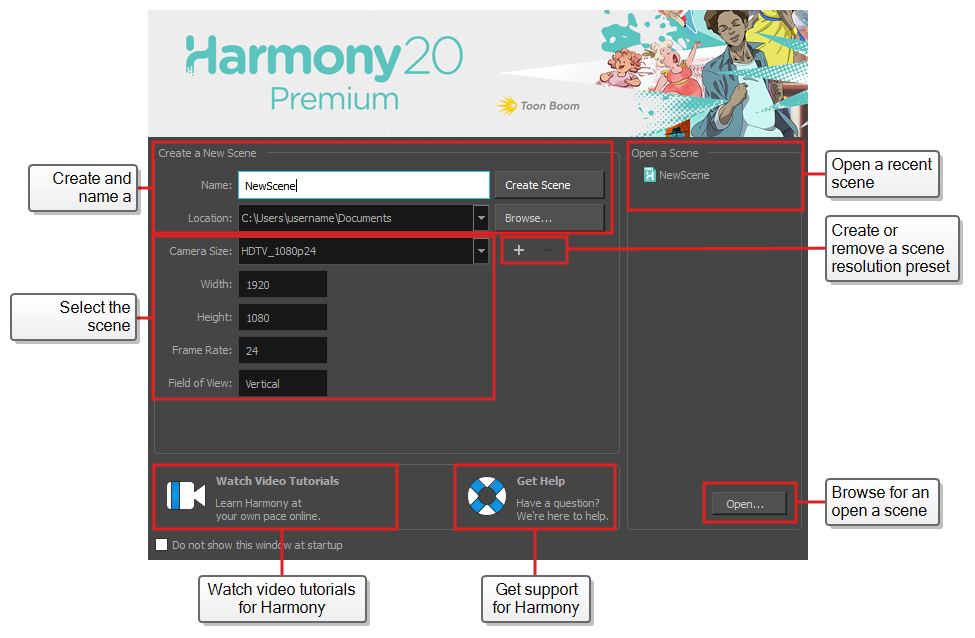
As soon as you launch Harmony, you are greeted with the Welcome screen, from which you can:
- Create scenes
- Choose your new scene's resolution
- Manage your scene resolution presets
- Quickly open recently opened scenes
- Browse for and open a scene you already created.
- Watch Harmony video tutorials on the web.
- Access the support web page.

NOTES
- If you are using Harmony Server, you must use the
 Control Center application to create your scenes before you can open them in Harmony. Harmony Server scenes cannot be created directly in Harmony.
 - You can disable the Welcome screen and make Harmony launch right to the main application window by unchecking the Do not show this window at startup option at the bottom.
- You can return to the Welcome screen from the main application window by selecting Help > Show Welcome Screen in the top menu. If you disabled the Welcome screen, you can re-enable it again by returning to the Welcome screen and unchecking the Do not show this window at startup option.
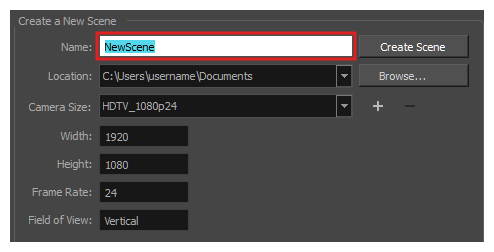
- In the Name field, type the scene’s name.

NOTE The scene name should not exceed 23 characters and cannot contain special characters, such as *&^%!.
- To decide in which directory the scene will be created, click the Browse button next to the Location field.

- From the Camera Size menu, select a scene resolution.

- Click on Create Scene.
A new scene is created. The main application window will appear with your new scene opened in it.