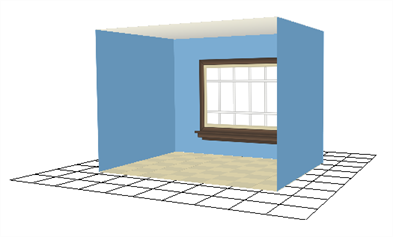
In Harmony Premium, you can not only move layers on Z-axis, you can also enable full 3D manipulations on drawing layers, allowing you to rotate them on the X and Y axes. With this, you can simulate a 3D space by laying out 2D layers at different depths and angles in your scene's stage. This can be used to add realism to scenes with complex camera movements without requiring you to make an actual 3D model of your scene's environment.
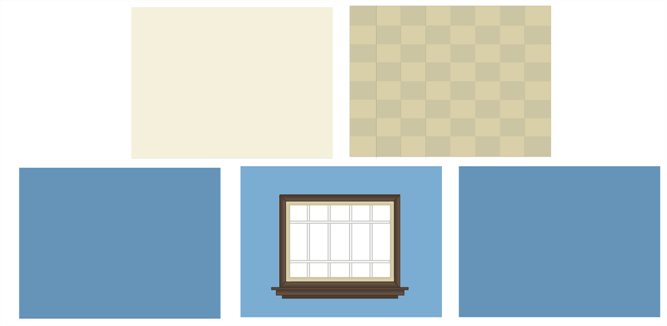
In the following example, you will learn how to lay out layers making the different surfaces of a room to build an actual 3D room. Before you begin, create a layer for each surface in a simple rectangular room. Then, in each of these layer, draw a large colour-filled rectangle to make the surfaces of the walls, floor and ceiling. Feel free to add details such as tiles, textures, wall decorations or windows if you wish, and make sure to name each layer according to the part of the room they represent.
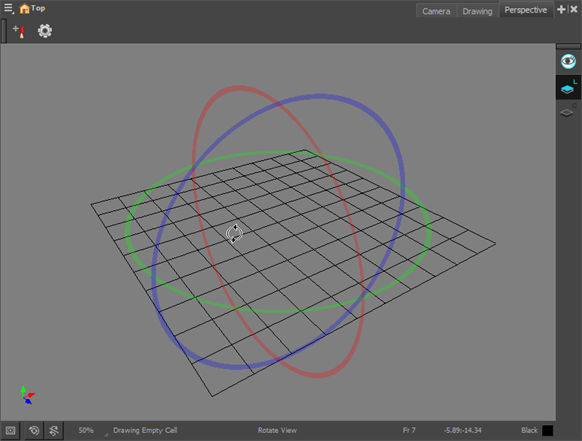
- Next to the Camera and Drawing view tabs, click on the Add View
button and select Perspective.
The Perspective view appears in the same section of your workspace as your Camera and Drawing views. This view allows you to view your scene from any angle and point of view, rather than from your Camera's point of view. In this view, the usual navigation keyboard shortcuts work the same, but you can also press Ctrl + Alt (Windows/Linux) or ⌘ + Alt (macOS) to rotate the view in any angle and on any axis
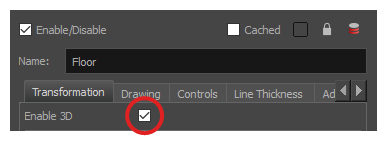
- In the Timeline view, double-click on the new layer to open the Layer Properties dialog box.
- In the Transformation tab, select the Enable 3D option.
- In the Rotation section, select the Euler Angles option.
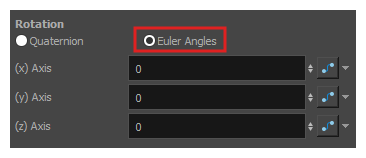
- In the (x) Axis field, type
90to flip the floor so it is flat on the ground.
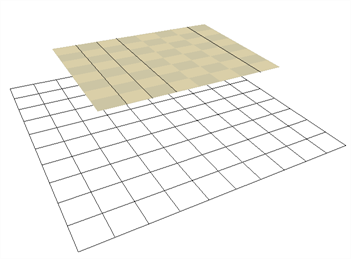
- To position the height of the floor, type values in the Position section of the Layer Properties, use the Translate
tool or Transform
tool.
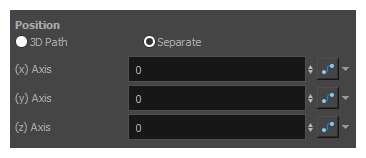
- Repeat the process for the other pieces to position.
- If you have parallel walls, once you have positioned one, select the Wall layer in the Timeline view.
- Do one of the following to duplicated the layer.
- From the top menu, select Edit > Duplicate.
- Right-click and select Edit > Duplicate.
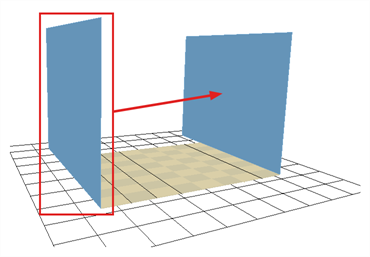
- Once the layer is duplicated, use the Layer Properties window to enter the positioning values or use the Translate or Transform tool. If you want to position your layer visually, consider using the Camera, Top or Side view so as to be able to position it with precision.
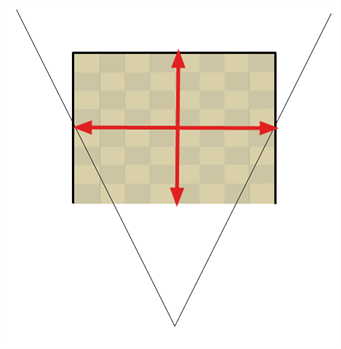
- If your walls are touching each other, you should make them intersect by extending one end of the wall through the other wall. This prevents accidentally leaving small gaps between them.
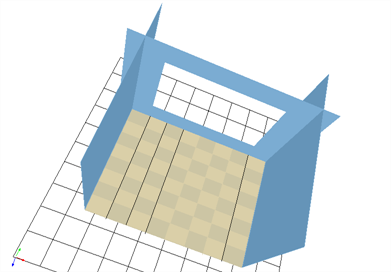
You now have a complete 3D room.
