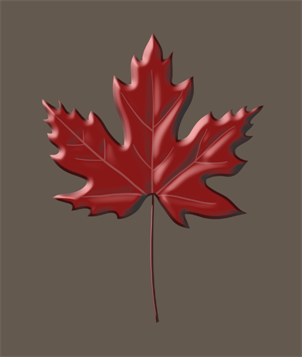
Once your basic volumes are set up, you can use colours from your colour palettes to carve or add zones. Depending on the design of the drawing, you may want to use the same palette as the character, background or object, or you may want to use a specific palette reserved specifically for this purpose.
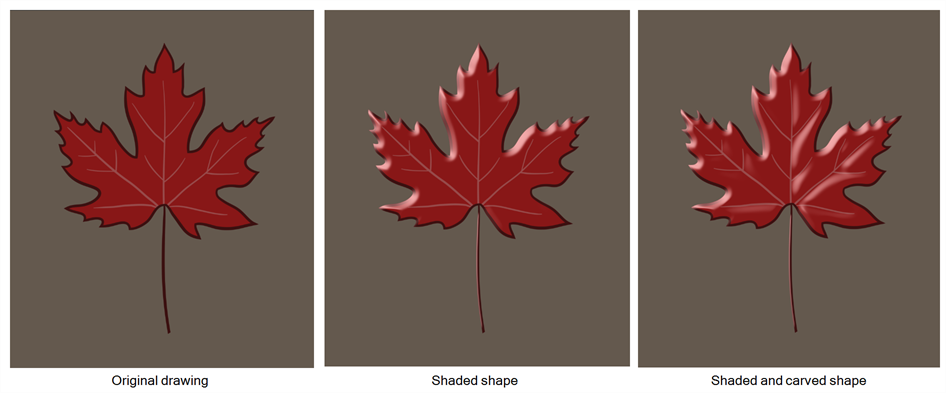
To learn more about each node's parameters, see Shading Nodes.
- Add colour swatches in your character's colour palette or in a new palette solely reserved for carving. Name them
CarvingandAdding. By choosing different colours, it will be easier to differentiate where those colours will carve or add.
- In the Camera or Drawing view, draw the areas you want to carve out and add. It's recommended to draw them in the Underlay or Colour Art layer.
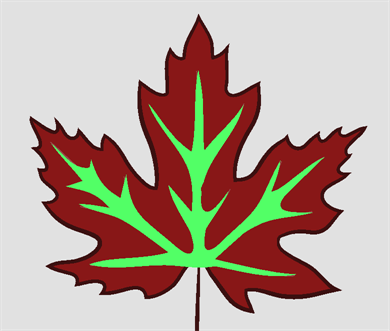
- In the Node view, click the Normal Map's properties button (yellow square) to open the Layer Properties window.
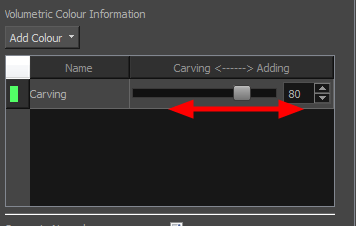
- In the Override Modelling by Colour section, click Add Colour and select the palette containing your carving and adding colours.
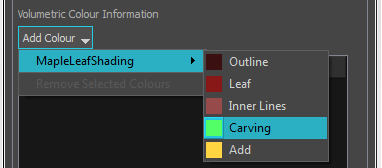
- Add your Carving and Add colour swatches.
- Increase or decrease the Carving - Adding value by adjusting the slider to carve or emboss your volumes using the colour zones.
- In the Camera view, enable the Render mode to view the final effect.
