About Effects
T-HFND-010-001
When creating a scene, rigging a character or once your animation is finished, you can add effects such as blurs, glows, shadows, colour filters and transparency filters and to enhance your project's quality. Effects change the way layers or groups of layers are rendered in your scene.
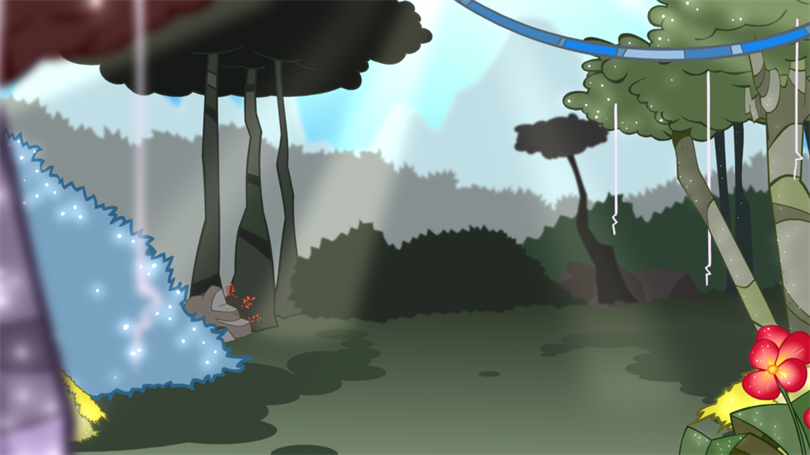
Harmony supports OpenFX plugins, and has its own integrated particle systems as well as light shading (normal map)
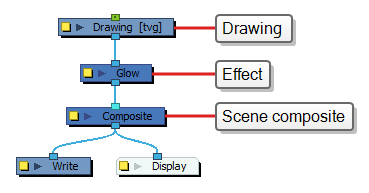
Effects are special types of nodes that you can add to your scene's structure. For an effect node to work, it must be connected under a drawing, a composite, another effect, or any other node that outputs an image. Effect nodes alter the image information sent to their input port, and output the processed image through their output port. This gives you flexibility in deciding which elements of your scene are affected by an effect.
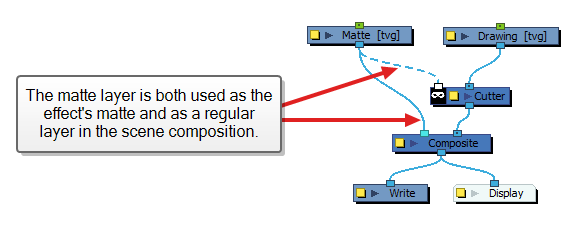
Some effects need to be linked to another layer, referred to as a matte layer, which is used to define the area they should affect.
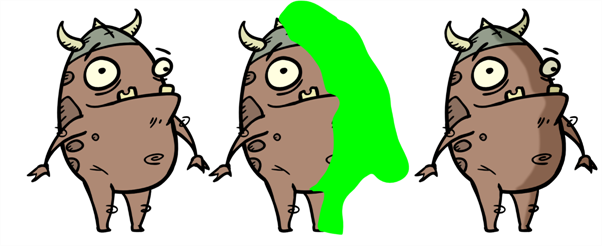
A matte layer is simply a regular drawing layer that is connected to an effect as its matte. The effect takes the shape of the drawing in the matte layer to determine the area of the drawing it affects. The colours and details in the matte layer are ignored by the effect, only its shape is taken in account.
In the Node view, an effect must be connected to the drawing or composite it is meant to affect by its input (top) port, and its output (bottom) port must be connected to the scene's main composite.
If the effect can use a matte layer, it will have a matte port on its left to which the matte layer can be connected.
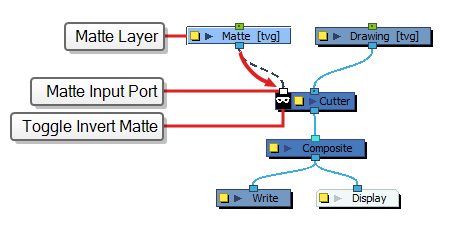
The matte port has a  Matte icon underneath it. You can invert the matte by double-clicking on this icon, which will make the effect use the negative space of the matte drawing rather than the matte drawing itself as its matte. When an effect's matte is inverted, the Matte appears black on white instead of white on black:
  .
.
Once your effect is connected, you can adjust its parameters by selecting it, then adjusting its parameters using the Layer Properties view.  Layer Properties icon to open its layer properties in a dialog.
If you need to use the uncut version of your drawing layer anywhere else in your scene, you can bypass the effect it is connected to by connecting the drawing layer's output port to other input ports of your composite, or to other effects or composite, as needed. This will create new cables, leaving your layer's connection to its effect unaffected.
