Replacing a Pencil Texture
If you are using Harmony Server, make sure you have the rights to modify the selected palette by doing one of the following:
- In the Colour view, make sure the Edit Palette Mode
toggle button is pressed in.
- In the palette list of the Colour view, right-click on the selected palette and select either Get Rights to Modify Palette or Get Rights to Modify All Palettes.
- From the Colour view menu
, select Palettes > Get Rights to Modify Palette or Get Rights to Modify All Palettes.
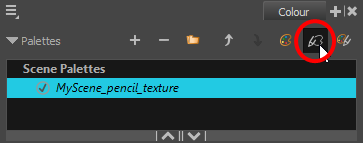
- In the Colour view, click on the Show Pencil Texture Palettes
button to display your pencil texture palettes.

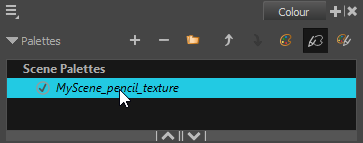
- In the palette list, select the pencil texture palette containing the desired pencil texture.

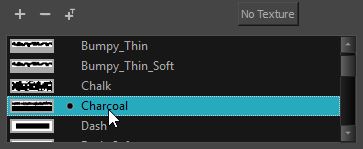
- In the swatch list, select the pencil texture that you want to replace.

- Do one of the following:
- Right-click on the pencil texture and select Edit Texture.
- Open the Colour view menu and select Colours > Edit Texture.
- In the file browser dialog, navigate to the location of your new texture image file and select it.
- Click Open.
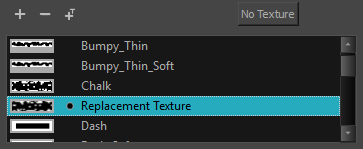
The selected texture is replaced with the new texture file. It is also renamed based on the new texture's file name.

Any pencil line that was drawn with the older pencil texture will now be drawn with the new pencil texture.