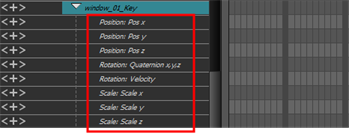
When you animate a subnode using a Subnode Animation node, the subnodes you animate will be automatically added to the parameters of the Subnode Animation in the Timeline view, allowing you to manipulate its keyframes, and the parameters of subnodes that are not animated will remain hidden.
However, there might be situations where you want to add subnodes to the Timeline view before animating them. For example, if you want to create a keyframe for a subnode in its default resting position, or if you want to prepare a scene for an animator and only make subnodes that are intended to be animated visible in the Timeline view. This is possible using the 3D Graph view.
- In the Node Library view, select 3D in the sections list and locate the Subnode Animation node.
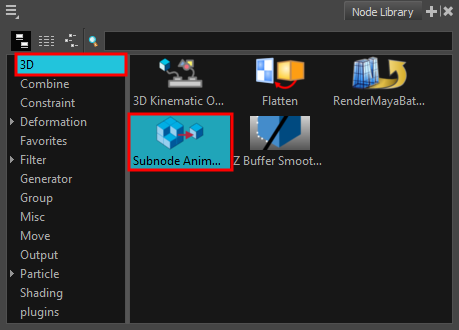
- Drag and drop the Subnode Animation node from the Node Library into the Node view.
- In the Node view, connect the Subnode Animation node under the element node of your 3D model.
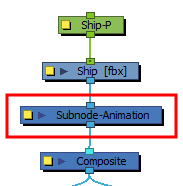
The Subnode Animation node automatically appears in the Timeline view, under the layer of the 3D model.

- In the 3D Graph view, select a subnode that you intend to animate.
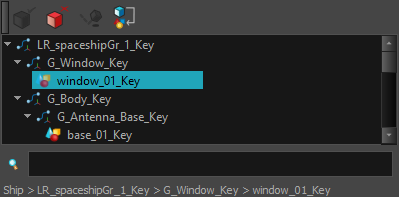
- Do one of the following:
- In the 3D Graph view toolbar, click on the Make Properties Available
button.
- Open the 3D Graph view menu
and select Insert > Make Properties Available.
The subnode appears in the Timeline view.
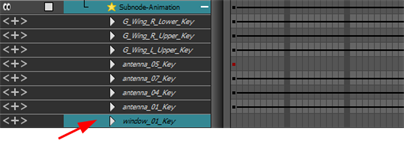
- In the Timeline view, click on the Expand
 button left of the subnode to display its parameters.
