A typical 3D model is comprised of several parts (subnodes) that can be transformed independently. By default, transformations made on 3D model subnodes are static. If you need to animate the subnodes of a 3D model, you need to connect the 3D model to a Subnode Animation node. This node will store the keyframes for each subnode that you animate and will also make them available in the Timeline view.
- In the Node Library view, select 3D in the sections list and locate the Subnode Animation node.
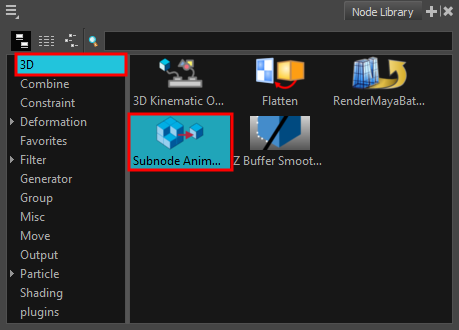
- Drag and drop the Subnode Animation node from the Node Library into the Node view.
- In the Node view, connect the Subnode Animation node under the element node of your 3D model.
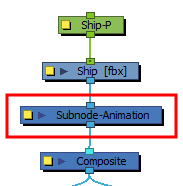
The Subnode Animation node automatically appears in the Timeline view, under the layer of the 3D model.

- In the Timeline view, select the frame where you want your first animation keyframe to be created.
- In the Tools toolbar, select the Transform tool
.
- Do one of the following:
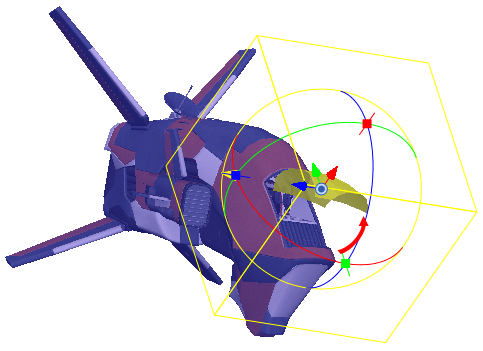
- In the Camera or Perspective view, click on your 3D model once to select the whole object, then click again on the part you wish to animate to select it.
- In the 3D Graph view, select the subnode you wish to animate.
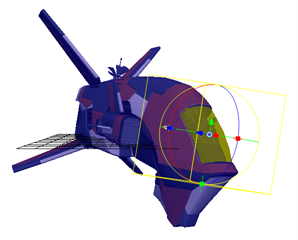
- Use the Transform tool to move, rotate or scale the individual part.
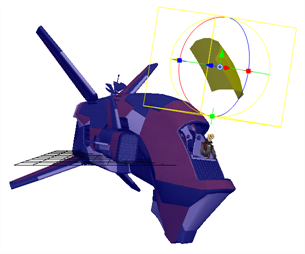
- The subnode appears in the Timeline view.

- In the Timeline view, expand the subnode layer to view its properties.
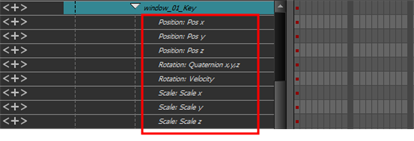
A keyframe appears in the first frame, recording the movement that was just made.
- Continue adding keyframes and making changes to the properties values to animate the individual part of the 3D model.