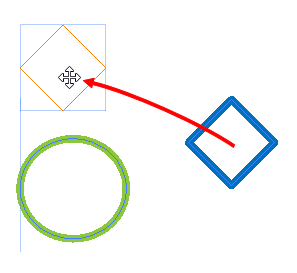
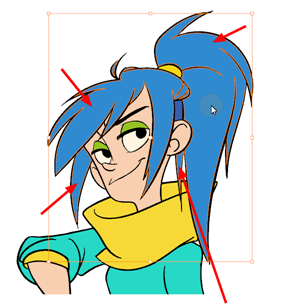
The Select tool lets you select strokes and apply basic transformations such as repositioning, rotating, scaling or skewing, using the different handles of the bounding box.
If you have text or pencil lines selected with the Select tool, their properties will display in the Tool Properties view, allowing you to make changes to your selection.
- In the Tools toolbar, select either the Select
 tool.
tool.
The tool's properties are displayed in the Tool Properties view.
Tool Options
| Icon | Property | Description |
|---|---|---|
|
|
Selection Mode |
Allows you to choose the method to visually select multiple elements:
TIP You can press and hold the Alt key to temporarily use the other selection mode.
|
|
|
Easy Drag |
When enabled, you can drag the selection by clicking anywhere inside its bounding box. By default, you must click on the artwork in the selection to be able to drag it. |
|
|
Snapping |
Allows you to enable or disable snapping for this tool and all other animation and drawing tools that support snapping, as well as to select which types of snapping are enabled. If you double-click or long-click on this button, it will open a pop-up menu in which you can toggle different snapping modes. You can also click on this button to toggle it off, which will disable all snapping modes, and click on it again and toggle it on to re-enable the snapping modes which were previously enabled. This tool supports the following snapping modes:
|
|
|
Select by Colour |
When enabled, clicking on a coloured zone in your artwork will instantly select all the zones that are filled with the same colour.
NOTE Only the zones painted with the same colour swatch in your palette will be selected. If another zone is coloured with the exact same colour, but not the same colour swatch, it will not be selected.
|
|
|
Apply to Visible Drawing Layers |
By default, the tool only works on the currently selected layer. When enabled, the tool will work on all the visible layers in the Camera view.
NOTES
|
Operations
| Icon | Property | Description |
|---|---|---|
|
|
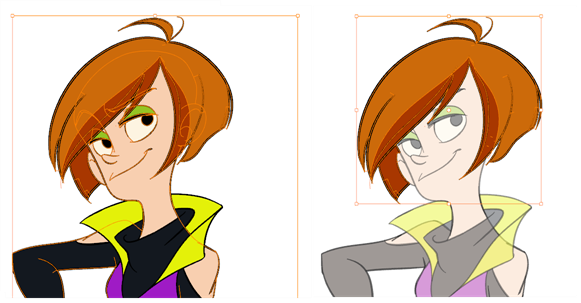
Flip Horizontal | Flips the current selection horizontally. |
|
|
Flip Vertical | Flips the current selection vertically. |
|
|
Rotate 90 Degrees CW | Rotates the current selection 90 degrees clockwise. |
|
|
Rotate 90 Degrees CCW | Rotates the current selection 90 degrees counter-clockwise. |
|
|
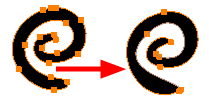
Smooth |
Smooth out selected drawing strokes and remove extra points.
|
|
|
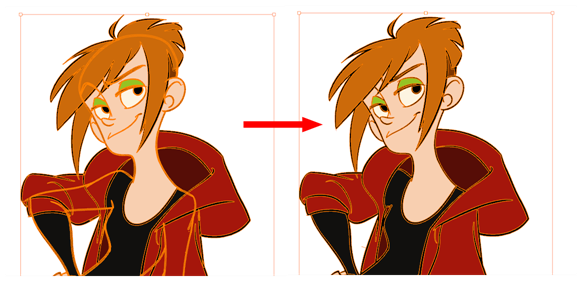
Flatten |
Merges drawing objects and brush strokes into a single layer. If you draw new lines to fix a drawing or line with many brush strokes, it can be useful to flatten them all into a single shape. By default, lines are drawn one on top of each other. If you intend to repaint the lines or modify their shape, it will be easier if they are flattened.
|
|
|
Create Colour Art from Line Art |
Lets you use the outline you traced on one of the four embedded layers (line art, colour art, overlay, underlay) and create invisible strokes to paint your drawings on separate layers. This provides more inking and painting flexibility. You can also configure this option to create the invisible strokes on any of the four embedded layers. |
|
|
Distribute to Layers |
The Distribute to Layers option is used to separate the selected art strokes and send them to new drawing layers. In the Camera view, once you have drawn your artwork, you can select the strokes you want to distribute using the Select tool and click on the Distribute to Layers button; you can also select Drawing > Distribute to Layers. It will automatically take every stroke from the drawing selection made in the Camera view and separate them into a different layer for each. If an artwork is composed of several strokes, you must group them using Edit > Group > Group before using the Distribute to Layers option. This option cannot be done from the Drawing view. |
|
|
Pencil to Brush |
Converts the selected centre line pencil strokes into contour strokes brush lines.
|
|
|
Offset X |
Lets you enter a value to reposition the selection along the X-axis. |
|
|
Offset Y |
Lets you enter a value to reposition the selection along the Y-axis. |
|
|
Width |
Lets you enter a value to resize the width of the selection. |
|
|
Height |
Lets you enter a value to resize the height of the selection. |
|
|
Lock |
Locks or unlocks the ratio between the Width and Height values. |
|
|
Angle |
Lets you enter specific values to rotate the selection. A positive value rotates the selection counter clockwise and a negative value rotates the selection clockwise. |
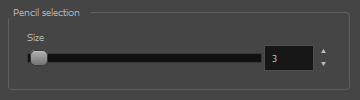
Pencil Selection
If the selection contains pencil lines, the Pencil Selection section appears at the bottom of the Tool Properties view, allowing you to adjust the
| Icon | Property | Description |
|---|---|---|
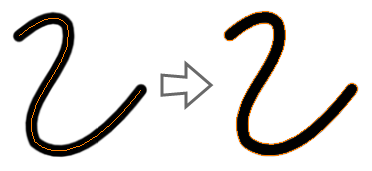
| Size | Adjusts the width of the selected pencil lines. |
Text Selection
If your selection include text boxes created with the Text tool, a Text Selection section will appear at the bottom of the Tool Properties view, allowing you to adjust the formatting of the whole text box.

| Icon | Property | Description |
|---|---|---|
|
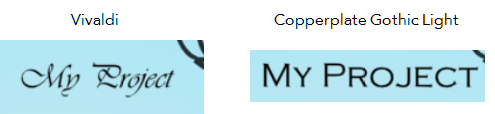
Font |
Lets you select the font in which to display the text.
|
|
|
|
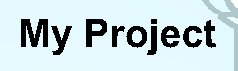
Bold |
Makes the selected text bold.
|
|
|
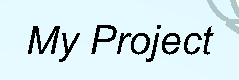
Italic |
Makes the selected text italic.
|
|
|
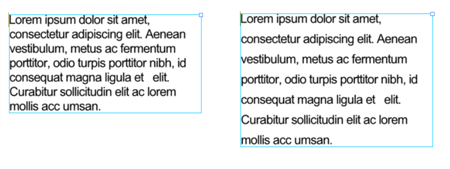
Align Left |
Aligns the text in the selected text box to the left.
|
|
|
Align Center |
Aligns the text in the selected text box to the centre.
|
|
|
Align Right |
Aligns the text in the selected text box to the right.
|
|
|
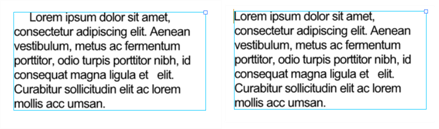
Justify |
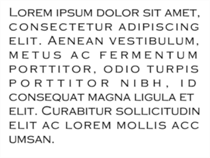
Makes the text in the selected text box take all the horizontal space by adjusting the spacing between each word. Text that use a single line and text in the last line of a paragraph is aligned to the left.
|
|
Size |
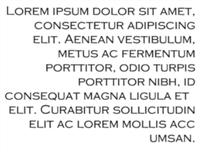
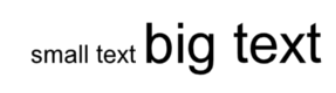
Allows you to set the size of the selected text.
|
|
|
Kerning |
Allows you to increase or decrease the spacing between each character.
|
|
|
Auto Kern |
Sets the kerning automatically based on the font’s predefined standard. |
|
|
Indent |
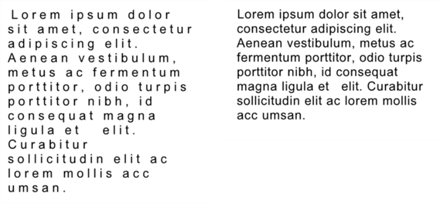
Allows you to increase or decrease the indentation of the first line of text in each paragraph.
|
|
|
Line Spacing |
Increases or decreases the space between each line of text.
|