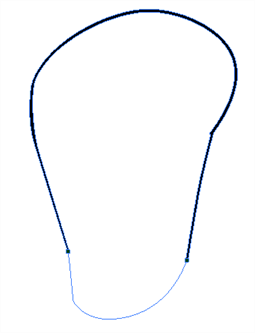
The main breakdown technique shown here is to trace your model.
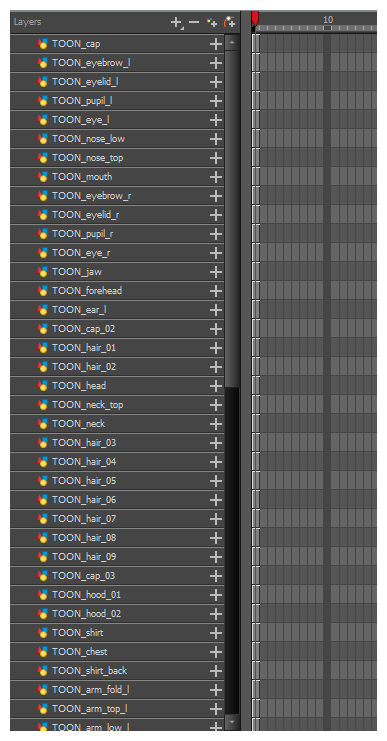
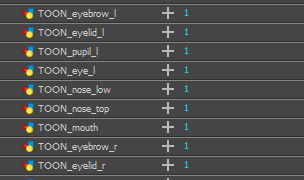
- In the Timeline view, add a new drawing layer for each body part to separate. You can press Ctrl + R (Windows/Linux) or ⌘ + R (macOS) to add new drawing layers.
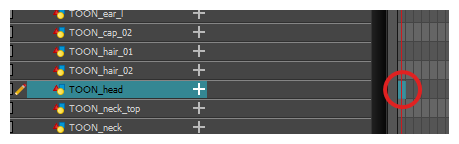
- In the Timeline view, select the layer's first cell in which you want to draw the part.
- In the Tools toolbar, select the drawing tool of your choice. There are two commonly used methods to drawing the parts of a cut-out character model:
- Using the
Pencil tool, then smoothing your lines with the
Smooth Editor tool
- Using the
Polylinetool. This method allows you to draw with great precision, but may take more time.
These methods ensure each part is made with as few points as possible, so that they are easy to manipulate, modify or redraw.
- In the Colour view, select a colour swatch. If you haven't created a palette for your character yet, see About Palettes.
- If you prefer working in the Drawing view, do one of the following to display the other layers in washed out colours:
- In the Drawing view toolbar, lick the
Light Table button.
- Press Shift + L.
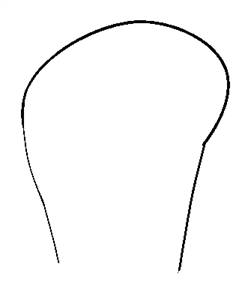
- In the Camera or Drawing view, draw the new part.
- If you want to close an open shape without drawing a visible outline, you can draw an invisible line using the
 Stroke tool.
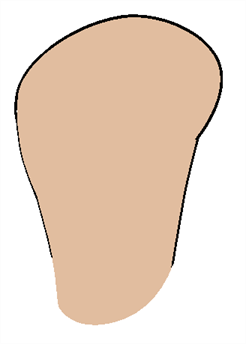
- In the Tools toolbar, select the
 Paint or Paint
  Unpainted tool to colour your drawing.
- In the Colour view, create the desired fill colour if it's not already in your palette, then select it.
- In the Camera or Drawing view, paint your drawing.
- In the Tools toolbar, select the
 Select tool. Select your drawing and flatten the lines by clicking the
  Flatten button in the Tool Properties view.
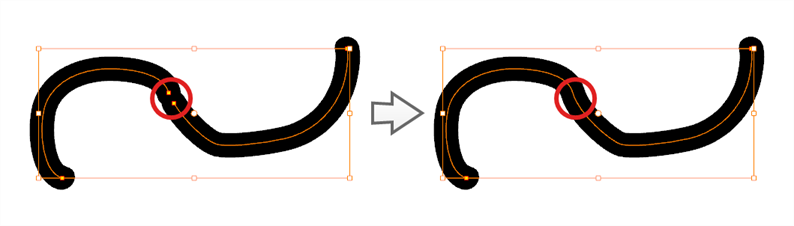
- If your lines are composed of several pencil strokes, you might want to combine them into one single smooth pencil line. Using the Select tool, select the pencil lines to be merged and in the Tool Properties view, click the
 Merge Pencil Lines button.
- Repeat the entire process for every body part that you wish to make animatable.