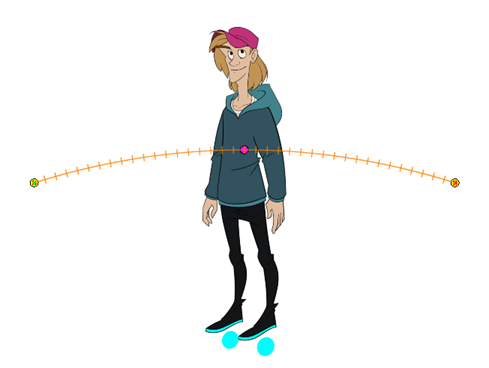
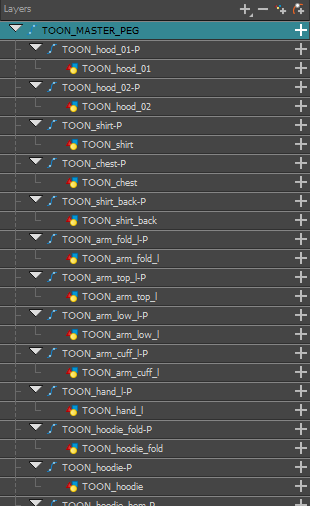
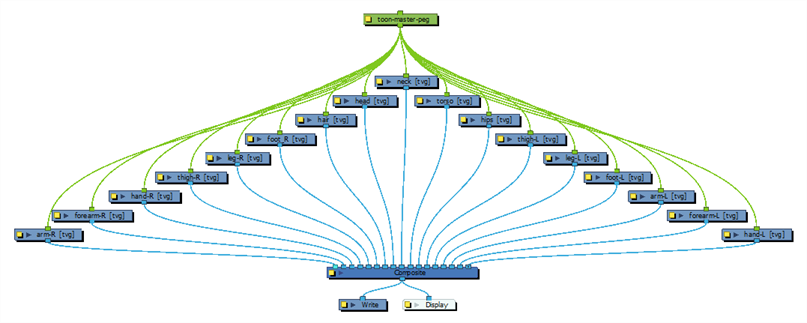
Your character rig should always have a master peg which connects to all of its parts. The master peg allows you to manipulate the entire rig from a single layer, without having to manipulate each individual part. This is useful for positioning and scaling your character relative to the scene, as well as to animate your character's trajectory when it has to move between areas of the scene.

- In the Timeline view, select the top layer.
- In the Timeline view, click on the
Add Peg button.
A new peg is added to the timeline as a parent of the selected layer.
- Name the new peg
Masterplus the character's name.
- In the Timeline view, select all the layers you want to attach to your new peg. Remember that your top layer is already a child of the peg, so don't include it in your selection.
- Drag your selection ON to the peg layer to parent all your character's pieces to the peg. If your layers are added above the already parented layers, move that parented layer back on top of the layer stack.

- In the Node view, hold Ctrl (Windows/Linux) or ⌘ (macOS) and select each node that you want to attach to your new peg.
- Do one of the following:
- From the Node view menu, select Insert > Peg.
- Press Ctrl + P (Windows/Linux) or ⌘ + P (macOS).
- Rename the new peg
Masterplus the character's name.
