T-COMP2-002-008
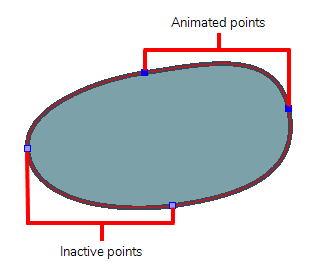
Every control point for an Animated Matte Generator can be animated independently, giving you full control on the shape of your drawing or effect throughout the scene. You can animate the contours of an Animated Matte Generator by displaying its controls in the Camera view, then manipulating its points using the Transform tool.
- In the Node or Timeline view, select the Animated Matte Generator node.
- Display the controls of the Animated Matte Generator node by doing one of the following:
- In the Camera view toolbar, click on Show Control
 .
. - From the top menu, select View > Show > Control.
- Press Shift + F11.
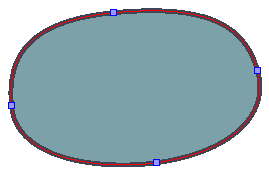
The control points for the Animated Matte Generator display in the Camera view.
- In the Tools toolbar, select the Transform
 tool.
tool.
- In the Tools toolbar, if
 Animate Off or
  Animate Onion Skin Range mode is selected, click on it to open the Animate pop-up menu and select
  Animate Current Frame.
- In the Editing Mode panel of the Animated Matte Generator view, select Define Matte Point
 .
.
This mode allows you to move and tweak matte points and contours in the Camera view.
- In the Timeline view, move the Timeline cursor to the frame where you want to create the initial pose of the Animated Matte Generator.
- Do one of the following:
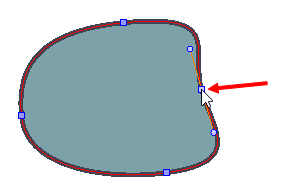
- Click and drag a matte point to reposition it.
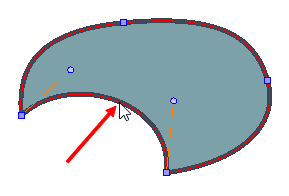
- Click and drag a contour to tweak its curve.
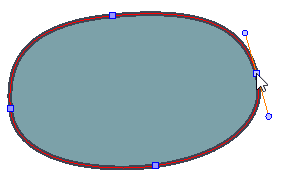
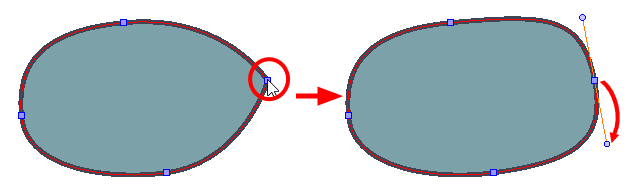
- Select a matte point to display its curve handles.
- Click and drag one of the curve handles of a matte point to influence the curves on both sides of the matte point.
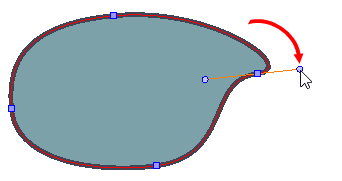
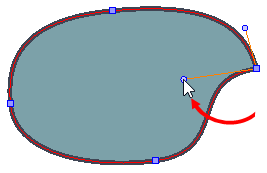
- While holding Alt, click and drag one of the curve handles to influence the curve only on one side of a matte point.
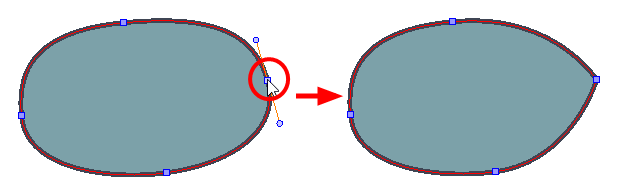
- While holding Alt, click on a matte point to remove its curve handles.
- While holding Alt, click and drag a matte point with no curve handles to create its curve handles.
- In the Timeline view, move the cursor to the frame where you want to create your next pose.
- Repeat steps 7 and 8 until the animation for your matte is completed.
Points that have been left in their resting positions appear light blue, and points that have been animated will appear dark blue, except when selected.