T-LAY-003-005
The first step to create paperless animation is the rough construction, which is the skeleton of your animation. You would usually start by animating the most important part of a character's action. For example, to animate a walk cycle, you will start with the torso motion and the legs. Secondary animation such as the head, arms and clothes can be added afterward.
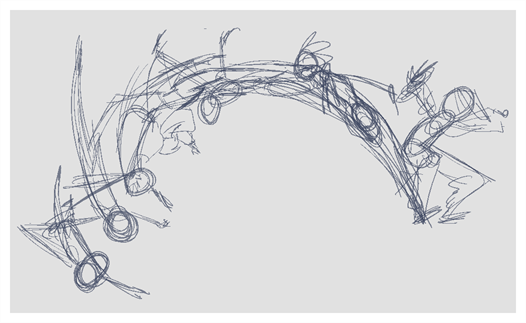
For a satisfactory animation, start by animating the main action with quick, rough sketches, then add the details when you're satisfied with the movement. If you start animating all the details right away, you will lose a lot of time if you have to make corrections, and your animation is likely to look rigid.
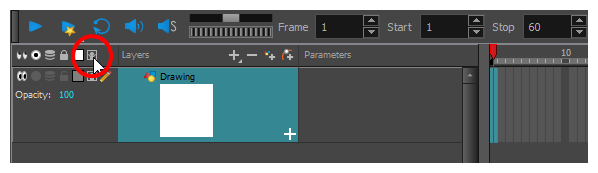
- In the top row of the Timeline view, click on Show All Thumbnails
 to enable Thumbnail mode.
- In the Tools toolbar, select the Brush
 tool or press Alt + B.
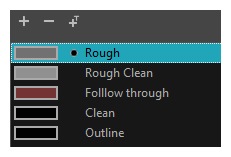
- In the Colour view, select a colour for the brush. It is a good idea to choose a light colour for your rough animation. This will make the clean up process easier as your clean dark lines will contrast with your light sketch lines.
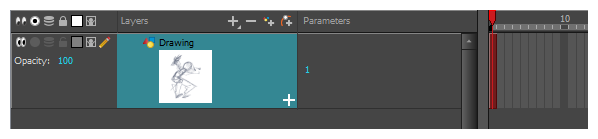
- In the Timeline or Xsheet view, select the cell where you want your first drawing to appear.
- In the Camera or Drawing view, draw the first key drawing.
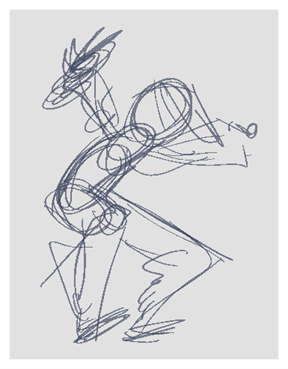
As soon as you draw your first stroke, a drawing is automatically created in the cell you selected.
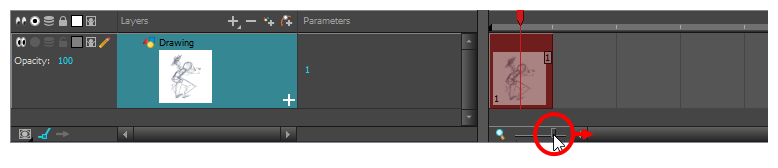
- Increase the Timeline view's zoom level until you see the thumbnails inside the cells by doing one of the following:
- Drag the Timeline Zoom
 slider to the right.
 - Click on the Timeline view's tab, then press 2 repeatedly.
- Move the mouse cursor in the Timeline view, then hold Ctrl (Windows/Linux) or ⌘ (macOS) and roll the mouse wheel up.
- In the Timeline or Xsheet view, select the cell where your next key drawing will appear.

- In the Tools toolbar, click the Onion Skin
 button. This will display the previous and next drawings in a light colour in the Camera or Drawing view, behind your current drawing, so that you can use them as references to draw new drawings with accuracy. This can be useful to draw breakdown poses between two key poses, or to add an in-between drawing between two other drawings.
- Ensure the onion skin displays your first key drawing, so that you can base your second key drawing on it. To do this, do one of the following:
- In the Timeline view, drag the blue onion skin markers to extend the number of past and future drawings to display as onion skin.

- In the Camera View or Drawing View toolbar, use the Onion Skin Add One Previous Drawing
, Onion Skin Reduce One Previous Drawing
, Onion Skin Reduce One Next Drawing
and Onion Skin Add One Next Drawing
buttons to adjust the span of the onion skin frame by frame.
- Create a new empty drawing by doing one of the following:
- In the Timeline or Xsheet toolbar, click on the Create Empty Drawing
button.
- Press Alt + Shift + R.
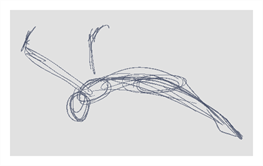
- In the Camera or Drawing view, draw your second key drawing.

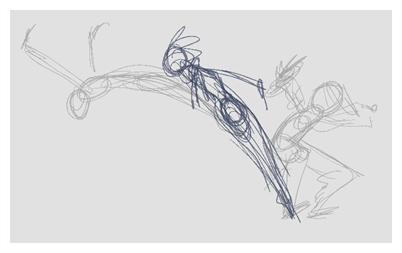
- In the Timeline or Xsheet view, select a cell between the two key drawings. Using the onion skin markers, ensure the onion skin covers both your first and last drawings.

- Create a new empty drawing by doing one of the following:
- In the Timeline or Xsheet toolbar, click on the Create Empty Drawing
- Press Alt + Shift + R.
- In the Camera or Drawing view, draw your new pose.
- In the Timeline or Xsheet view, select a new cell and repeat the previous steps for each new drawing.