
Locking Layers
You can perform five types of locking actions on your layers. You will still be able to modify locked layers in the Timeline and Layer Properties views, but you will not be able to select them through the Camera view.
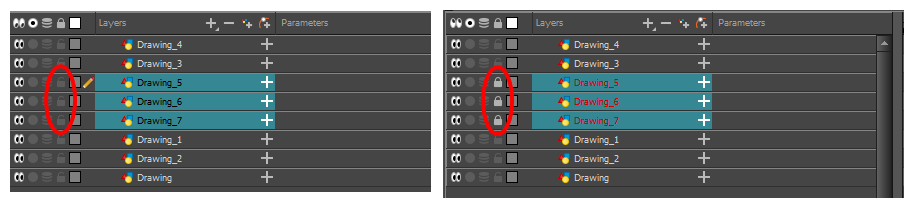
- In the Timeline view, select one or more layers.

- Do one of the following:
- From the top menu, select Animation > Lock > Lock.
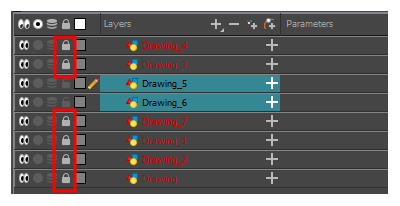
- Click one of the selected layer’s Lock
icon.
- Press Ctrl + Alt + L (Windows/Linux) or ⌘ + Alt + L (Mac OS X).
All selected layers are locked.
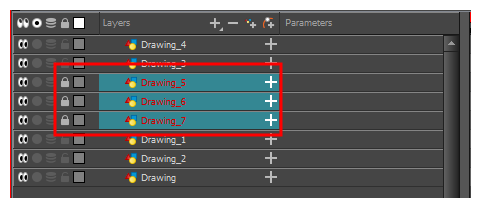
- In the Timeline view, select one or more locked layers.
- Do one of the following:
- From the top menu, select Animation > Lock > Unlock.
- Click a selected layer’s Lock
icon.
- Press Ctrl + Shift + K (Windows/Linux) or ⌘ + Shift + K (Mac OS X).
All selected layers are unlocked.
- Do one of the following:
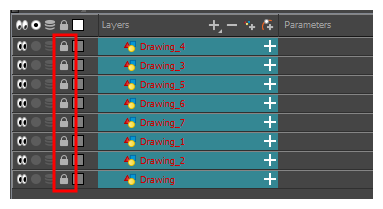
- From the top menu, select Animation > Lock > Lock All.
- In the Timeline view, select all layers and click Lock
- Press Ctrl + Shift + L (Windows/Linux) or ⌘ + Shift + L (Mac OS X).
All layers are locked.
- Do one of the following:
- From the top menu, select Animation > Lock > Unlock All.
- In the Timeline view, select all layers (locked) and click Lock
- Press Ctrl + Alt + Shift + L (Windows/Linux) or ⌘ + Alt + Shift + L (Mac OS X).
All layers are unlocked.

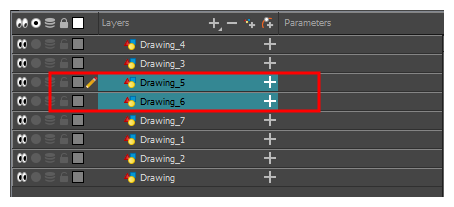
- In the Timeline view, select the layers you do not want to lock.
- Do one of the following:
- From the top menu, select Animation > Lock > Lock All Others.
- Press Ctrl + Alt + Shift + O (Windows/Linux) or ⌘ + Alt + Shift + O (Mac OS X).
All layers are locked except the selected ones.
- In the Camera View bottom toolbar, enabled the Outline Locked Drawings
 option.
- You can also set this option as a permanent preference. From the top menu, select Edit > Preferences (Windows/Linux) or Harmony > Preferences (Mac OS X).
- In the Preferences dialog box, select the Camera tab.
- In the Tools section, select the Show Locked Drawings As Outlines option.