Vectorizing Images on Import
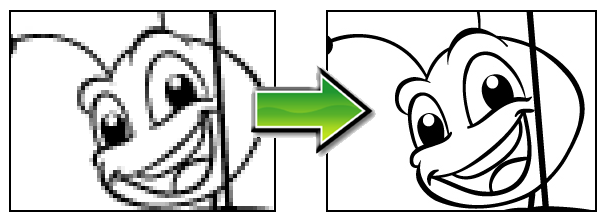
You can import bitmap images as vector drawings, which allows you to edit them using Harmony's vector drawing tools. This is especially useful to convert bitmap line art scanned or created in a different software into vector line art so it can be painted in Harmony.

- Do one of the following:
- From the top menu, select File > Import > Images.
- In the File toolbar, click the Import Images
button.
- In the Xsheet view, right-click anywhere in the frame area and select Import > Images.
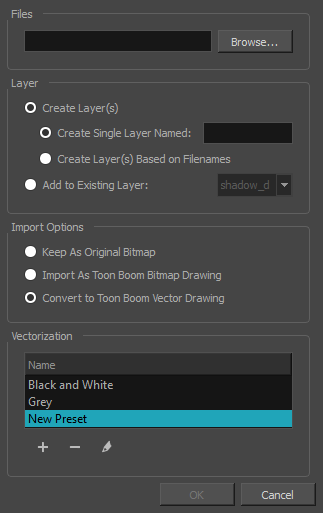
The Import Images dialog box opens.

- In the Files section of the Import Images dialog box, click Browse to select one or more images from your computer.
- Select the destination for your images:
- Create Single Layer Named: Creates a new layer with the specified name and imports the images into it.
- Create Layer(s) Based on Filenames: Creates a layer based on each unique filename prefix. For example, if you import three files named a-1.tga, a-2.tga and b-1.tga, this will create two layers, one named "a" and one named "b". Layer "a" will contain the two first images and "b" will contain the third one.
- Add to Existing Layer: Imports the images into the specified layer. Note that you can only import into layers that are compatible with your import options. For example, if you're importing images as vector drawings, you can only import them into vector drawing layers.
- In the Import Options section, select the Convert to Toon Boom Vector Drawing option.
- In the Vectorization section, decide whether you want to import your image in black and white or in greyscale. You can also click the New Preset
 button to create a custom vectorization parameter preset.
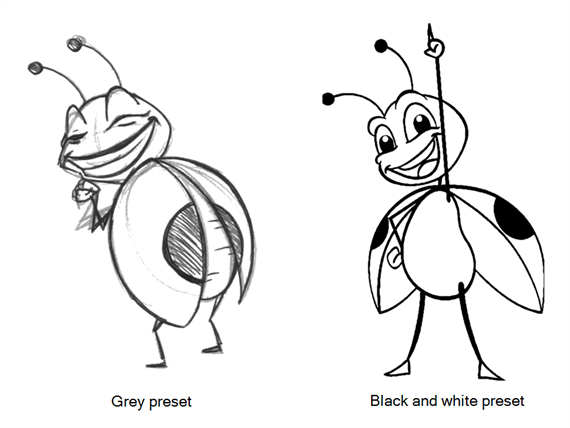
| ‣ | Black and White: Vectorizes drawings as a solid black line; creates a 100% vector-based drawing. The outlines of your drawings will be painted with the Vectorized Line colour swatch of your scene's colour palette. |
| ‣ | Grey: Vectorizes your image as a mix of vector contour and greyscale bitmap filling. Lines keep the texture from the scan, and the white of the paper becomes transparent. |

NOTE: You can double-click on any of the presets at any time to open the Vectorization Parameters dialog box to customize your option.
- Click OK.
Your vectorized images will appear in their selected destination.
