How to Create a Traditional Animation
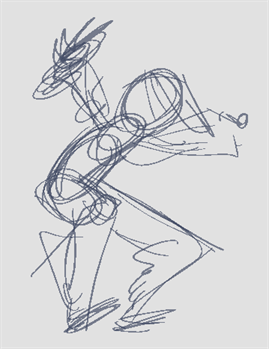
The first step to complete a traditional paperless animation is the rough construction, which is the skeleton of your animation. You would usually start with the main action. For example, to animate a walk cycle, you will start with the torso motion and the legs. Head, arms and clothes will be added later during the secondary animation.
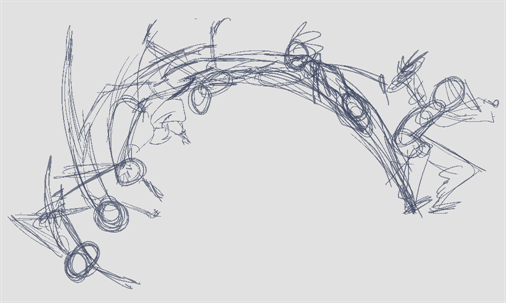
For a satisfactory animation, start by animating the main action with quick, rough sketches, then add the details when you're satisfied with the movement. If you start animating all the details right away, you will lose a lot of time if you have to make corrections, and your animation is likely to look rigid.
- Press Ctrl + U (Windows/Linux) or ⌘ + U (Mac OS X) to open the Preferences dialog box.
- Select the Exposure Sheet tab.
- Select the Use Current Frame as Drawing Name option. When this preference is enabled, drawings will be named like the frame they are created on (frame number).
- In the Tools toolbar, select the Brush
 tool or press Alt + B.
- In the Colour view, select a colour for the brush. It is a good idea to choose a light colour for your rough animation. This will make the clean up process easier as your clean dark lines will contrast with your light sketch lines.
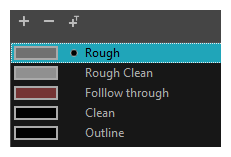
- In the Timeline or Xsheet view, select the cell where you want your first drawing to appear.
- In the Camera or Drawing view, draw the first key drawing.
- With your first cell still selected, do one of the following to mark your drawing as a key drawing. This will help you stay organized.
- In the Mark Drawing toolbar, click the Mark Selected Drawings as Key
button.
- In the Xsheet view, select Drawings > Mark Drawing As > Key Drawing.
- In the Timeline view, select Drawings > Mark Drawing As > Key Drawing.
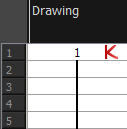

- In the Timeline or Xsheet view, select the cell where your next key drawing will appear.
- In the Tools toolbar, click the Onion Skin
 button. This will display the previous and next drawings in a light colour in the Camera or Drawing view, behind your current drawing, so that you can use them as references to draw new drawings with accuracy. This can be useful to draw breakdown poses between two key poses, or to add an in-between drawing between two other drawings.
- Ensure the onion skin displays your first key drawing, so that you can base your second key drawing on it. To do this, do one of the following:
- In the Timeline view, drag the blue onion skin markers to extend the number of past and future drawings to display as onion skin, if needed.

- In the Camera View or Drawing View toolbar, use the Onion Skin Add One Previous Drawing
, Onion Skin Reduce One Previous Drawing
, Onion Skin Reduce One Next Drawing
and Onion Skin Add One Next Drawing
buttons to adjust the span of the onion skin frame by frame.
NOTE: When in the Drawing view, you can use the Onion Skin toolbar to make onion skin display only specific types of drawings, such as key drawings or breakdowns. Keep in mind that this does not work in the Camera view.
- In the Camera or Drawing view, draw your second key drawing.
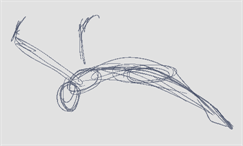
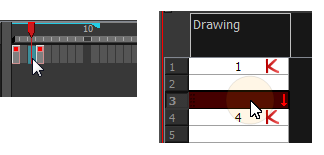
- In the Xsheet or Timeline view, identify the drawing as a key drawing.

- In the Timeline or Xsheet view, select a cell between the two key drawings.
- In the Camera or Drawing view, draw your new pose.
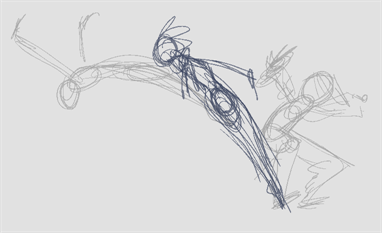
- In the Timeline or Xsheet view, select a new cell and repeat the previous steps for each new drawing.
- In the Timeline view, use the Enable/Disable All
 and Solo
  buttons to turn off any layers you don't want to see during playback.

- In the Timeline view, move the red playhead to the first frame of your animation and click the Start button on the Timeline toolbar. Then, move the playhead to the last frame of your animation and click the Stop button.

- In the Playback toolbar, click the Loop
 button to enable looping during playback.
- In the Playback toolbar, click the Play
 button to being playback.
Cleaning Up
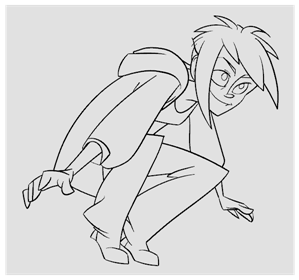
When your rough animation is completed, it is time to clean it up and ink it. This step is also called tracing. It consists of tracing solid and clean lines over the rough animation to close any open zones. This is the final paperless animation step before the ink and paint step.
In traditional animation, cleaned up drawings are usually traced on a new sheet of paper with the rough underneath, made visible using the animation disk's light table. Likewise, in Harmony, you will need to add a new drawing layer on which to draw cleaned up drawings. When you're done cleaning up, you can simply disable the layer containing the rough animation so that it does not appear in the render. This approach also allows you to keep the roughs and the cleaned up drawings intact and to manage them independently.
In the Camera view, you will see your rough animation while working on your clean up layer. If you plan on tracing your animation in the Drawing view, you can enable the light table to display the rough animation while tracing on your clean up layer.
- In the Timeline view, click the Add Drawing Layer
 button or press Ctrl + R (Windows/Linux) or ⌘ + R (Mac OS X).
The Add Drawing Layer window opens.
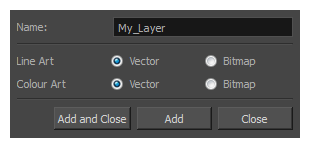
- In the Name field, name your new layer.
- Set the Line Art and Colour Art options to Vector to get a vector layer or to Bitmap to have a bitmap layer.
- Do one of the following:
- Click Add to add a first layer and keep the window open to add more layers.
- Click Add and Close to add a new layer and close the window.
A new drawing layer is added to the Timeline view.
- In the Timeline view, click the Lock
 icon of the layer containing your rough animation to prevent the layer from being selected in the Camera view.

- In the Timeline or Xsheet view, select the new layer’s cell corresponding to the first key drawing of your rough animation.
- In the Tools toolbar, select a drawing tool such as the Pencil
 tool.
tool.
- In the Colour view, select a colour for tracing your animation. Pick a dark bold colour, such as black, to make sure it contrasts well with the light colour of your rough animation.
- In the Camera or Drawing view, start tracing the first key drawing.
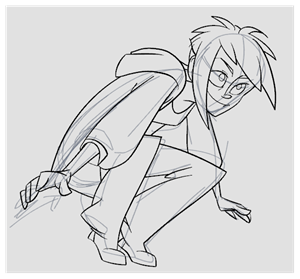
NOTE: If you have other layers in the way, you can disable them temporarily in the Timeline view, so that only your rough animation and your clean up layer are displayed in the Camera view.
- In the Timeline or Xsheet view, select the next cell corresponding to a rough drawing.
- In the Tools toolbar, click the Enable Onion Skin
 button.
- Ensure onion skin displays your previous cleaned up drawing, by doing one of the following:
- In the Timeline view, drag the blue onion skin markers to extend the number of past and future drawings to display as onion skin, if needed.

- In the Camera View or Drawing View toolbar, use the Onion Skin Add One Previous Drawing
, Onion Skin Reduce One Previous Drawing
, Onion Skin Reduce One Next Drawing
and Onion Skin Add One Next Drawing
buttons to adjust the span of the onion skin frame by frame.
- In the Camera view, trace your next drawing.
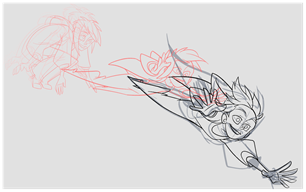
- Repeat the previous steps for each drawing.
