Patch Articulation
The Harmony advanced rigging can use an articulation fixing technique called Patch Articulation. This technique is a colour fill patch that is drawn on a third layer and is used to cover the joint lines. It is a simple, yet powerful method.
With this technique, you avoid having to create a correction layer at the end of the animation to fill the gaps in the joints. You do not need to worry about the articulations at all. Once a patch is set, the articulation is fixed for the entire length of the animation.
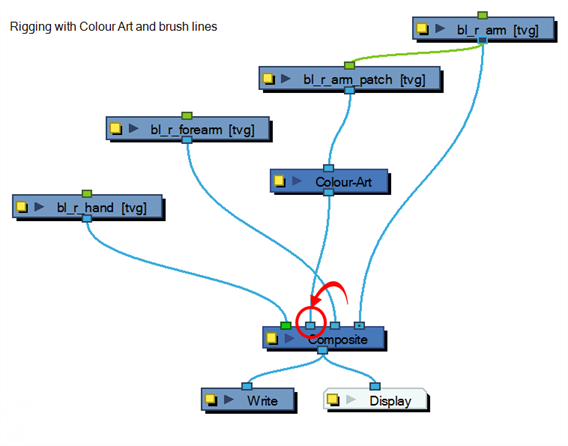
To make this technique even more efficient, Harmony lets you draw the patch inside the same drawing, but on a separate contained layer. The Line Art and Colour Art layers are not only useful in traditional ink and paint, but also in advanced cut-out breakdown. You can draw the patch in the Colour Art layer and extract it in the Node view. The advantage of doing it this way is that when animating and using the drawing substitution, the patch drawing will change at the same time as the main drawing.
- In the Tools toolbar, select the Transform
 tool or press Shift + T.
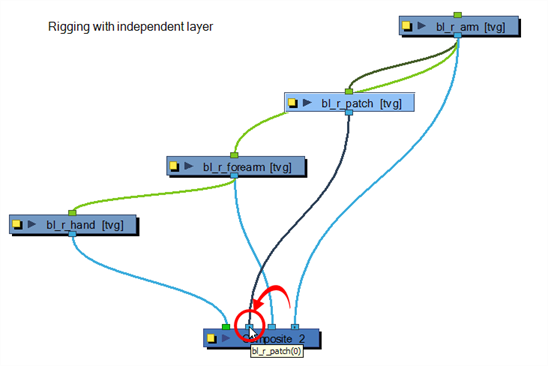
- If you plan to create your patch on an independent layer, do the following. If not, go the next step.
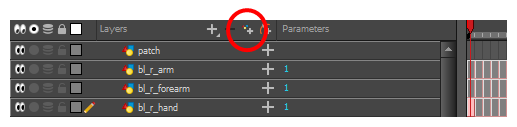
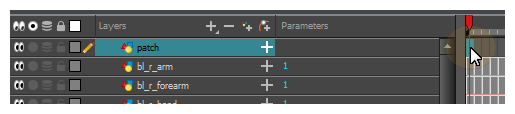
| ‣ | In the Timeline view, add a new drawing layer by clicking the Add Drawing Layer |
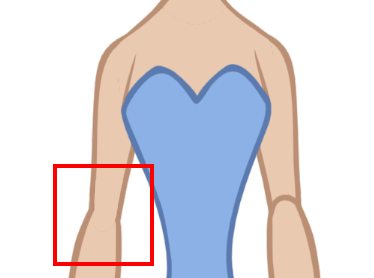
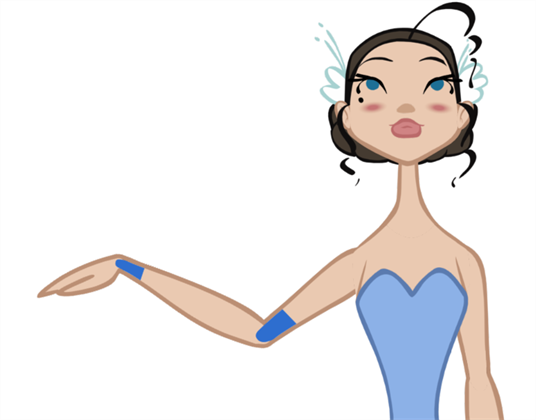
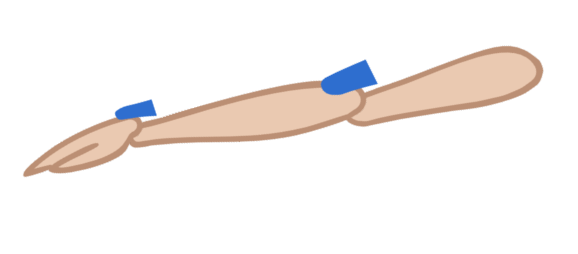
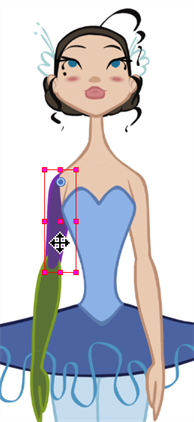
- In the Camera view, select the part for which you want to create a patch. For example, if you are fixing the elbow articulation, select the arm or forearm drawing to edit it.
- In the Tools toolbar, select the Select
 tool or press Alt + S.
- If you drew your lines with pencil lines, it is recommended to convert them to brush lines (fill shapes):
| ‣ | In the Camera view, select the pencil lines.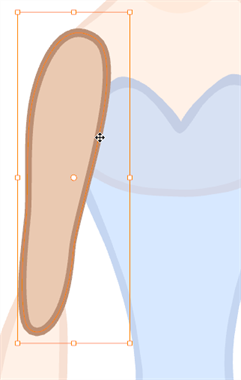 |
| ‣ | In the Tools Properties view, click the Convert Brush Strokes to Pencil Lines |
| ‣ | In the Camera view, select the piece's outline and fill.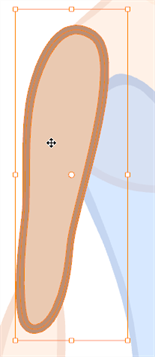 |
| ‣ | In the Tool Properties view, click the Flatten 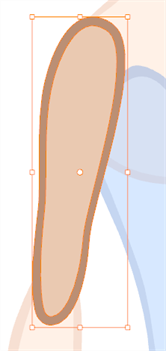 |
NOTE: If you want to keep your lines as pencil and create a patch joint, you will need to use the Auto-patch Articulations node.
- In the Camera view, select the fill zone of the part's drawing.
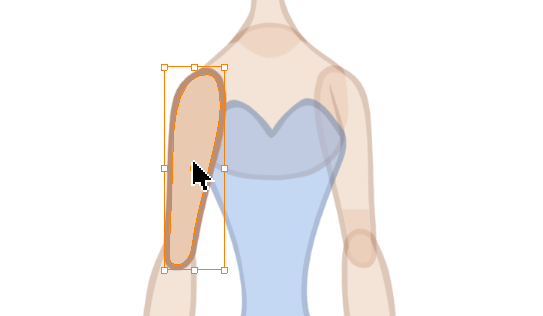
- In the Camera view, right-click and select Copy.
- To paste the selection:
| ‣ | If you are using the recommended method, which is to paste your selection in the Colour Art, in the Art Layer toolbar, click the Colour Art OR |
| ‣ | If you are using an independent layer, in the Timeline view, select the cell in which you want to create the patch. |
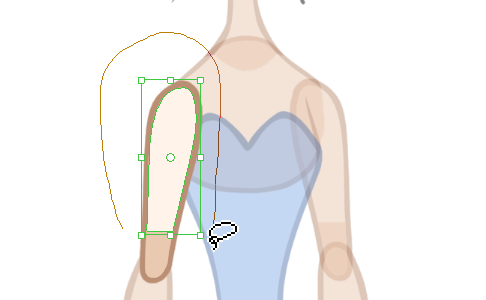
- In the Camera view, right-click and select Paste.
- In the Tools toolbar, select the Cutter
 tool.
tool. - In the Camera view, make a selection around the pasted zone to cut everything out but a small overlapping zone to cover the articulation.
- To extract the patch from the Colour Art layer:
| ‣ | In the Node view, select the node containing the drawing with the patch. |
| ‣ | Copy and paste the selected node. Note that when you copy and paste from the Node view, by default it creates a clone, so any changes that are made to one affect the other. |
| ‣ | Click on the node's yellow button to open the Layer Properties window. |
| ‣ | In the Name field, add the word patch to the node's name. |
| ‣ | Close the Layer Properties window. |
- In the Node Library, select the All Node tab. Drag a Colour Art node and connect it below the Patch node.
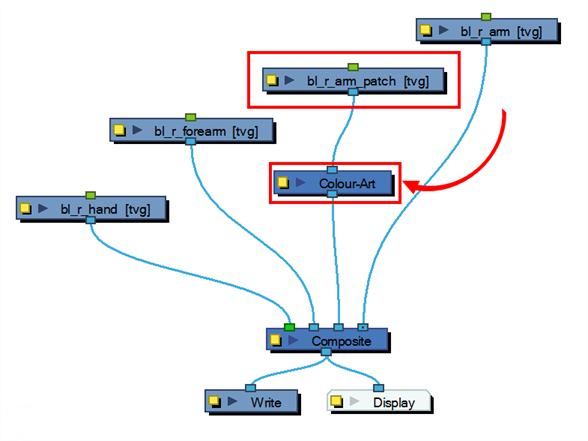
- In the Node view, connect the main part you create the patch from and parent it to the patch node.
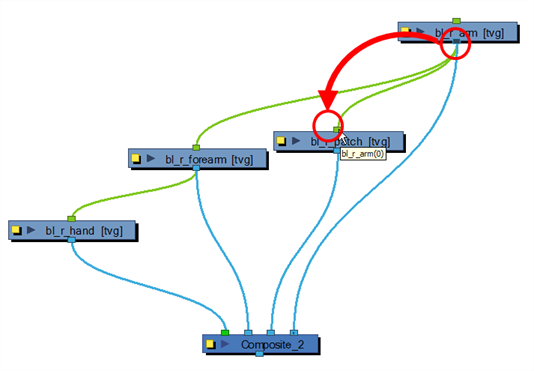
- Select the patch node's connection to the Composite node and drag it in front of the piece to be covered. In this case, the elbow patch is parented to the arm and connected in front of the forearm.
| 1. | Repeat the process for each articulation which requires fixing. |