Chapter 20: How to Set Up Objects in 3D Space
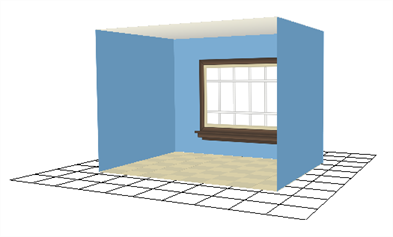
Once your drawings and symbols are assembled, it is time to position them. This section explains how this is done using the example of a simple room.
- In the Timeline view, double-click on the new layer to open the Layer Properties dialog box.
- In the Transformation tab, select the Enable 3D option.

- In the Rotation section, select the Euler Angles option.
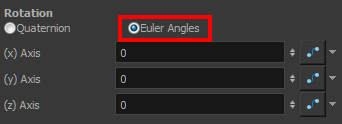
- In the (x) Axis field, type
90to flip the floor so it is flat on the ground.
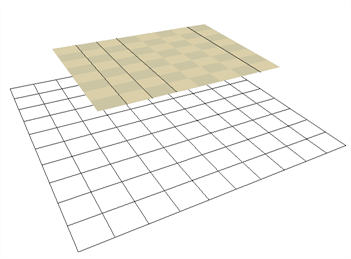
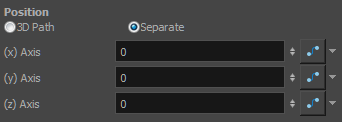
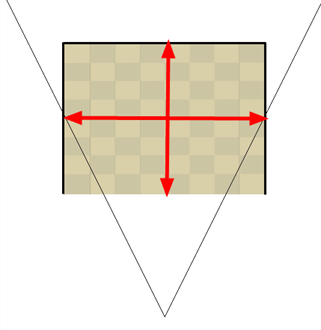
- To position the height of the floor, type values in the Position section of the Layer Properties, use the Translate
 tool or Transform
  tool.
tool.
- Repeat the process for the other pieces to position.
- If you have parallel walls, once you have positioned one, select the Wall layer in the Timeline view.
- Do one of the following to duplicated the layer.
| ‣ | From the top menu, select Edit > Duplicate. |
| ‣ | Right-click and select Edit > Duplicate. |
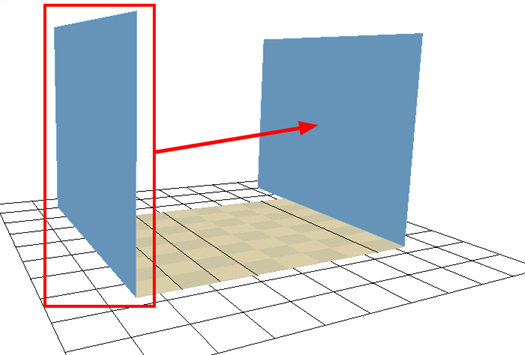
- Once the layer is duplicated, use the Layer Properties window to enter the positioning values or use the transformation tools.
- When using the transformation tools, use the Camera, Top, or Side view to position the elements instead of the Perspective view to position your layers precisely.
- If your walls are touching each other, you should make them intersect by extending one end of the wall through the other wall. This prevents seeing a small gap between them.
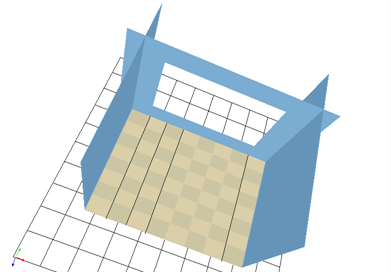
Now have a complete 3D room.