3D Camera Motion
Once you have a 3D set, the exciting part is to do a camera move in it. This section teaches you the main steps required to perform a 3D camera move. Once you know how to do this, you can enjoy the delights of working in 3D space and traveling through your creations!
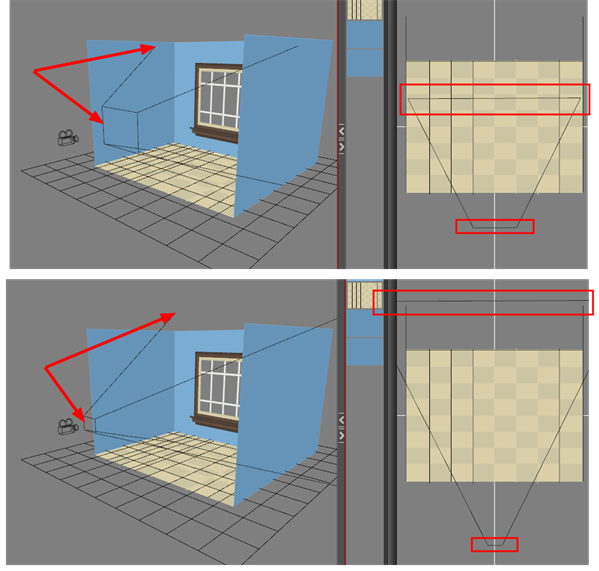
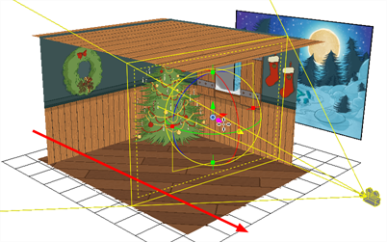
You can change the near and far clipping planes of the camera. The near plane is the point on the camera cone where the camera is located. The far clipping plane is the far end of the camera cone. Nothing outside that range is visible. This is useful when dealing with 3D elements and 3D sets. For example, the camera can be looking inside a 3D box or room and you might want the foreground wall to not obstruct the view of the interior. By default, the near clipping plane is set to 1 field and the far clipping plane is set to 1000 fields.
If you want to view your 3D camera move, you must be in the Perspective view.
| 1. | In the Tools toolbar, enable the Animate |
| 2. | In the Timeline view, click the Add Layers |
- In the Timeline view, select the new camera layer.
- In the Timeline Layer toolbar, click the Add Peg
 button to add a parent peg to the camera.
| 3. | In the Timeline view, double-click on the new peg layer to open the Layer Properties dialog box. |
| 4. | In the Layer Properties dialog box, go to the Transformation tab and select the Enable 3D option. |
- In the Rotation section, select the Quaternion option.
- In the Perspective view, click the Show/Hide Camera button to see your camera cone.
| 5. | Setup your workspace to display the Camera view and Perspective view at the same time so you can compare the results. |
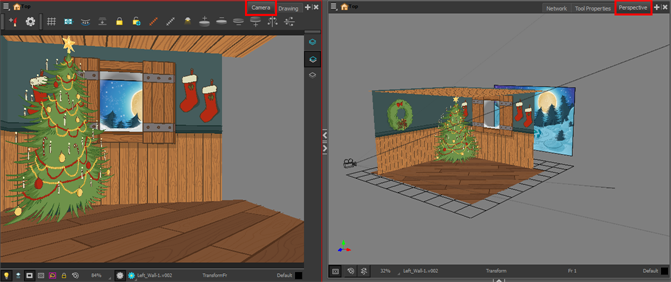
- In the Tools toolbar, select the Transform
 tool.
tool.
| 6. | In the Timeline view, select the Camera-Peg layer first frame and select Insert > Keyframe. |

| 7. | In the Timeline view, select the Camera-Peg layer. |
| 8. | In the Timeline view, go to the last frame. |
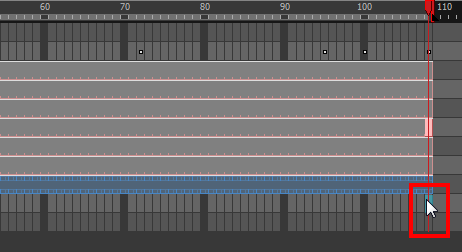
| 9. | In the Perspective view, grab one of the rotation ellipses and rotate the camera on one axis only. Always do one axis at a time to keep control of the positioning. |
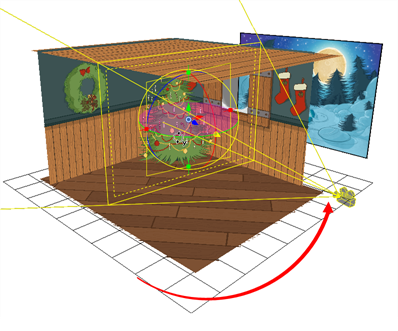
| 10. | Once the camera is rotated at the correct angle, grab one of the direction arrows to move the camera to the correct position. A keyframe is automatically created in the Timeline view. |
- In the Timeline or Node view, select the Camera node.
- In the Layer Properties view, go to the Clipping Planes section.
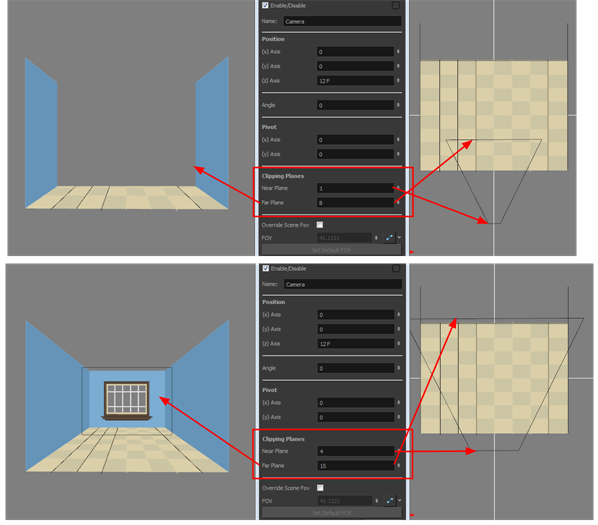
- Modify the value of the Near Plane to pull or push the clipping area closer to the camera. Anything behind this plane will no longer be visible.
- Modify the value of the Far Plane to pull or push the clipping area closer to the camera. Anything beyond this plane will no longer be visible.
- From the top menu, select Play > Enable Playback > Perspective View.
- In the Playback toolbar, click the Play
 button to see the results.


