Using the Onion Skin in Cut-out Animation
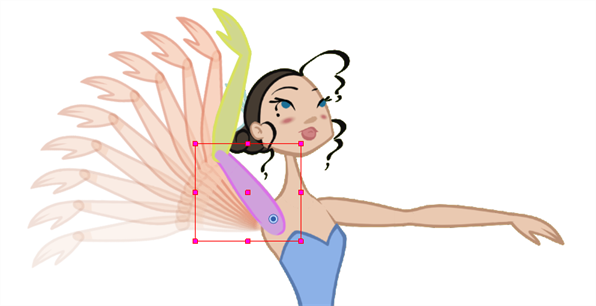
When animating cut-out characters, it is useful to see the previous and next frames on the animation. However, it can sometimes be confusing to see the onion skin for every part of the character. You will often only want to see the onion skin on a single part or a few parts, such as the arm that is currently being animated. Harmony offers that possibility.
While animating in the Camera view, there is a series of different onion skin options. You can enable these options in the menu or manually in the Timeline view using the layer's Show Onion Skin ![]() button. Unless you change the onion skin options when you display the onion skin, only the selected layers will be displayed in the onion skin preview.
button. Unless you change the onion skin options when you display the onion skin, only the selected layers will be displayed in the onion skin preview.
- In the Tools toolbar, click the Onion Skin
 button or press Alt + O.
- In the Tools toolbar, click the Transform
 tool or press Shift + T.
- In the Camera view, select one or more elements.
- From the top menu, select View > Onion Skin > Add to Onion Skin, Remove From Onion Skin, Remove Unselected from Onion Skin, Add All to Onion Skin or Remove All from Onion Skin.
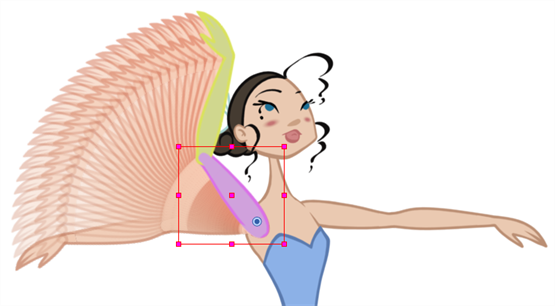
The Add to Onion Skin command is used to add a series of selected elements to the onion skin preview. The keyboard shortcut is Shift + S.

The Remove From Onion Skin command is used to remove a series of selected elements from the onion skin preview.
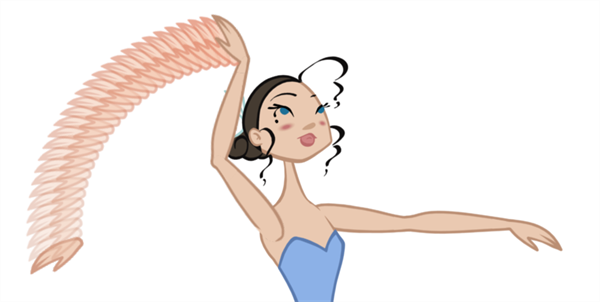
The Remove Unselected from Onion Skin command is used to remove all elements except the ones selected from the onion skin preview.
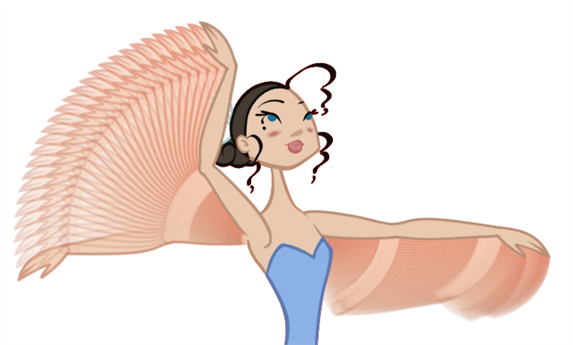
The Add All to Onion Skin command is used to add all of the scene's elements to the onion skin preview. The keyboard shortcut is Alt + Shift + O.
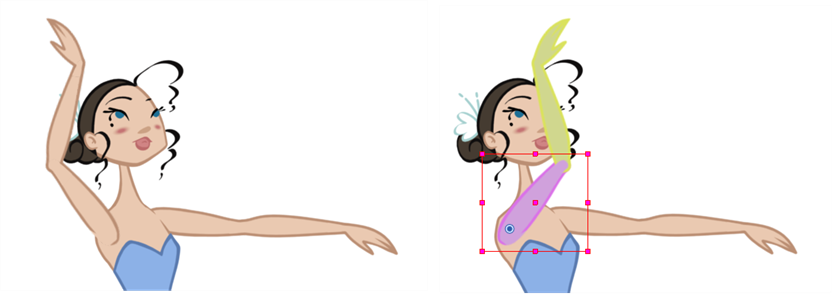
The Remove All Onion Skin command is used to remove all of the scene's elements from the onion skin preview. The keyboard shortcut is Ctrl + Shift + O (Windows/Linux) or ⌘ + Shift + O (Mac OS X).


