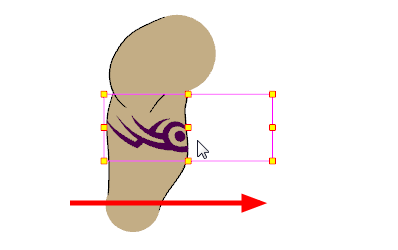
Masking
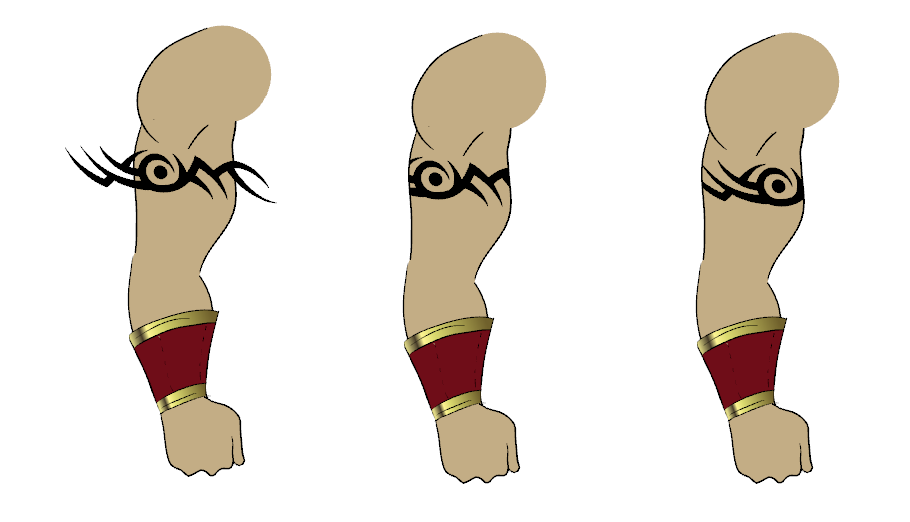
When rigging a character, there may be instances when you want to have the ability to move a particular piece to give the illusion of a rotation or move the pupil within the white of an eye without having the extra bit of the drawing sticking out of the character or eyeball. To do so, you can use masks to cut anything you don't want to be visible.
- In the Timeline view, make sure the keyframe is added on the object that will be masking the piece to cut.

- From the Node Library view, select the Favorites category and then select the Cutter node.
- Drag the Cutter node to the Node view.
- Connect the object you want to cut to the Cutter node's right port and connect the Cutter to the Composite node.
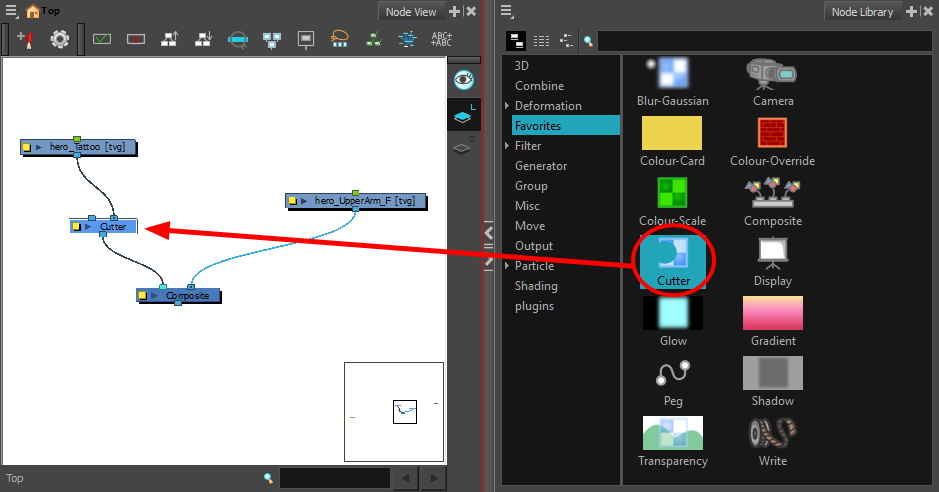
- Pull out a cable from the masking object and connect it to the Cutter node's left port.
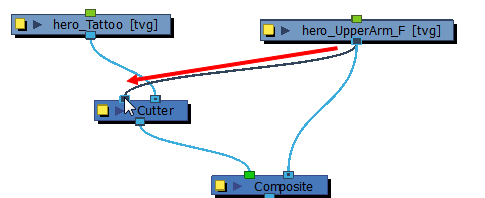
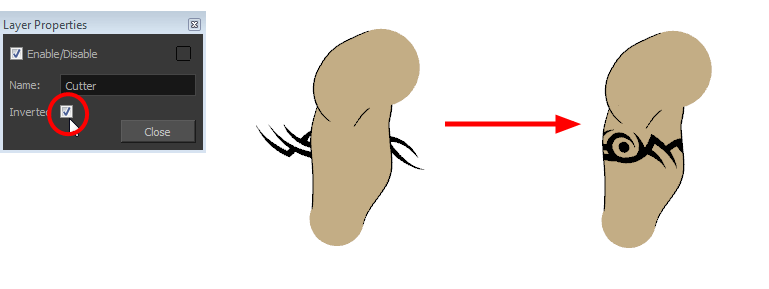
- Your masking effect is most likely inverted and what you want to cut is probably showing. Click the Mask node's yellow button to open the Layer Properties window. In the Layer Properties window, enable the Inverted option.
- From the Tools toolbar, select the Transform
 tool and move the cut object within the masking zone.
