Chapter 28: Design and Drawing Tools

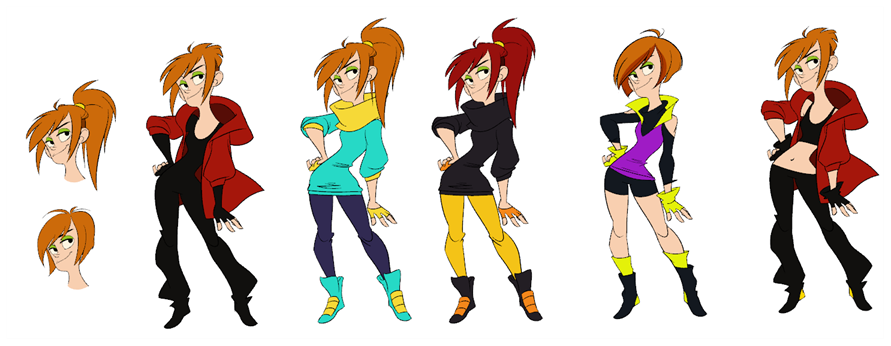
Another important step in the project creation is the character, prop and location design. This determines the style and models to follow for the entire project.
This is also the step where you will need to use most of Harmony's drawing tools.
The design can be created on paper and scanned in or it can be created digitally. You can draw and even create the colours entirely on paper, while others like to design on paper and scan the drawings to create the colour model in a software program. The most popular method is to design directly in Harmony.
To save paper and time and avoid having to recreate colour palettes, Harmony gives you the ability to design all elements directly in the application. This keeps all your work within the same software, avoids using a lot of paper and losing time scanning in elements and importing them.
The character and prop design process is divided in three steps:
| • | Preparation |
| • | Sketching the Model |
| • | Cleaning and Inking the Model |
Harmony has an extensive set of drawing tools that can be used to design your characters. You can learn more about this in the following topic:
| • | Drawing Tasks |
Each drawing tool has a series of options to customize its behaviour and drawing style. You can learn more about them in the following section:
| • | Drawing Tool References |


